Mutawintji Loop Walking Track NSW (10.3 km)
Mutawintji National Park
Nearest Town
Broken Hill, NSW
Best Time of the Year to Travel
April-October
Starting Location
At the northern of the Homestead Creek Campground. If you are visiting for the day then you can start this walk in the ‘day use’ car park.
Finish Location
Homestead Creek Campground, Mutawintji National Park
Mutawintji Loop Walking Track Review
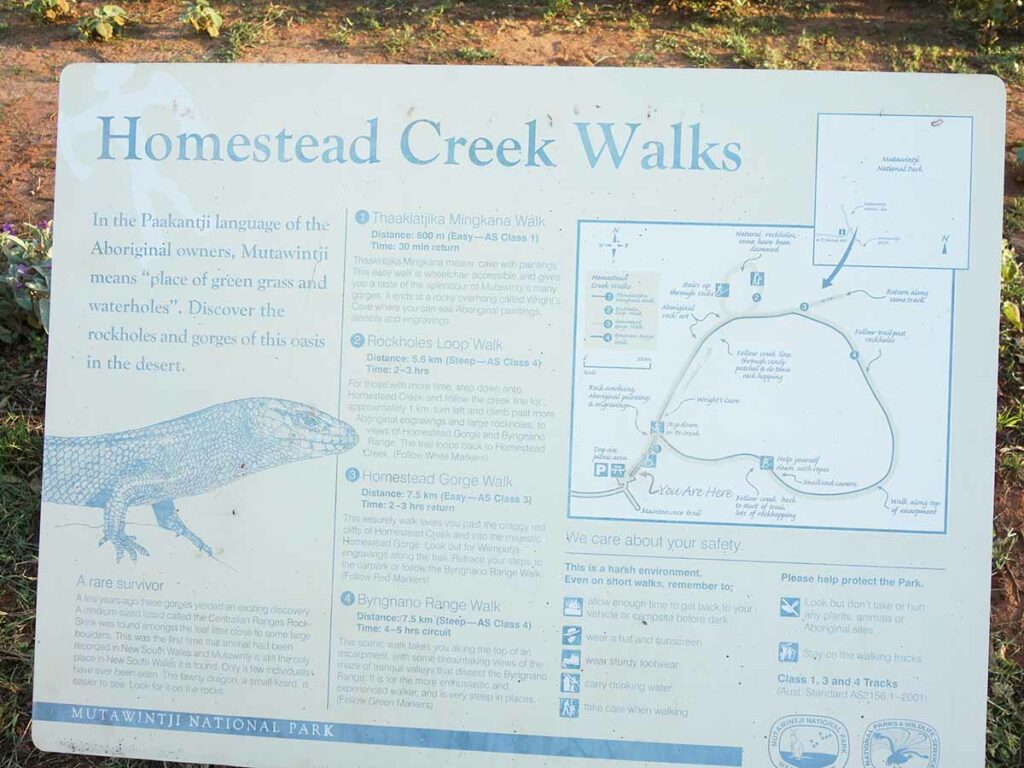
Mutawintji National Park, in many respects is unique. The park has three seperate walking ‘zones’ which includes the standalone Western Ridge Walking Track and the Mutawintji Gorge Walking Track. However the main walking area is the large loop located immediately adjacent to the day use area and a short walk from the campground. This loop contains a series of standalone walks that can be done separately or combined in a way that provides a ‘choose your own adventure’ option.
What’s unique about Mutawintji is that each of these seperate walks isn’t just a repeat of another nearby one as is the case in many parks we have visited but rather has its own special character. This write up combines all the walking options combining Thaaklatjika Mingkana Walking Track, the Bynguano Range Walking Track, the Homestead Gorge Walking Track, and the Rockholes Loop Walking Track) on this loop into one single walk. The loop will take most people between 5.5-8 hours to complete depending on fitness and how ‘leisurely’ you go.
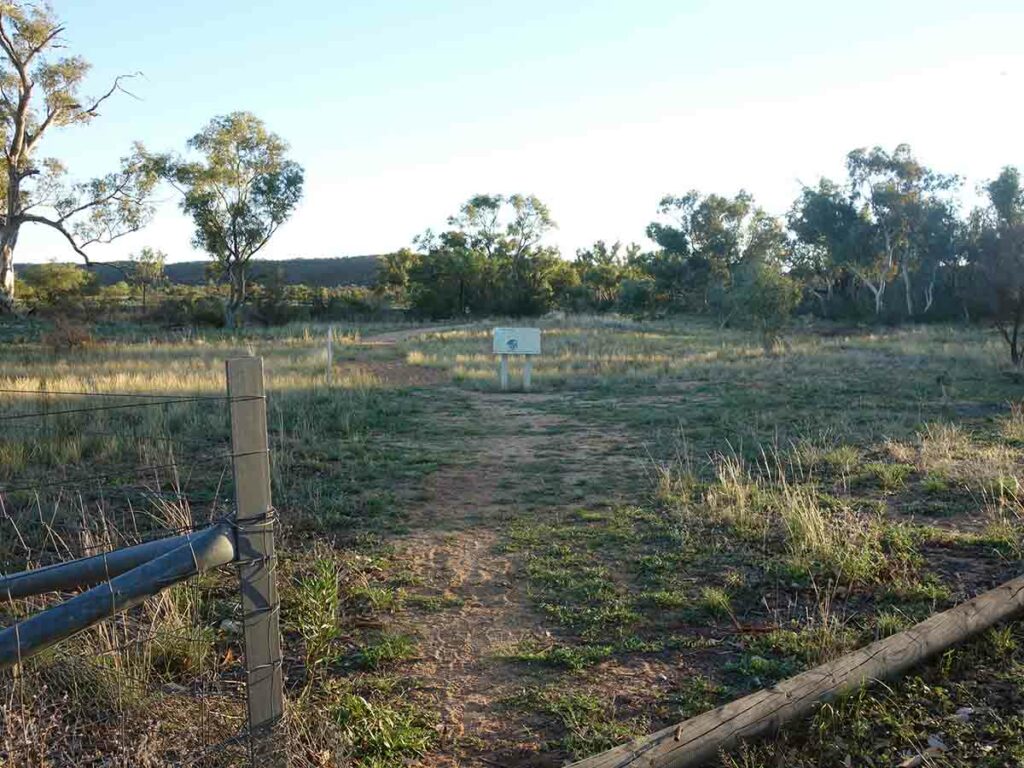
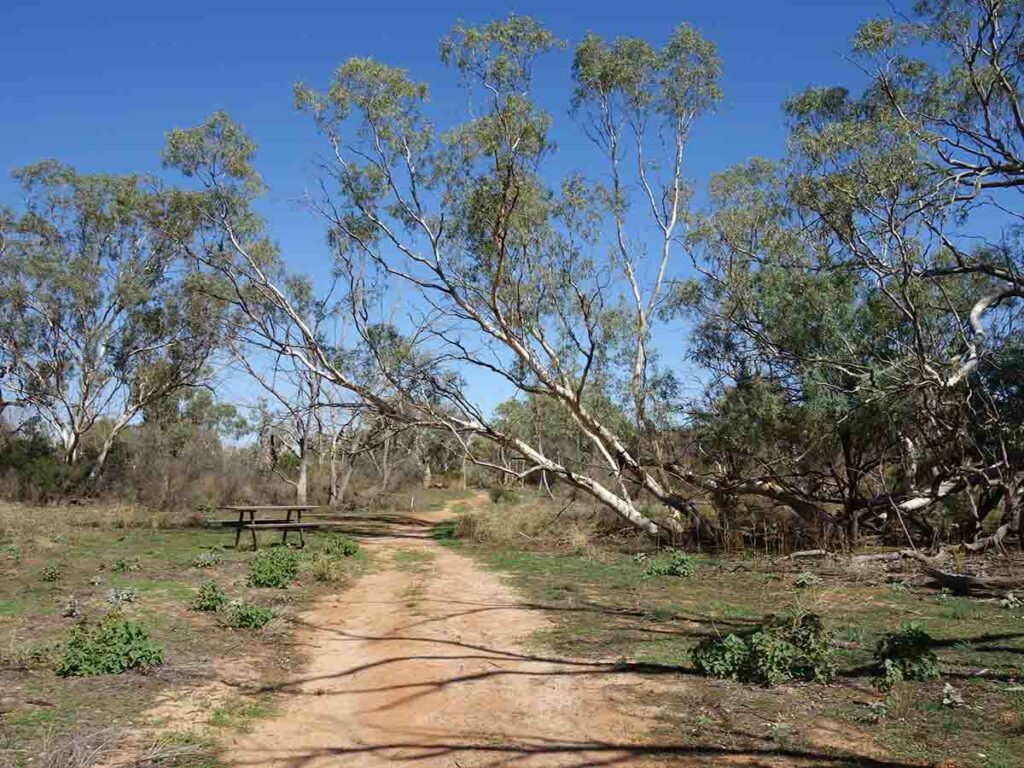
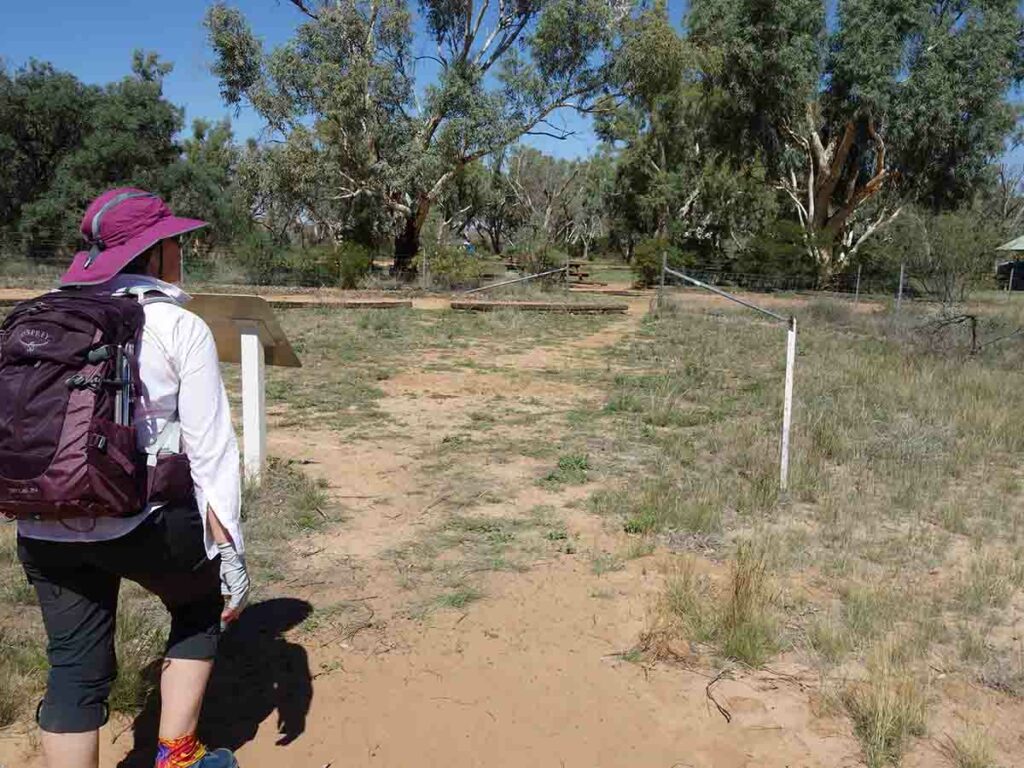
This walk can be started from the day use area but for many people who are staying at the nearby campground starting from there adds about 1km to the walk in total but does mean you don’t have to move the car. The trailhead is at the northern end of the campground and as you enter the facility turn left and following the loop road about 120metres till is starts looping around and the signage is visible just off to the left.
This first section of the walk parallels the adjacent river bed which is often dry and once you reach the day use car park turn to the right and follow the signage past the picnic area. From here you are walking into the gorge system and the environment changes form a dry arid landscape to something that is far more lush and temperate. At this stage you are on a sealed track that is suitable for wheelchairs but keep in mind there is still some natural surface to get to the trailhead. Apart from the trailhead signs there are small interpretive signs every so often that highlight the rural past of this area and talk about the local landscape including different tree types. The signage while interesting is getting a bit worn and as you will see in the images below, can be bit hard to read.
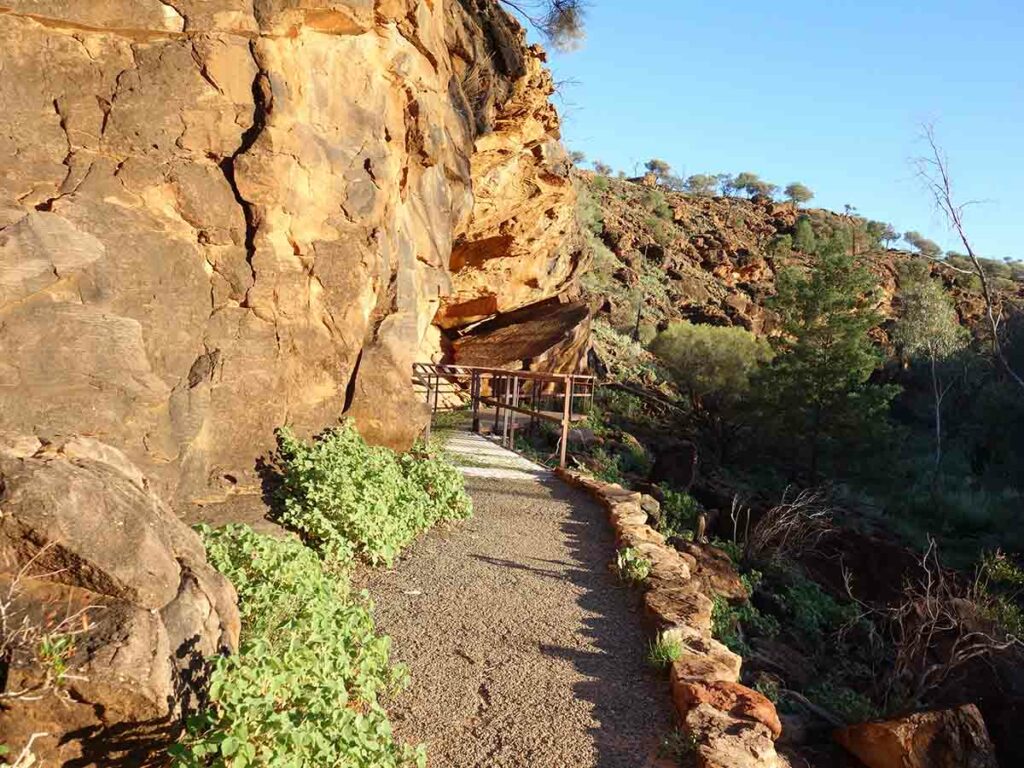
Your first stop is an Aboriginal rock art gallery that has a metal viewing platform and interpretation signage explaining what’s there. This platform is as far as wheelchairs have access. From this platform head down into the creek bed following the trail markers. At this stage you are spending your time walking along the natural gorge, crossing over the creek and back as the environment dictates. As you make your way down the creek you will come across the occasional very small water body but given the condition they were in when we passed, I would definitely filter so come prepared if that’s your water plan.
As you make your way along the gorge your turnoff point is on the left and is marked by a small rock art gallery behind a waist high metal frame. The turning point you want is actually at the second small rock art gallery which is not far from the first and when you reach this point and have looked at rock engravings, continue on up the rock slope, up a very narrow set of stairs and the signage will reappear again. You will reach a high ledge and from here you will see a couple of rock pools down below in the gully which is where this walk gets its name. In all honesty the rock pools are nice to see but even though this is what the walk is named after, it’s not the highlight of the walk. From here continue up the side gully, past a small artificial dam that was placed by an earlier rural owner and follow the signage that turns right and takes you over the gully and then up the the solid rock slope to the top of the rock summit which is your destination. Getting to the summit isn’t difficult but it does require some minor rock scrambling.
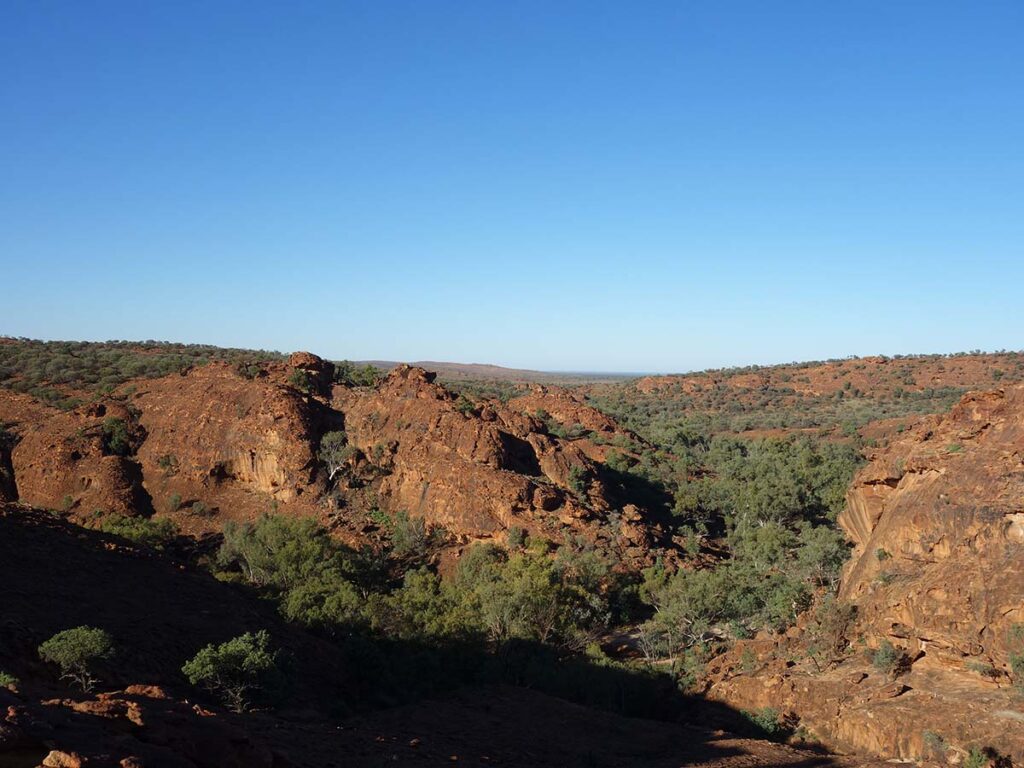
It’s at this stage you will get some spectacular views across the gorge down the various rock outcrops. You can even climb the small rocky peak to get even higher views. The stone bluffs in this location are a deep dark almost black red colour and you can almost feel the texture in them.
This gorge is best enjoyed early in the day to avoid the heat. We started just after 7:00pm which meant as we walked up the gorge it was a cool, partially shady experience, which differed from some of the more open areas of the park. This early start meant the sun wasn’t far over the horizon and this helped to cast shadows across the rock faces that gave them extra depth and texture. If you look at the images and the video below they just don’t do justice to the way this gorge looked and felt on the day. At this point you also get views down the gorge which you came up. Usually we don’t linger at a summit but in this case it was well worth spending some time and taking in the views.
Once you’ve had your fill of the scenery start heading back down which will require you to come within about 1 metre from the edge of a sheer drop off (for just a short section) so pay attention to where you are walking. A word of warning, if you don’t have a head for heights then this may not be the walk for you. The descent down is pretty much along gradually sloping, but steepish rock and providing you take it slow it’s not difficult by any means. Once you reach the creek level you come across a bit of a hub that either directs you back to the start or onto the next set of destinations.
At this stage your second destination is the Homestead Gorge which contains a lovely permanent water body. Many hikers take the opportunity to dip or paddle in the water at the end of the gorge to escape the heat. On the day we did this walk we didn’t swim but the water was cool without being freezing which is often the case in the arid regions. To get to this water body, continue along the gorge following the red striped trail markers. At one point you have a branch in the gorge but if you keep to the left the signs remain obvious. Once you’re spent the time at the water turn around and head back the way you came. As you make your way back down the gorge you come across signage for the green track which is the Bynguano Ridge Walking Track. Returning from Homestead Gorge you will be turning left and while the signage is apparent, if you are paying attention what you are looking for is a rock outcrop/slope which is what you will be walking up to start this next segment of the walk.
Follow the signage up the rock gully and at one point you will be directed towards the left. Continue your climb to one of two main scenic views on this walk. This first viewing area provides views to the back of the range and into the deeper gullies, views you won’t get from any other area within the park. Continue on from here and make your way along the track. You’ll come very close to the the edge of the gorge so pay attention with your footing. Having said that this is only for a very short section.
The next viewing area is just off the trail and if you look for the highest area you will be able to get 360 degree views. You can head back to the trail or if you look around, you will see that the trail is close to this high point anyway and only requires a short section of track to rejoin. At this point the track starts to make its way slowly back down and is relatively easy to follow. The trail tread becomes rocky, but easy to spot. You will arrive at one point where the trail does become hard to identify and we spent five minutes trying the different branches before realising it went between two rock mounds.
One thing to note here is that this route will require you to descend down a steep rope drop that while not vertical can only be described as rock climbing with around a 4-5 metre drop (while this is identified on the trail information signage its a bit understated). To make it easier for you, the rope has loops however if you aren’t into heights or climbing, your only other option is to turn around and go back the way you came to get to back to the trailhead.
At the bottom of this rope follow the gorge downhill and about 20 metres along you are required to make your way through a very narrow slot canyon while at the same time avoiding any water at the bottom. Upon getting through this narrow section you are back in the gorge again following the dry creek all the way back to the main canyon where you started. This section of the gorge isn’t as well signposted as the main channel and you just have to trust that you are on the right route so a few extra signs would be helpful. As you reach the main channel look towards the right and you will see the main rock art platform you viewed on the way out and that connects back onto the trail again. Its an easy return back to the trailhead from here.
Wildlife-wise there were minimal animals on this trail with the exception of the odd lizard but this gorge provides plenty of water, tree growth and shelter, and as such the birdlife was reasonably good even if we could only hear and not always see them.
Doing this complete loop, including all the waking options, makes for a spectacular walk, although one that takes much of the day. While we took just over 5 hours to do this walk, other people we talked to who did this walk, took around 8 hours. It’s probably best to allow the extra time and take enough water and food to do you for that period. While the distance isn’t that long you need to cross over the gorge from time to time, walking on sand, and doing the occasional rock hopping and that’s were the extra time comes in.Start this walk early to avoid the worst of the heat and to ensure that you get back before dark.
This is a great and diverse loop and well worth doing all in one go if you have the time.
The trailhead is through the fence at the northern end of the car park
Trailhead signage
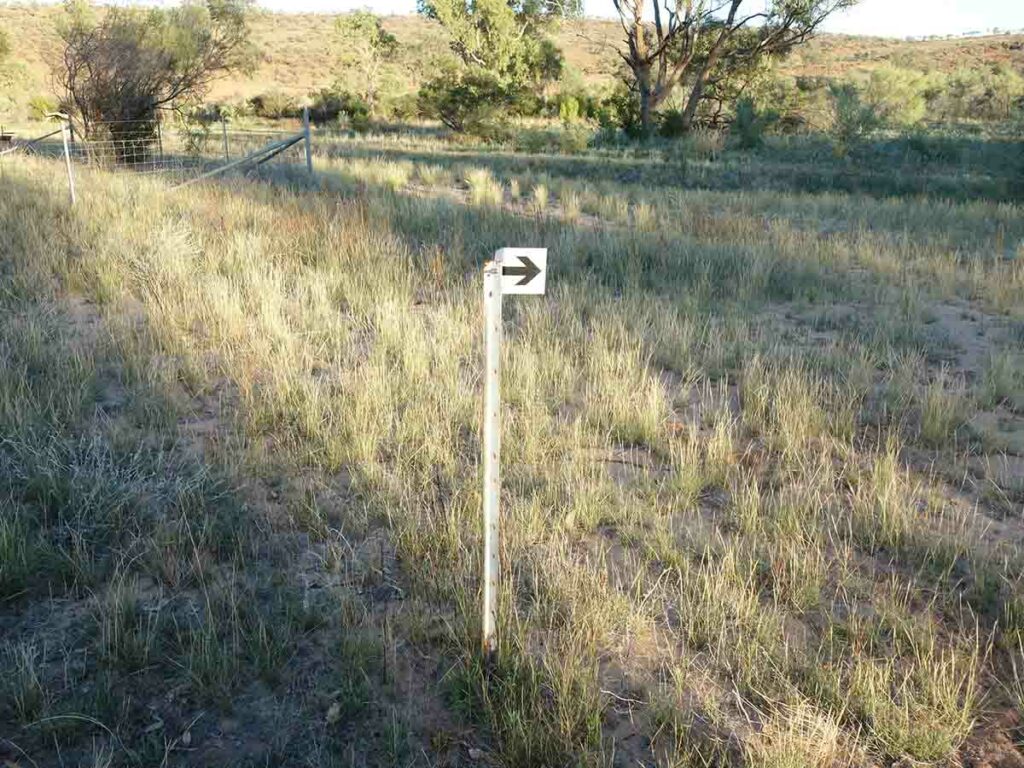
Directional marker near the trail start
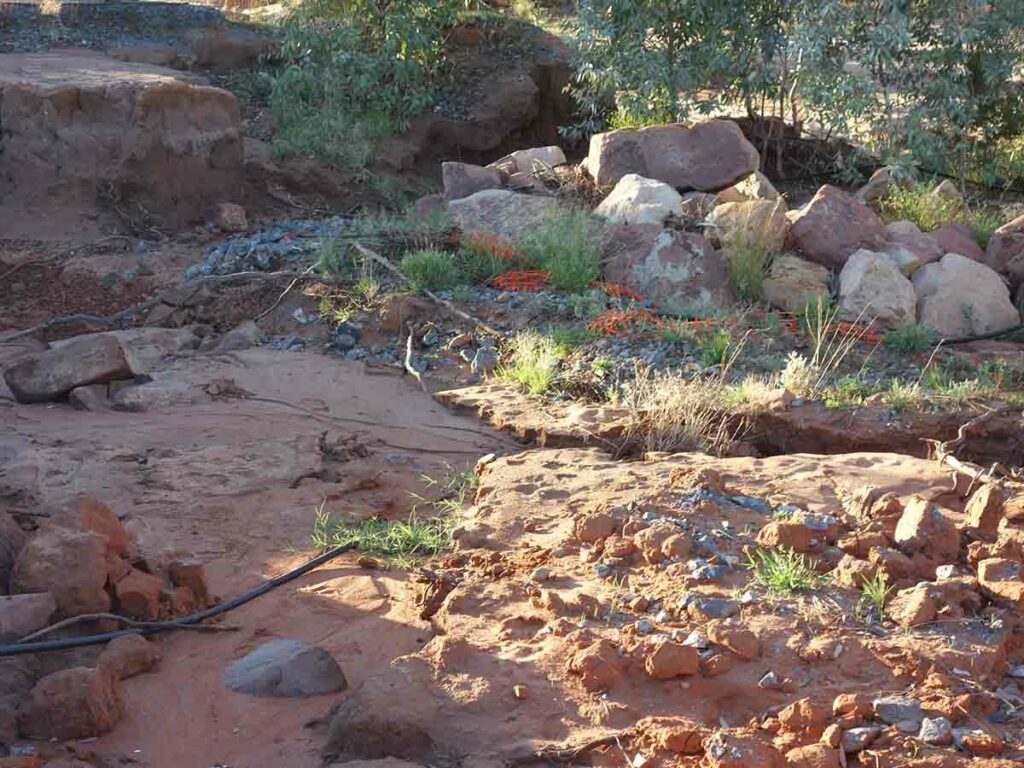
Flood damage to the day use parking area
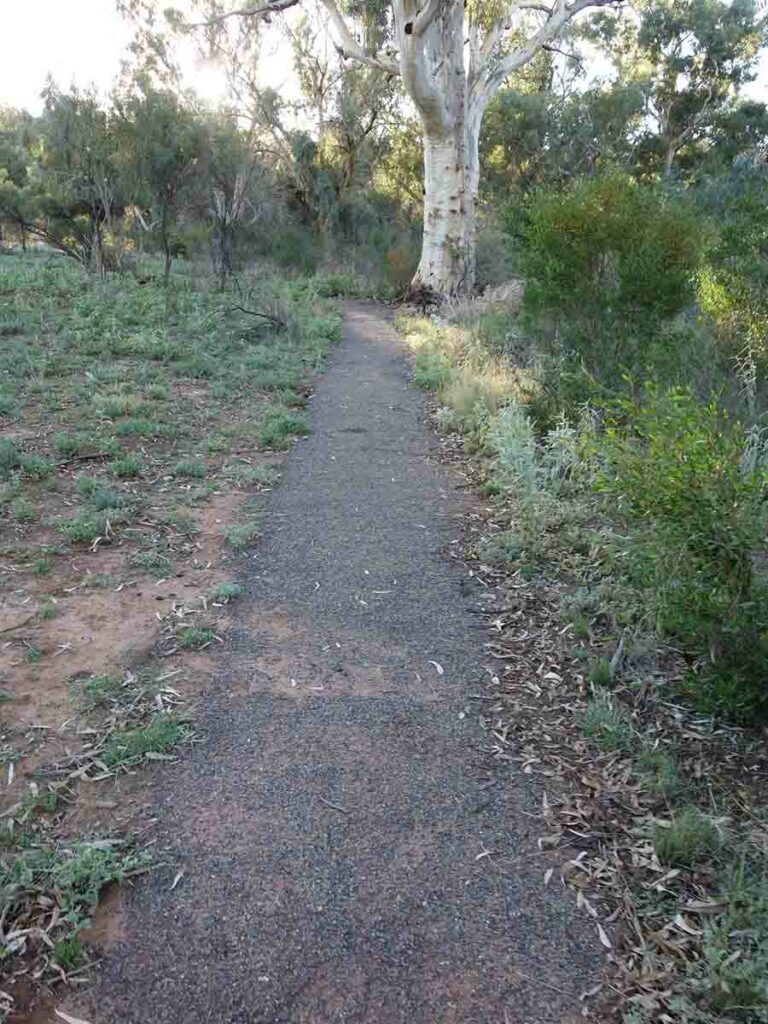
Start of the trail from the day use picnic area
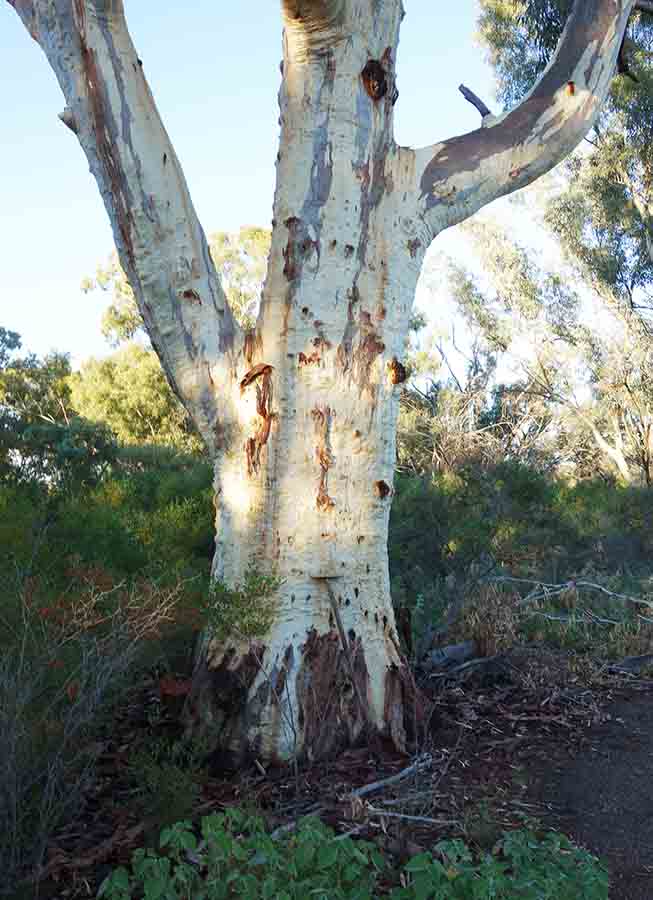
Large remnant Eucalyptus near just near the trailhead

Interpretation signage along the way talking about vegetation and farming practices
Shade along the gullies is very different to the sparse sunny plains
Approaching the rock art gallery
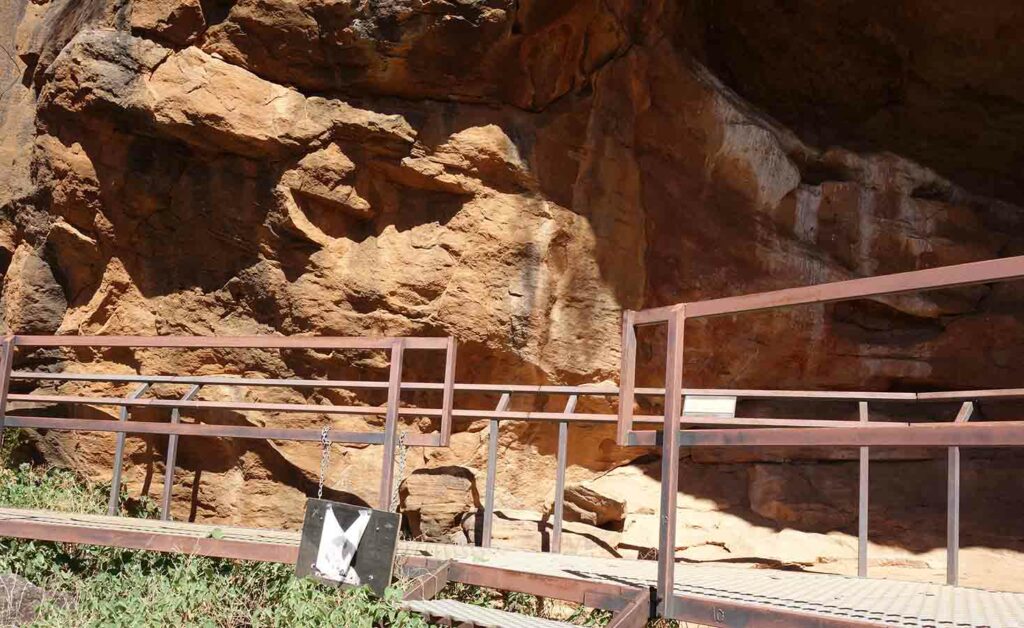
Rock art gallery
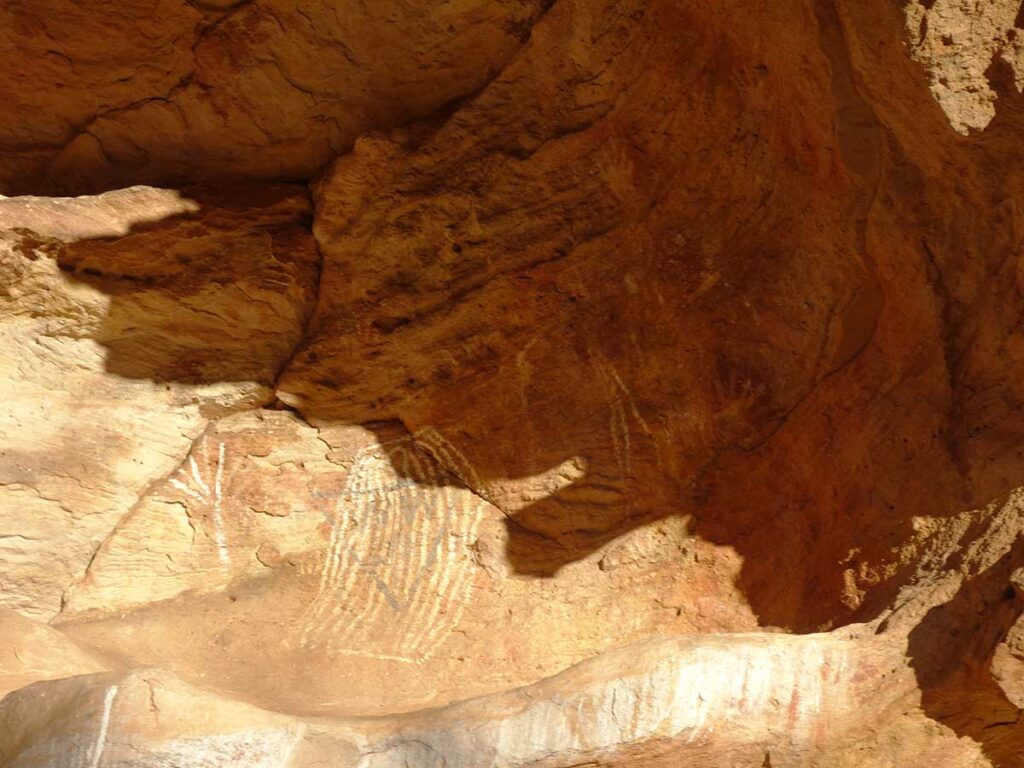
Rock art example at the gallery
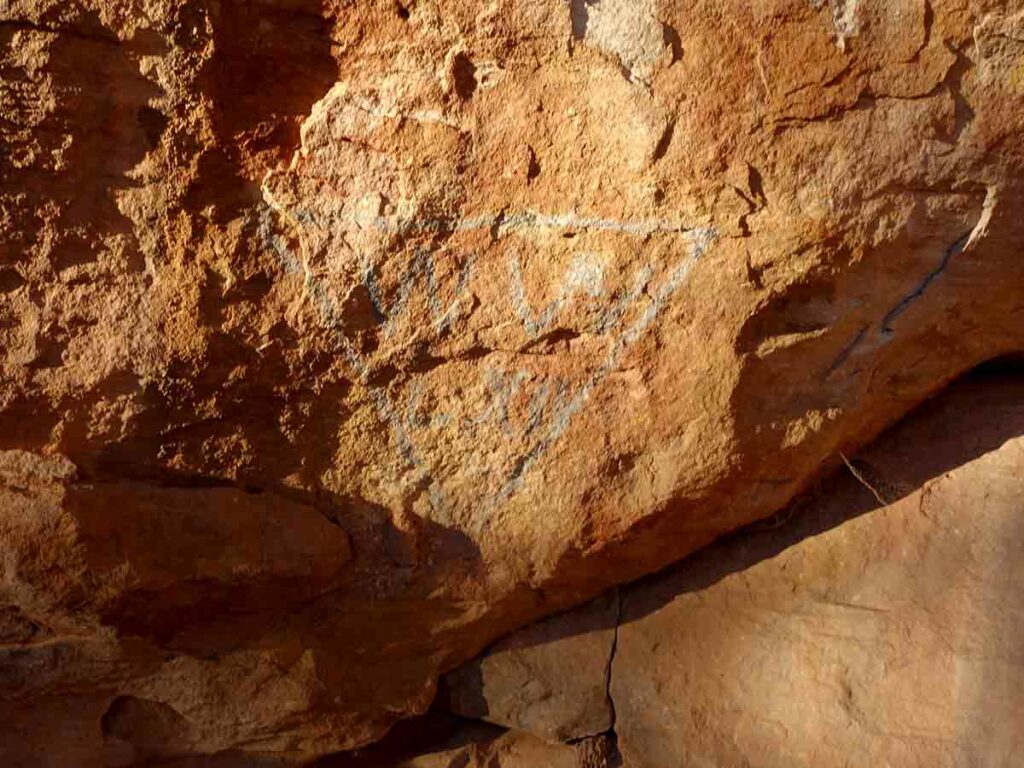
A marker as opposed to rock art at the rock art gallery

Heading off the rock art gallery platform

Down from the art gallery and follow along the creek bed

Trail example

Dry river bed

Eucalyputs flowers forming

Signage option with the directional arrows sometimes at ground level
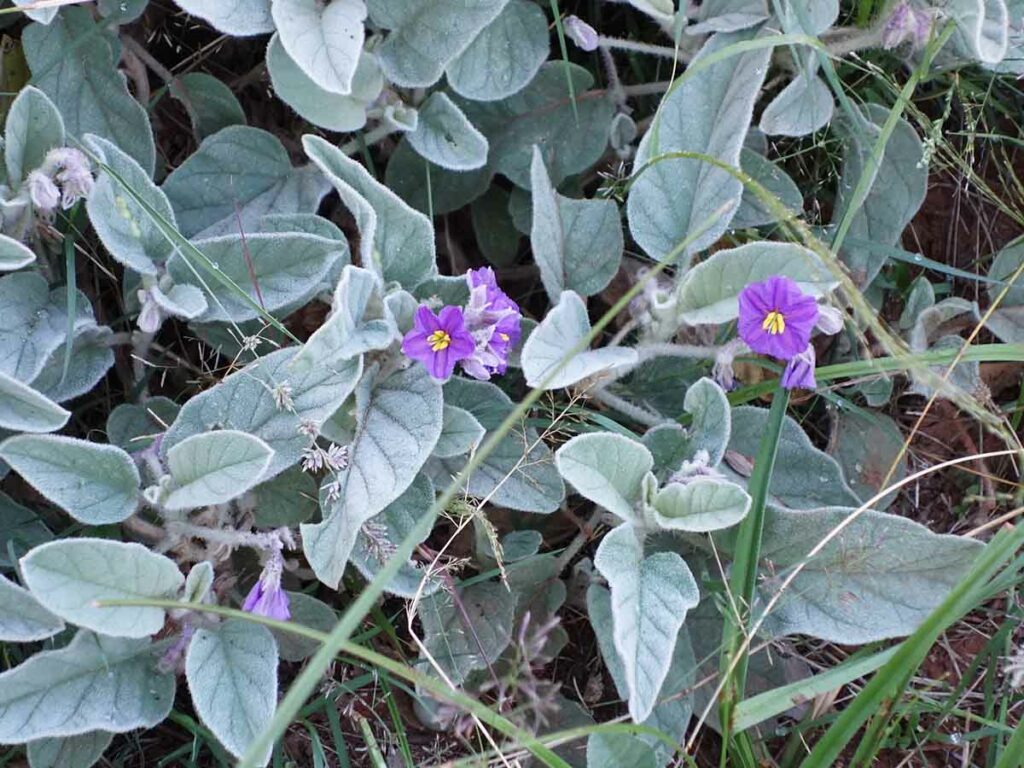
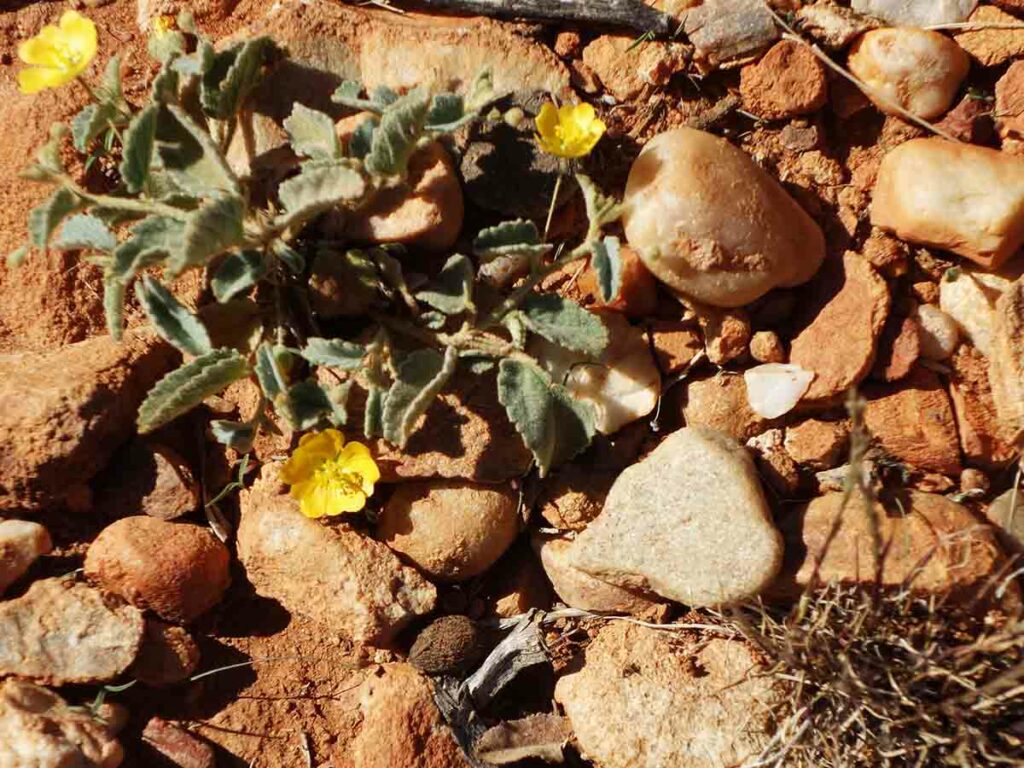
Native solanum

First rock art gallery, look for the metal frame at ground level on the right of the image. Your turn point in the next rock frame not much further along the creek bed

Turnoff point for the loop

And up the stairs just past the rock art protection frame

Steep narrow stairs

Through the gap

One of the rockholes

Small dam at the top of rockholes

Heading up to the top, follow the directional arrows
Rockholes Loop Walking Track

Looking down from the high rock ledge into the gorge below
360 degree view form the high point on the trail

Up and over and then down

Making our way down from the high point

Down the rock slope. This slope is steepish but the footing is very grippy and stable so if you take it slow you won’t have any problem

Looking back at the descent
Return arrow at the bottom of the descent if you decide to head back at this point
Dry river bed
Eucalyputs flowers forming
Signage option with the directional arrows sometimes at ground level
Native solanum

Follow the red signs to head to the Homestead Gorge Walking Track

Along the gully

Veer left when presented with a branch in the trail

Paddy Melon in flower

Paddy Melon in fruit

Approaching the waterhole

Arriving at the waterhole in Homestead Gorge

A lovely cool place to relax

Other end of waterhole

Heading back along the gorge on the way back

Head up the rock slope

Look for the signage

The worn trail is obvious as you get closer

Close up of the rock

Lizard on a rock at Mutawintji

High point in the middle is our destination

Veer left and head upwards

First lookout on the Bynguano Ridge
Video taken at the first lookout location

Still going up

Close to the edge

While its not a straight drop off, it’s steeper than it looks
2nd lookout location located as high up on the edge as you can go with 360 degree views. this video is taken form the highest point of the whole walk

Starting the descent

Still heading down

Down the rock slope. As you come towards the bottom of this slope you lose the obvious way. The main thing to remember is that you are heading downwards. You will come across this green arrow in a large crack. From here things get a bit physical (see below)

Gill going backside first. I descended facing the rock and standing. Without this rope, this walk would be almost impossible except for people comfortable with rock climbing as the top is around 4-5 metres high

Turn left at the drop off

Rope to get down this rock face complete with hand/foot holds

Trail example on the lower half of the trail

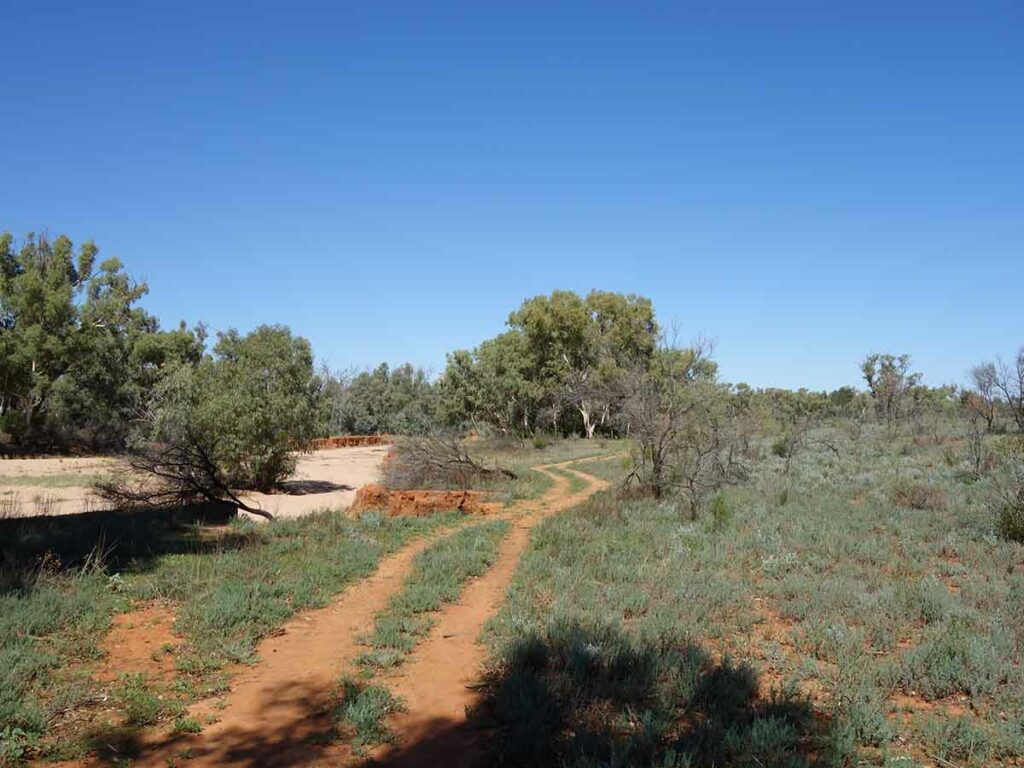
Follow the creek bed, the signage is limited

Back along the creek bed

I love the arid wattle varieties

Approaching the main gorge
Back to the rock art gallery
Back to the day use picnic area
Oh so pretty
Heading back to the trailhead with dry river on the left
Trail finish inside the campground
Trail Videos
This short video contains photos and video from our walk to show you the walk from start to finish including videos at the lookout platform on this walk
Getting There

Google map from Broken Hill. The trip from Broken Hill is 130 km, much of it on dirt road
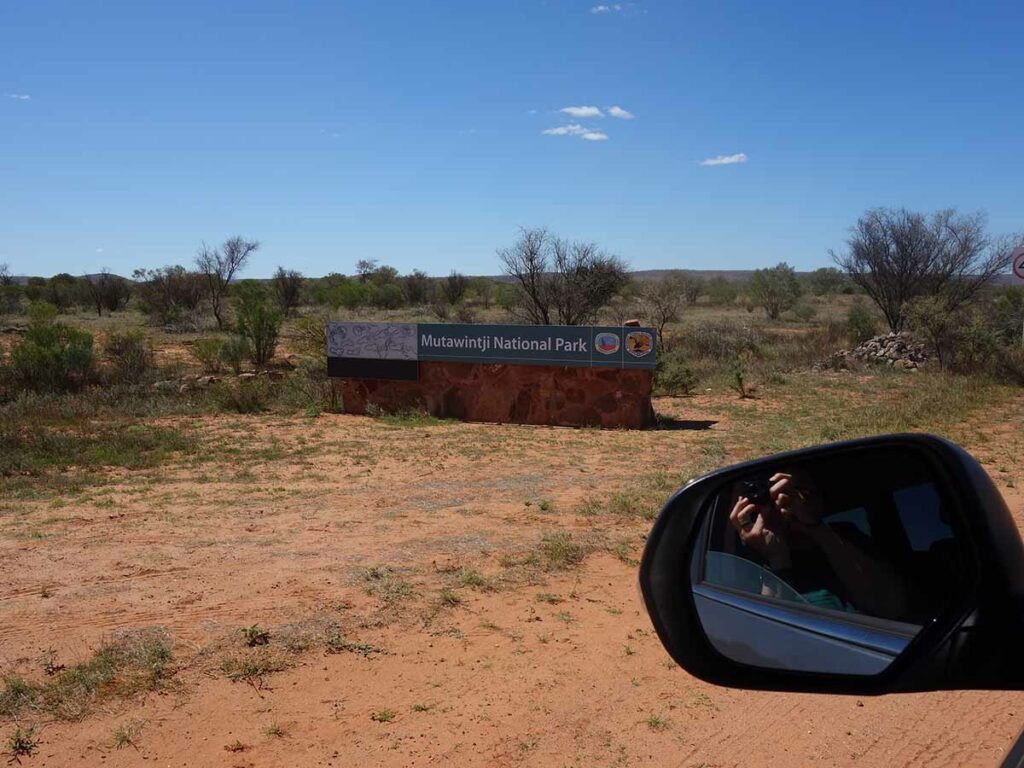
Entering Mutawintji National Park
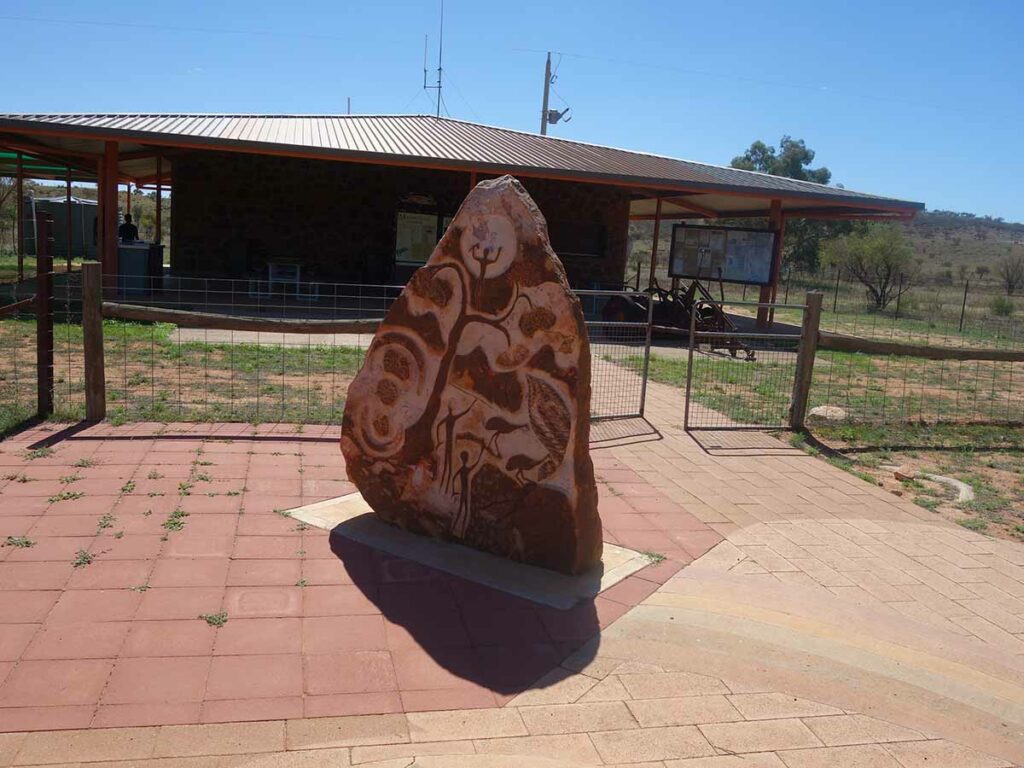
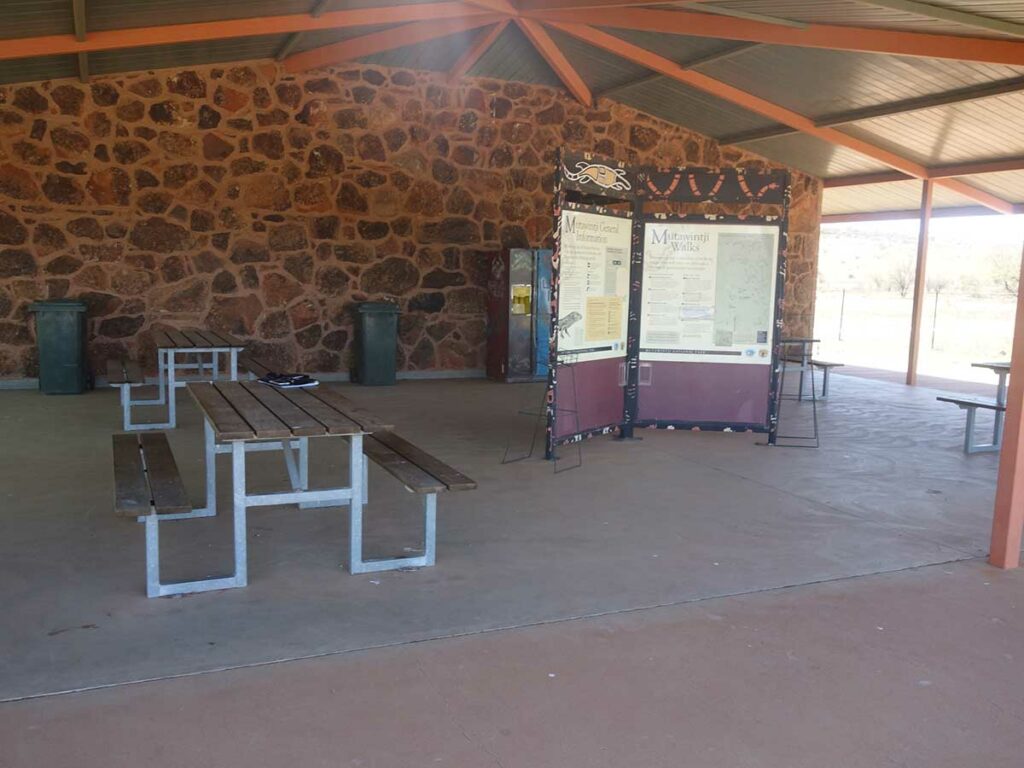
Information Centre. This kiosk is un-personed
Information centre view
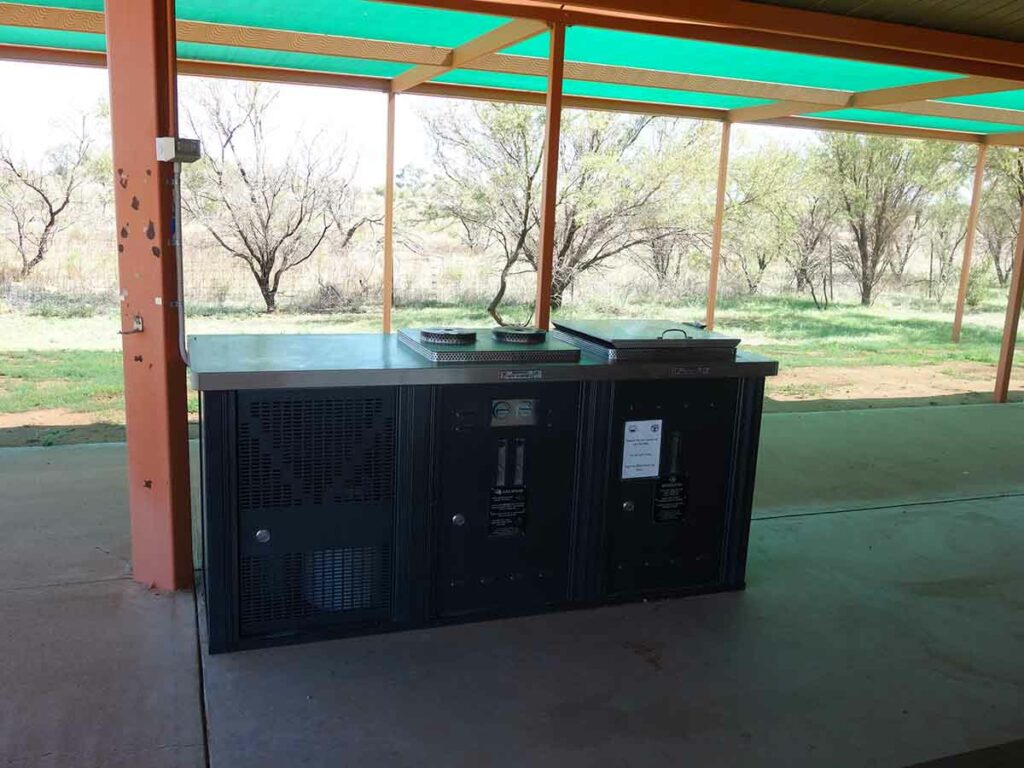
Barbecue at the information centre
Things to Know
- Phone: There is minimal phone signal on this track, mainly at the high points, and almost no data signal
- Water: You need to bring your own water although there are some small water holes that you can use if you have a filter
- Toilets: There are toilets located in the campground near the trailhead
- Trail: This trail consists of formed track although you will cross over the dry river bed from time to time
- Dogs: No dogs allowed
- Other:
- This walk is done in a loop
- Avoid the summer months – it is very, very hot at that time
- Please note that if you do this walk as a loop there is a section that is around 4-5 metres in height that you will need to lower yourself down with the aide of a rope. While there is an indication on the trailhead maps it’s understated
- Start early in the day to avoid the worst of the heat
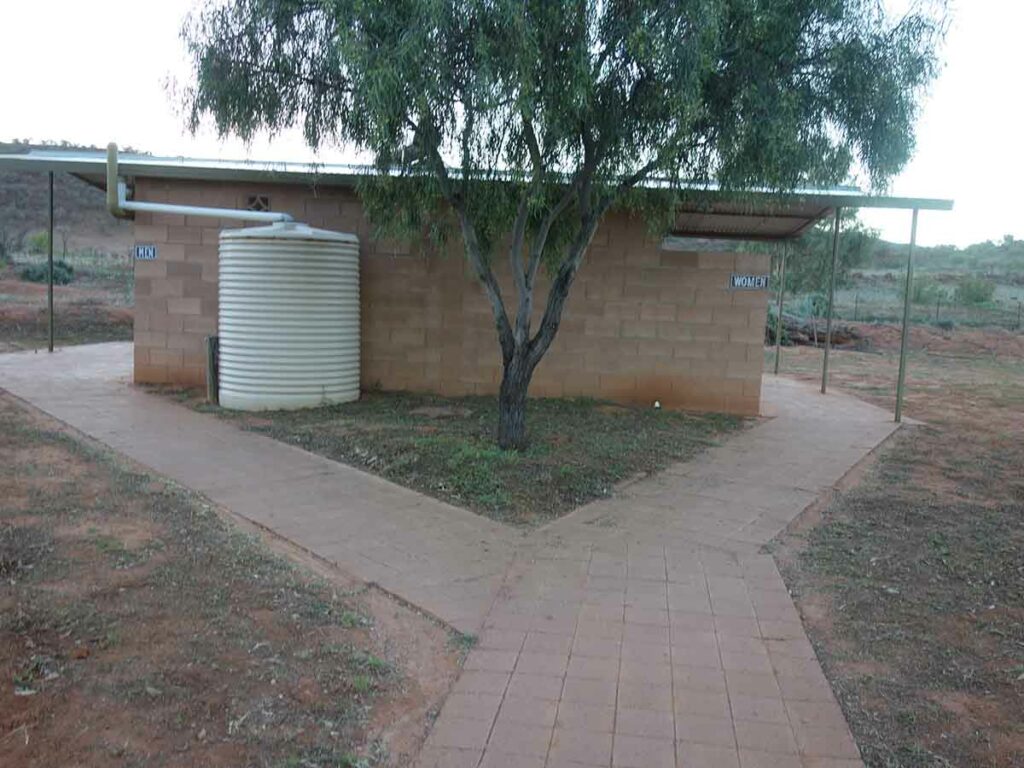
Toilet and shower facilities at Homestead Creek Campground
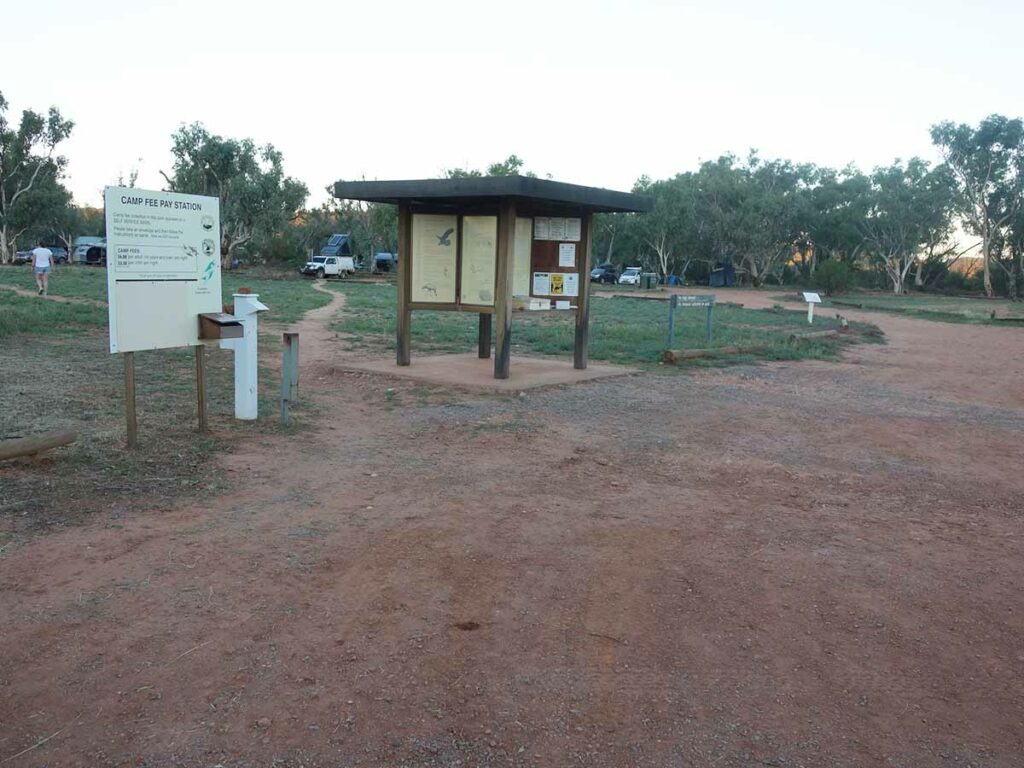
Homestead Creek Campground information kiosk
Disclaimer
This walk was undertaken by the team from Australian Hiker