Beach hiking
Hiking Practice
You can never turn you back on the ocean
Rip Torn
This may seem like a strange topic for a hiking blog but there are a number of walks both in Australia and overseas that involve close contact with the ocean. Recently we did the Great Ocean Walk on the Victorian coastline and discovered that practices we take for granted in walking along beaches and rock platforms, as well as crossing inlets, aren’t always widely known.
The ocean can be a very unforgiving environment if you don’t pay close attention. It needs to be treated with respect and as the quote says ‘You should never turn your back on the ocean’ particularly when hiking in remote areas.
So what do you need to know about hiking safely when travelling along the coastline?
Definitions
Rather than assuming people know about the ocean, in particular what’s important from a hiking perspective, we thought we’d define a few key terms.
- Inlet
- A narrow area of water that stretches into the land from the sea or a lake, or between islands.
Inlets can often be seasonal, being closed off at certain times of the year due to sand build up, and open at other times after heavy rains and flooding.
- A narrow area of water that stretches into the land from the sea or a lake, or between islands.
- Tides
- Tides are the rise and fall of the sea level caused by the combined effects of the forces exerted by the Moon and the Sun.
Tides can be a major consideration when walking along beaches or rock platforms and are dependant on your location.
While there are designated high and low tide times, the hour before and the hour after high and low tide times, have minimal water movement which is worth keeping in mind if you need to cross an inlet.
Typically you are looking at low tides to cross any inlets. However the hour before and the hour after high and low tide times, may also be an option given the minimal water movement.
- Tides are the rise and fall of the sea level caused by the combined effects of the forces exerted by the Moon and the Sun.
- High tide
- The time when the sea has risen to its highest level in a particular place.
- Low tide
- The time when the sea is at its lowest level in a particular place.
- King tide
- King tides are the highest tides. They are naturally occurring, predictable events.
- King tides occur at new and full moons when the Earth, Moon and Sun are aligned resulting in the largest tidal range seen over the course of a year. Tides are enhanced when the Earth is closest to the sun. They are reduced when it is furthest from the Sun.
- The heights of all tides, including king tides, can be further enhanced by local weather patterns and ocean conditions.
- Tide charts
- If you are planning on walking along rock platforms or beaches you should always know what the tides are doing particularly if there is no option for exiting along the way or you will be crossing inlets.
- There are a large number of tide charts available online. Choose the chart closest to the location you plan on walking.
- Bureau of Meteorology tide charts are a very good resource.
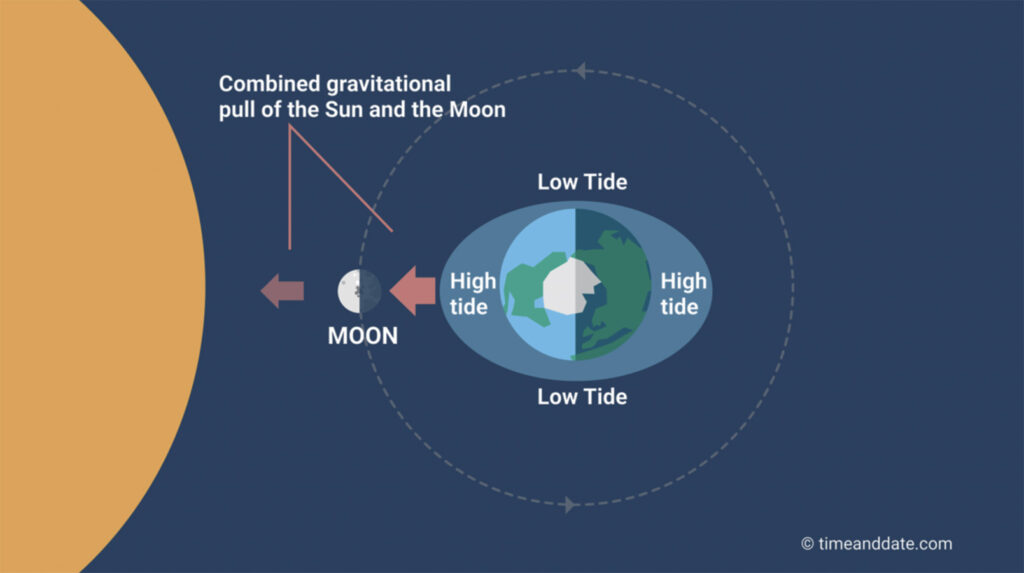
Impact of the Sun and Moon on tides (image: https://www.timeanddate.com/astronomy/moon/tides.html)
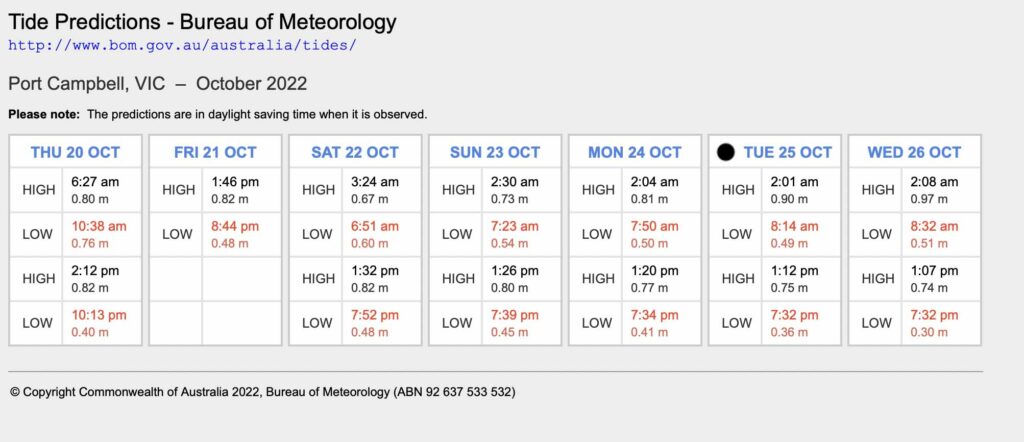
Downloadable tide chart for Port Campbell in Victoria. this echarts are available to download from a number of online sources
1. Do you choose the beach/rock platform option?
With many designated coastal walks there will often be options to reach your destination. The first will take you along a beach and/or rock platform and the second alternative will often bypass the coastal option taking you inland away from the impact of the ocean in the case of storms or high tides.
Whether you choose the beach/rock platform option or take the bypass route is really a personal choice but ocean conditions also play a part. On various hikes I have done, I have chosen both options for one of two reasons:
- Skipping the coastal option if its unsafe. If the conditions are unsafe or you feel like you don’t have the skills/knowledge to safely take this option, then choose the alternative route if there is one.
- Just because! Sometimes I just can be bothered and prefer to take a route through bushland or up on the cliff to get different views.
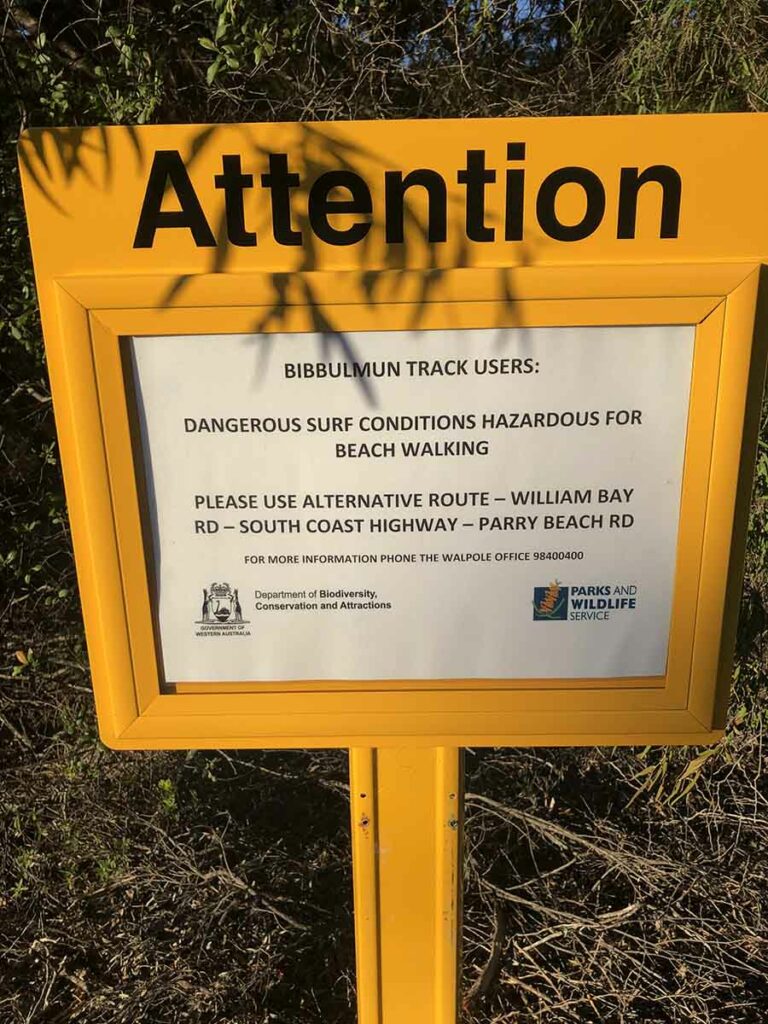
Beach warning sign on the Bibbulmun Track in 2018. On the day I came to this sign I could see down the beach and while it wasn’t high tide, the surf was coming up almost to the dunes which potentially could have left me stranded had I opted to take the beach option. Instead, I followed the recommendation on the sign and did the road bypass
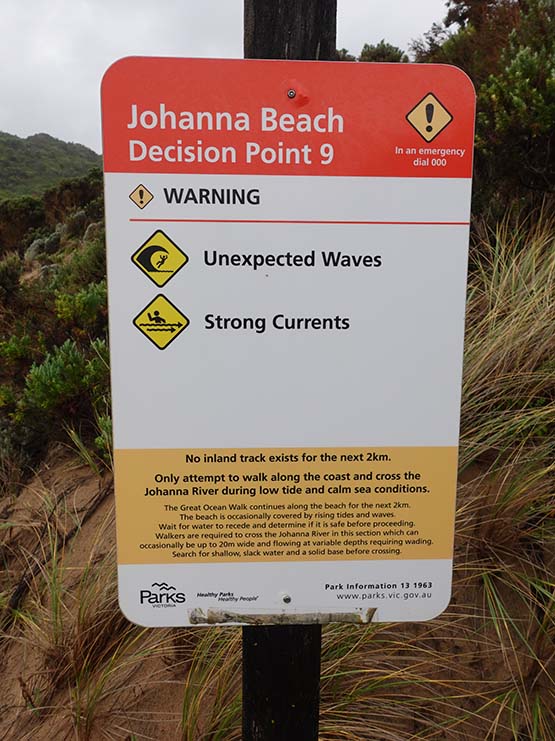
This decision point sign on the Great Ocean Walk implies that you have a choice. If you read the fine print, the choice is to quit the hike, head out to the road and call it quits or turn back. What this sign does is make you think about your decision before you make it
2. Sand walking
When walking along a sandy beach there are typically, but not always, four ‘zones’ of sand.
- Zone 1 is closest to the water and depending on the wave action it can be submerged at times and dry at other times. Typically you will be walking in wet soft sand and it will be slow going but if the wave conditions are mild, it’s a warm day, and you aren’t in a hurry its a great way to spend some time in nature. If walking in this zone you need to pay very close attention to the sea conditions and never turn your back on the waves.
- Zone 2 can best be considered the ‘goldilocks zone’. The sand is usually firm due to a low level of moisture and reasonably dry, and easier to walk on and maintain a good pace. You still need to pay close attention to the waves and the water movement else you get wet feet or potentially hit by a random freak wave but this is the zone you spend your time in.
- Zone 3 is the dry soft sand high up the beach that will usually stay dry in all but the severest conditions. As a hiker you should avoid this sand unless you have no choice because you will be working very hard to walk in this sand zone and it will be very slow going. In most instances you are well away from the ocean and are unlikely to get wet but in areas that have high tides, the water may still impact you particularly in storm conditions. This zone is a good place to train to build up your fitness.
- Zone 4 is the sand dune zone and depending on the beach these dunes can be quite limited or quite extensive. Walking through sand dunes often has all the negatives of Zone 3 in addition to undulations which will often make it harder going. In addition, sand dunes are often quite fragile so unless there is a designated path through the dunes, its best to keep out of them.
Things to consider
If you are keeping your shoes on while walking along a beach or crossing an inlet you may need to take them off if they start filling up with sand because this can potentially create blisters. Every so often if I’ve just crossed an inlet or I feel like taking my time I walk barefoot along the beach and let my feet dry out. I love the feel of sand on my bare feet even if it’s only for a short distance.
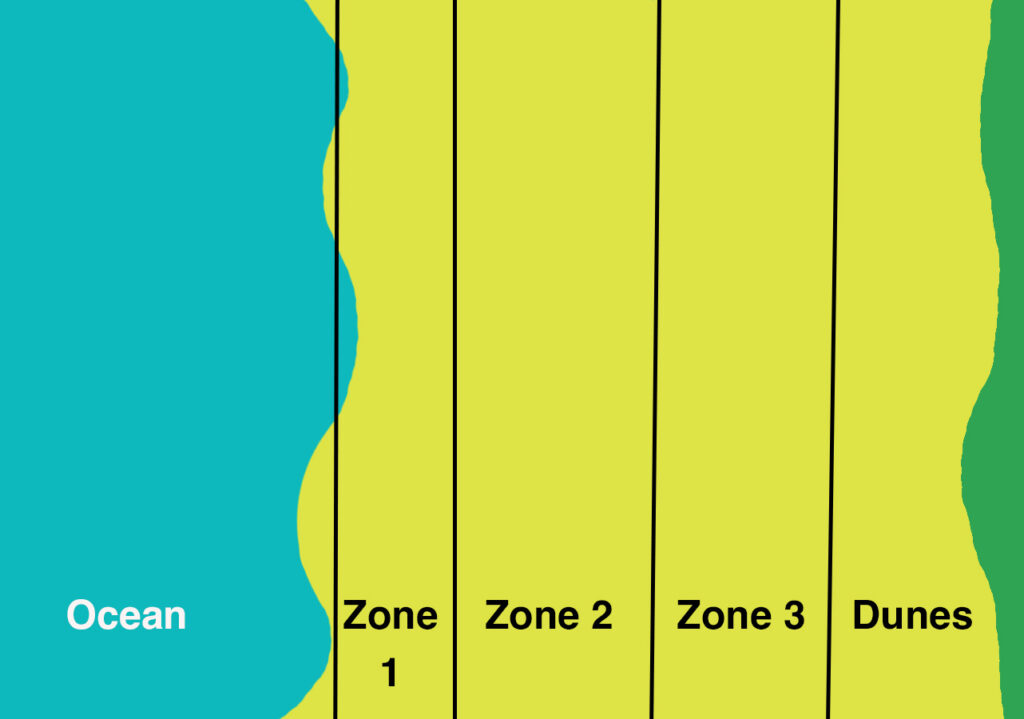
Sand zones. As a generalisation you want to be walking on the firm sand in Zone 2
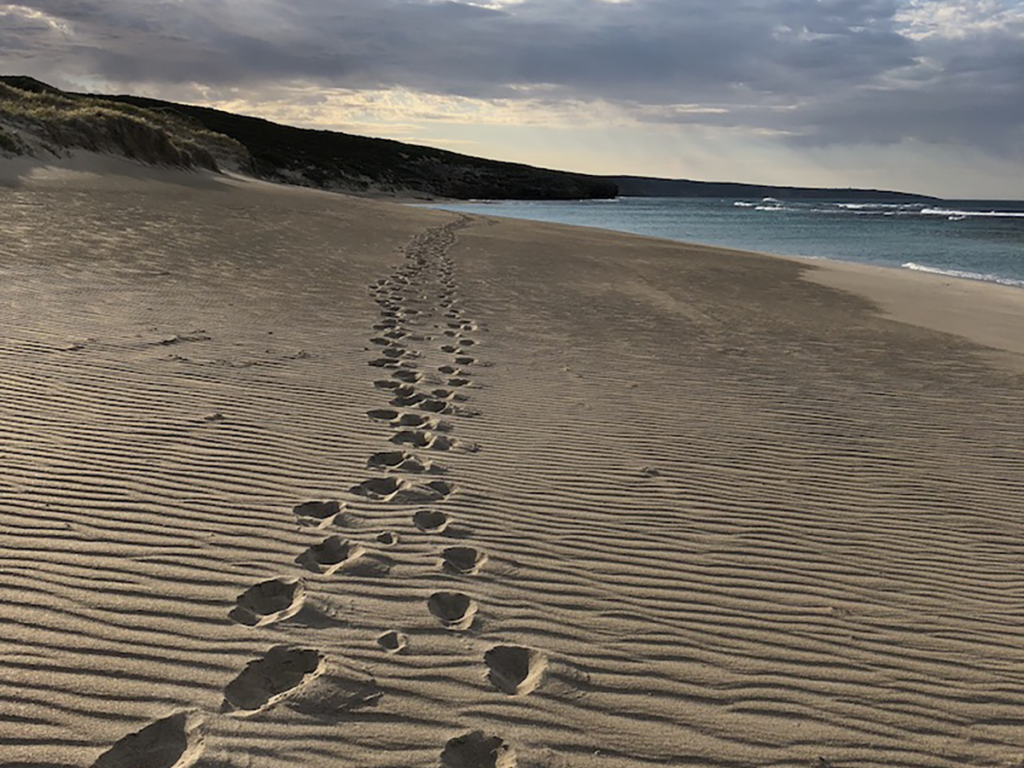
This image was taken on the Kangaroo Island Wilderness Trail and on this beach there was ocean, soft sand and dunes – that was it! I have never walked on a beach like this before and no matter where we walked, the sand was really soft making it very slow going. We ended up walking in each other’s footprints which helped
3. Rock walking
Walking on rock platforms is a skill in itself. Wet rock, dry rock, seaweed, variable slopes can all go to make rock walking a slower process than walking on sand at times. In the image below Gill is using her trekking poles whereas as I avoid using my poles on rock finding that it’s too fiddle-ly.
Paying close attention to the sea conditions and to tides is critical when walking any sort of distance on rock platforms particularly if there is not escape route if things turn bad.
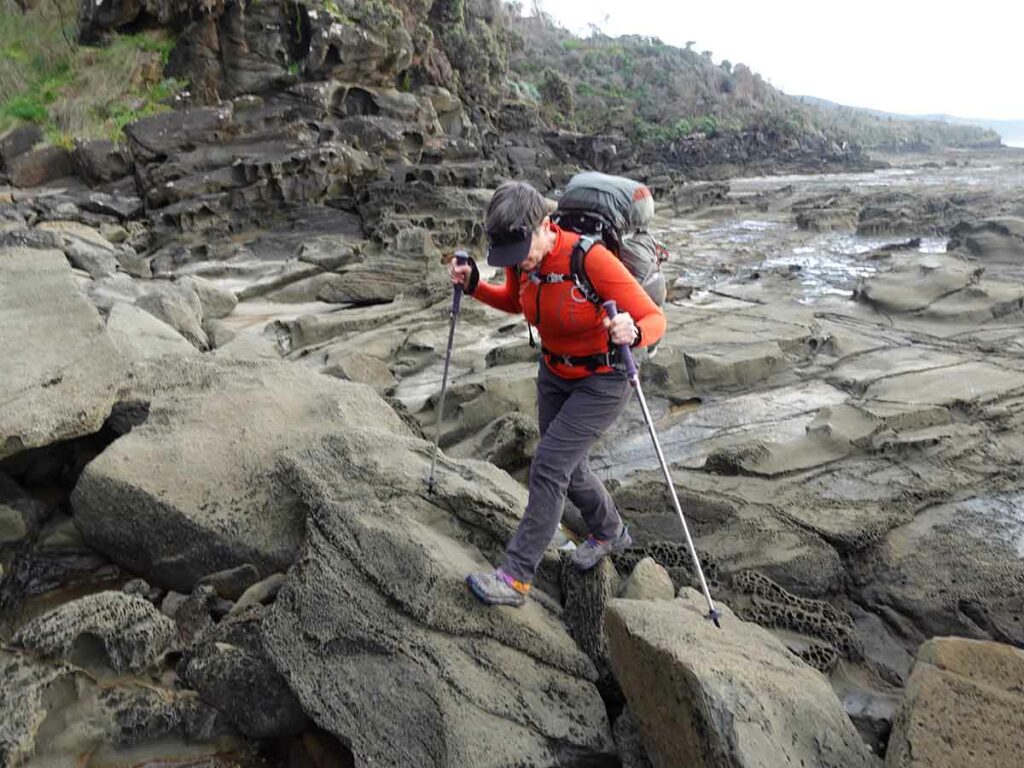
Rock platform walking on the Great Ocean Walk in Victoria
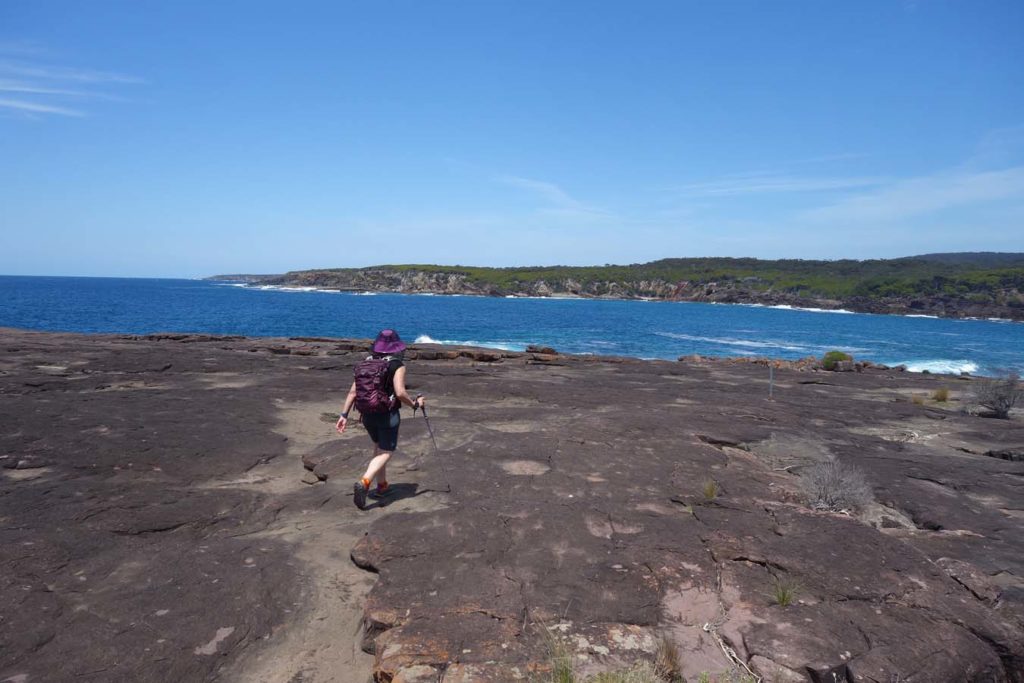
Walking across a rock platform on the Light to Light Walk in southern NSW. The rock walking on this track is some of the easiest I have ever done being flat and dry with a grippy surface to walk on
4. Inlet crossing
Perhaps the most unfamiliar practice for most hikers is inlet crossing. The fear of the unknown will often put people off doing a walk that includes inlets but if you do your research and take your time, this is something that can usually be managed even as a solo hiker. When crossing inlets consider the following:
- Do your research. Find out what inlets you will need to cross.
The best time to cross any inlet is at low tide so knowing when this is may impact when you start your hike overall and what time off the day you need to reach the inlet. - Inlets will often build up sand and silt at the point at which the incoming ocean and the outgoing inlet meet.
The best place to cross an inlet is at the meeting point which is typically at the start of the ocean proper.
In the image below the diagram shows a typical inlet and the sand build up point. - Darker water is deeper water so look for lighter coloured water.
- When you cross an inlet spend time looking for where you think the best option is.
In the case of the inlet in the video below on the Bibbulmun Track I spent about 40 minutes walking up and down the inlet making my decision about where to cross.
If there is a surge of water coming in from the ocean try to determine what the pattern is e.g. three waves then a break. Time your crossing immediately after the third wave. - When you cross make sure all your gear is secure.
Have it inside your pack or tied to your pack but don’t have it in your hands because if you drop it you may not get it back. - Before you cross unclip your pack and loosen the shoulder straps.
While you don’t want to lose your gear you also don’t want to run to risk of drowning if you fall over in deeper water and can’t get up because of the pack weight.
Unclipping your pack will allow you to get if off quickly. - Pants or no pants? In the images below Gill was wearing convertible pants so could unzip the legs off to keep them dry.
In my case I took my pants off and put them on once I reached the other side as I didn’t want to spend the rest of the day hiking in wet pants. - Shoes or no shoes?
If I’m sure of having a sandy bottom at the crossing point then I will take my shoes off.
If I don’t know what the bottom looks like or if I know its rocky I will remove my socks and shoe inserts and cross with the shoes on. - If you are traveling in a group have the tallest/strongest person cross first.
Alternatively if there is any doubt about the strength of the water flow cross in pairs with arms linked.
When we crossed the inlet at Joannas Beach on the Great Ocean Walk the water wasn’t deep but there was a strong surge both in and out and in this instance we stopped moving and braced when the water hit us and then moved on once the water started had receded. - When crossing inlets, avoid rock hopping over smooth wet rocks.
These rocks will often be very slippery due to algal/seaweed growth and while it may be tempting to use them to avoid getting wet pants or shoes, its a sure way of ending up in the water fully saturated. - If in doubt on the safety of crossing the best bet may be not to cross.
Take an alternate route or wait until a lower tide.
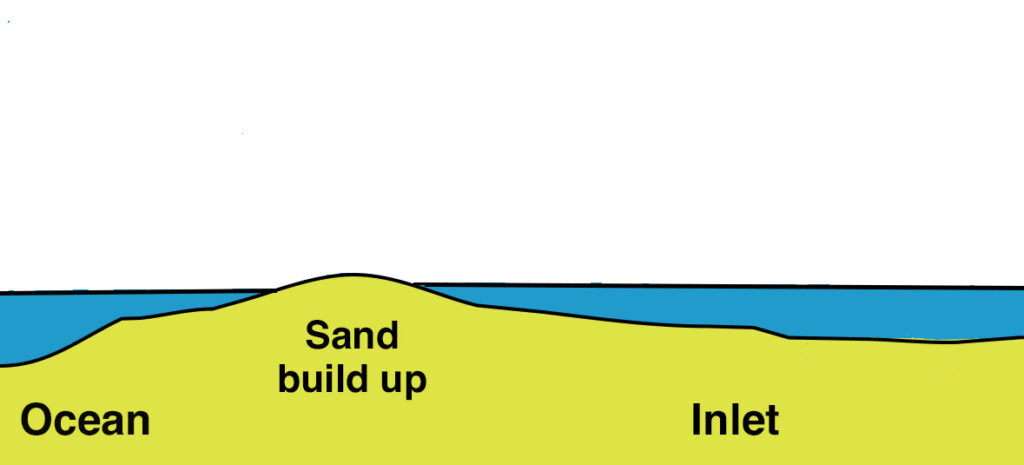
Inlet example. In many inlets silt from upstream and sand from the ocean will meet and build up, often blocking the inlet and making it easy to cross. As a general rule the best place to cross an inlet is where the ocean meets the inlet and the water movement is at its least. At this point the water level is usually shallower
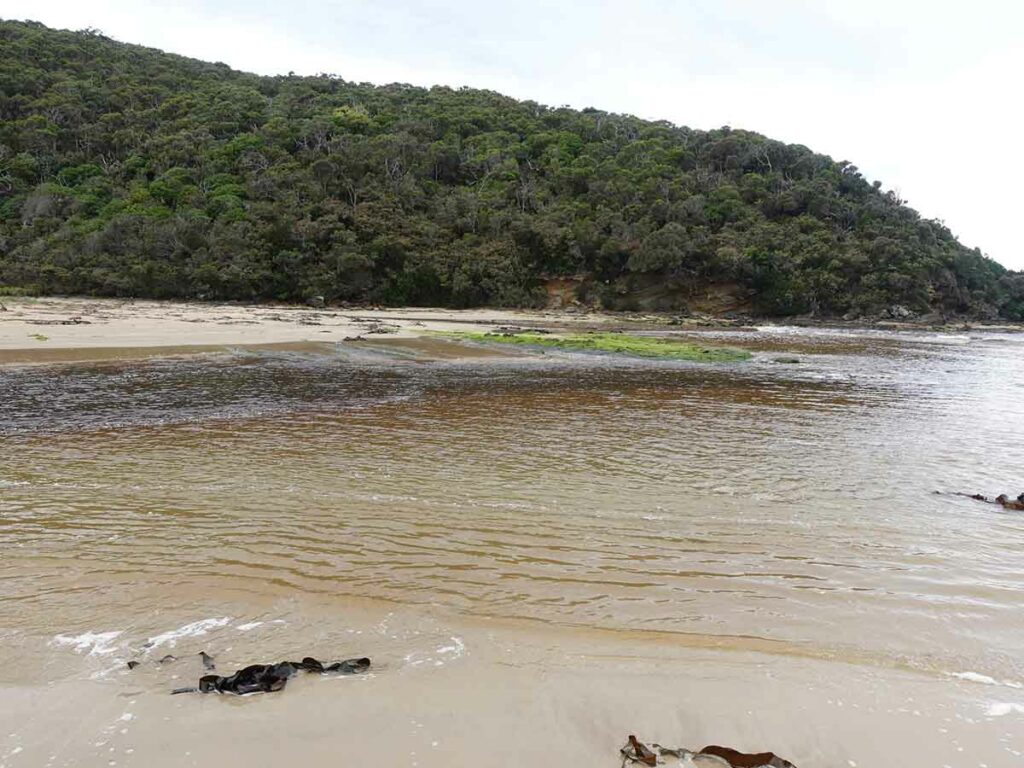
In this image of Parker Inlet on the Great Ocean Walk you will notice the darker water in the centre of the image. Darker water is deeper water. Further upstream (to the left) from this point the whole way across was dark water which means that it was deep all the way across. Look for the lighter coloured water to cross as it is usually close to where the inlet meets to ocean and the sand builds up
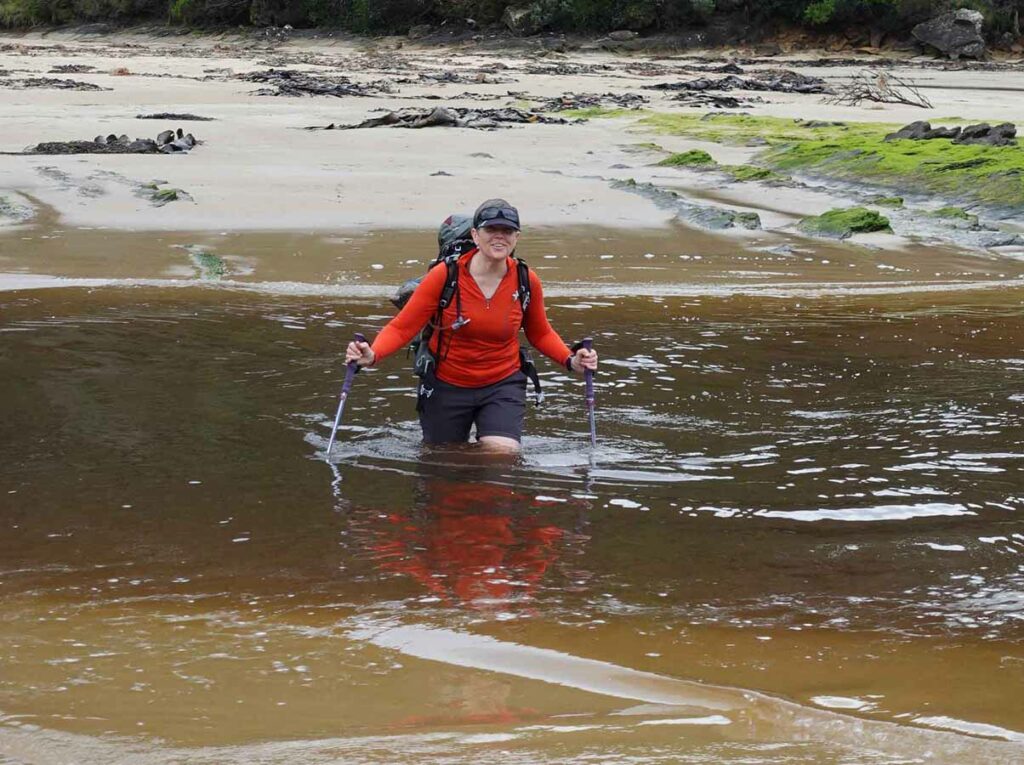
Gill crossing Parker Inlet. Please note that her pack is unclipped just in case she fell over and ended up underwater in which case she could quickly remove her pack
Crossing Parker Inlet on the Great Ocean Walk. In this image the water was only around 70cm deep but if you look closely at the sand bank on the other side of the inlet as its highest its around 1.8metres deep.
Crossing Torbay inlet on the Bibbulmun Track in 2018. This was on day 1 of my trip and I hadn’t planned on doing this crossing until the next day but I was travelling quickly so pushed on past my planned stopping point. The advantage of doing this crossing a day earlier was that the water was 40cm lower than it would have been the next day
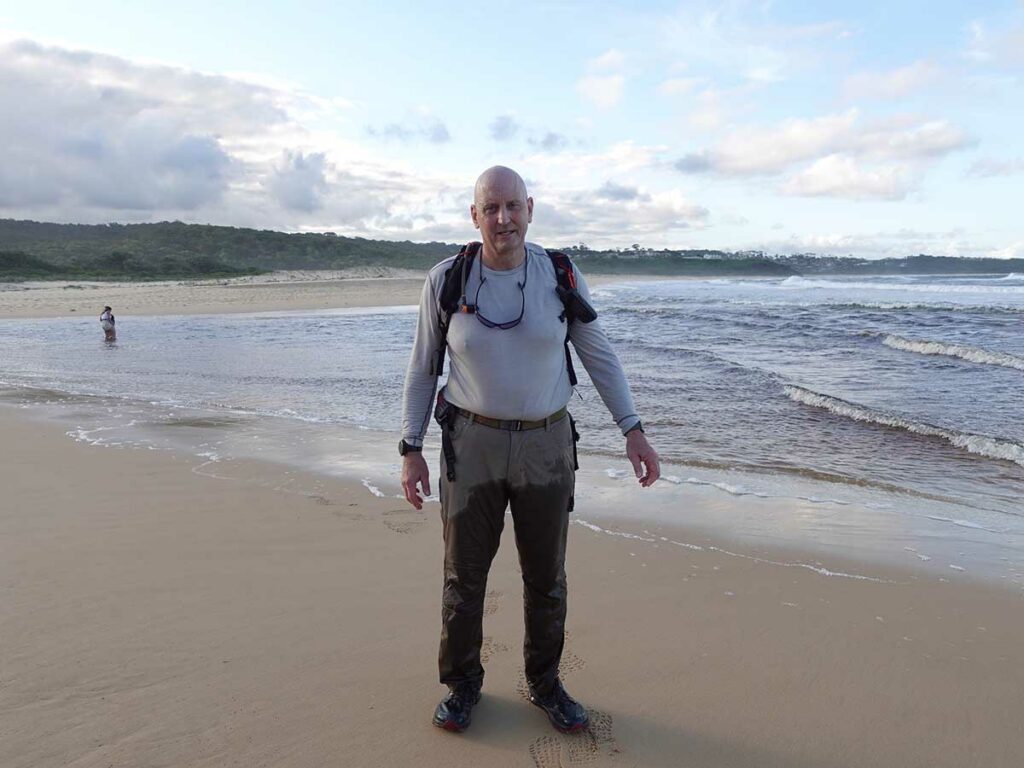
Tim after crossing the inlet at Mermibula on the Wharf to Wharf Walk. Note his wet legs and this wasn’t even high tide!
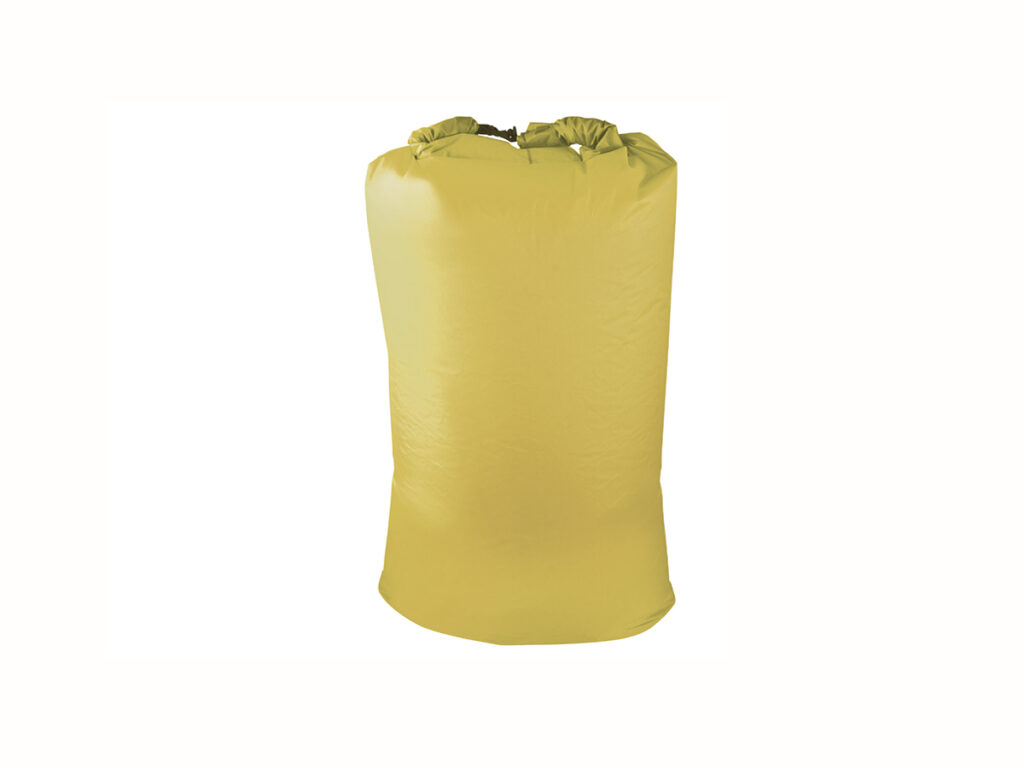
Macpac Ultralight Pack Liner 90 Litres. If I have any doubt about how deep an inlet crossing will be, I will bring this large pack liner with me and put it on the outside of the pack and carry my pack on my shoulder or above my head.
Final thoughts
The concept for this article came from our trip on the Great Ocean Walk where we came across a European hiker who had no familiarity with crossing inlets, and minimal experience with oceans. This is something we take for granted because we have both spent so much time working and playing both on, and in, the ocean. As such we don’t put much conscious thought into ocean hikes; it’s something we know how to do based on many years of experience.
If however you don’t have experience with tides and the ocean what do you do? What this means is that you need to cultivate an extra set of skills that for many hiker don’t even come into consideration. Your best option, just like when you started hiking is go with someone more experienced. In the case of our fellow hiker, they joined us on the day we did the inlet crossing and we helped them out.
So don’t be put off doing an ocean based walk just because there’s new skills to learn. Think outside the box at what options are available to you to do these walks and to build new skills.