How to lace hiking footwear
Hiking Practice
These days technology has pervaded all aspects of our lives but one skill we all learnt as kids, and still teach our kids and grandkids today, is tying shoelaces. In most cases that’s about as far as it goes; teaching kids to tie their laces and possibly doing a double knot if we really want to impress. But what about the lacing technique itself? Typically most people will purchase their footwear and leave the lacing as it comes. But there are many lacing options, some purely cosmetic, and others that actually benefit the wearer. In this article we look at some useful lacing options for hikers.
Why Bother?
Before you start changing your lacing system you need to ask the reason why. If you want to change the lacing for decorative reasons then that’s one thing, but if your footwear doesn’t feel ‘just right’ then adjusting the lacing may help resolve the issue.
Over the past five years I’ve only varied my shoe lacing on a few occasions and that’s been because my broad forefoot doesn’t always suit a narrower style of shoe so I’ll adjust the lacing to get the best fit I can. sometimes it works, sometimes it doesn’t
In most cases your first and best option is to leave the shoe lacing as it comes and this is what the majority of people do. In addition some shoe models will have a very specific lacing system that won’t easily accommodate a wide range of variation. If you find the pre-existing lacing to be comfortable, then stay with it.
My one concession is that I will always double knot my laces otherwise they have a habit of coming undone on a regular basis.
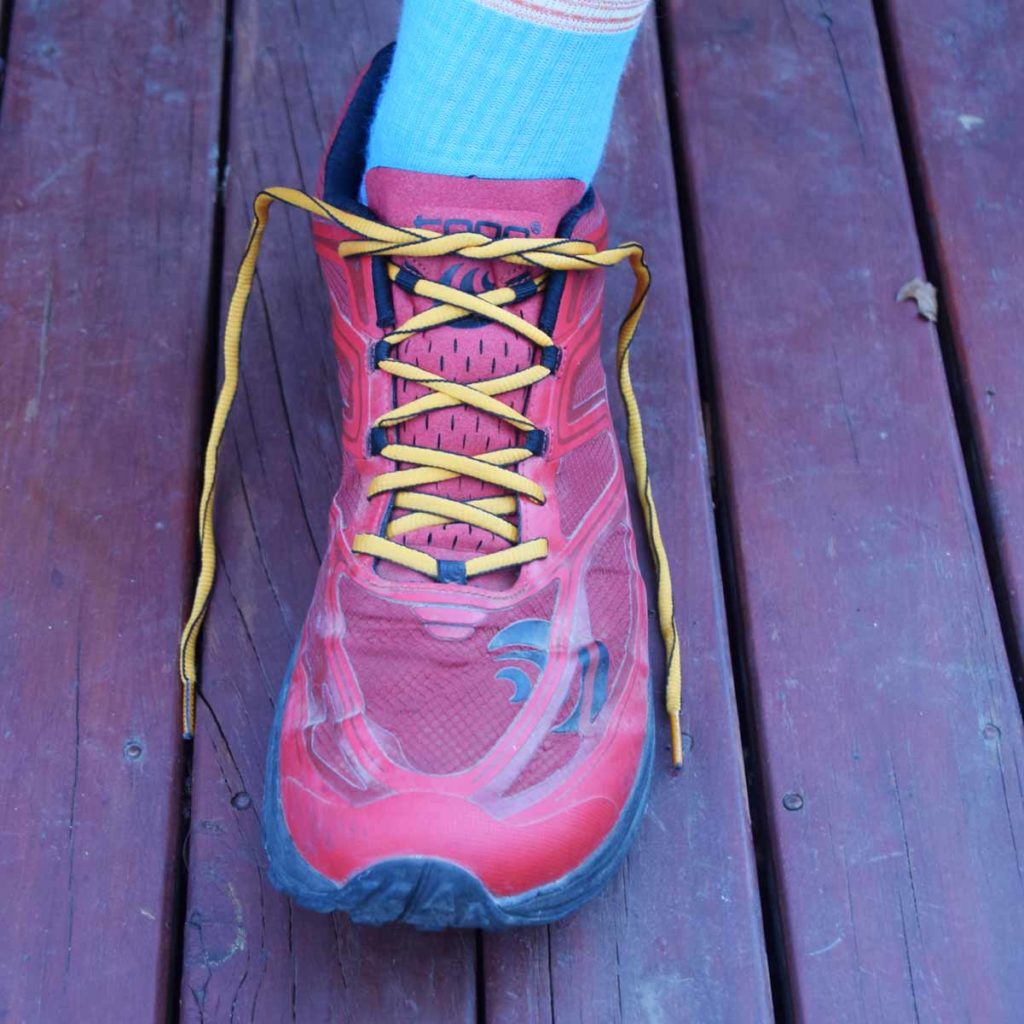
Lacing example as it comes out of the box. As a matter of course I will always double knot my laces
To relieve pressure on the toe box
In the image below, the pressure is taken off the front end of the footwear (toebox) and the front end of the foot by keeping the existing lacing system. Instead of starting at the bottom holes undo the lacing and then start lacing from the second hole from the bottom.
This works well if your shoes are a narrower fit than you would like or if your toes have swollen up and you are looking for a short term fix.
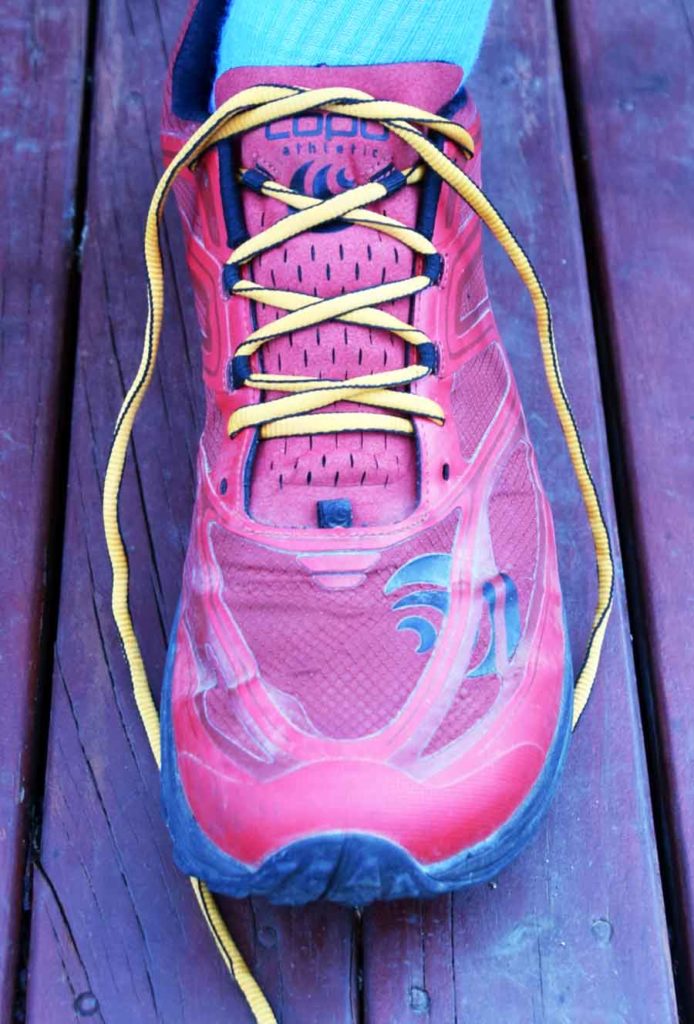
In the image above, the pressure is taken off the front end of the footwear (toebox) by varying the lacing
To relieve pressure in the middle of the foot
If the top of your foot is high, sometimes you will end up with excessive pressure across the front of the foot. By skipping one or two eyelets starting below the pressure point then lacing above the pressure point, you will feel much more comfortable.
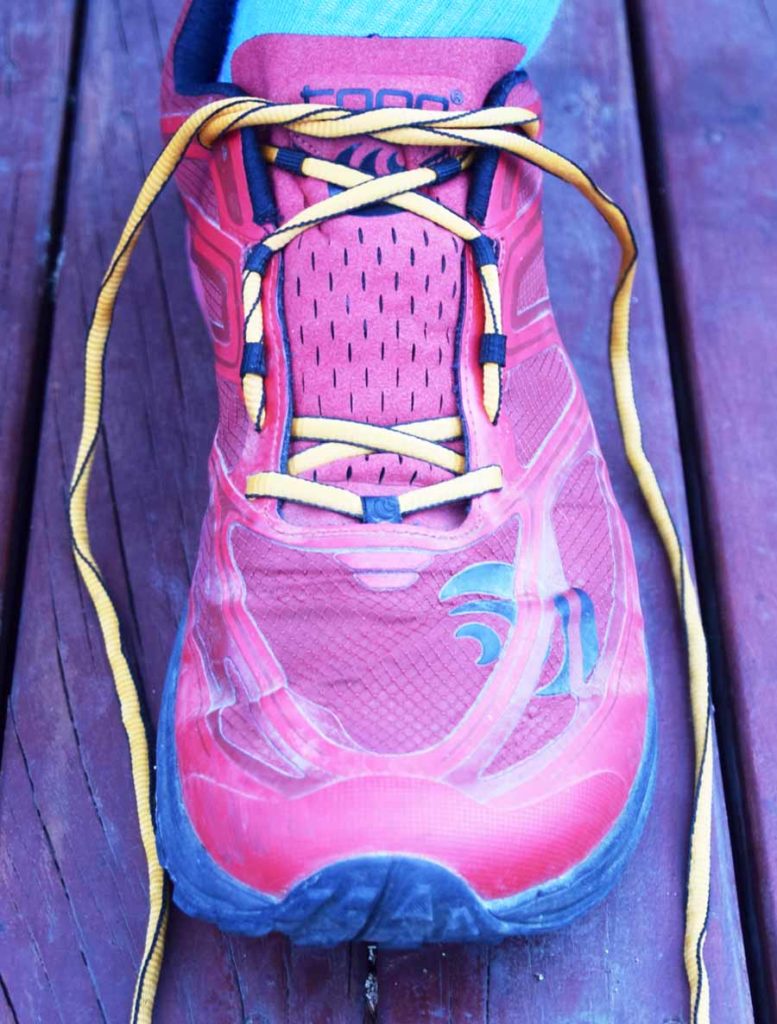
To relieve pressure in the midfoot, leave a ‘gap’ in the lacing by skipping a crossover point
Heel lock (Surgeon's Knot)
Heel lock lacing is best used when there is too much heel movement in the shoe. Again this won’t fix a shoe that doesn’t fit. To set this lacing system up:
- Start by lacing the shoe as normal in a firm but comfortable fashion
- At the third hole from the top, tie the lace as if you are knotting your shoe as normal but instead add an extra loop. This will prevent the lacing from loosening and hold the shoe in place
- Repeat the same process in the row above
- Proceed to the top holes and tie off the shoe as you would normally
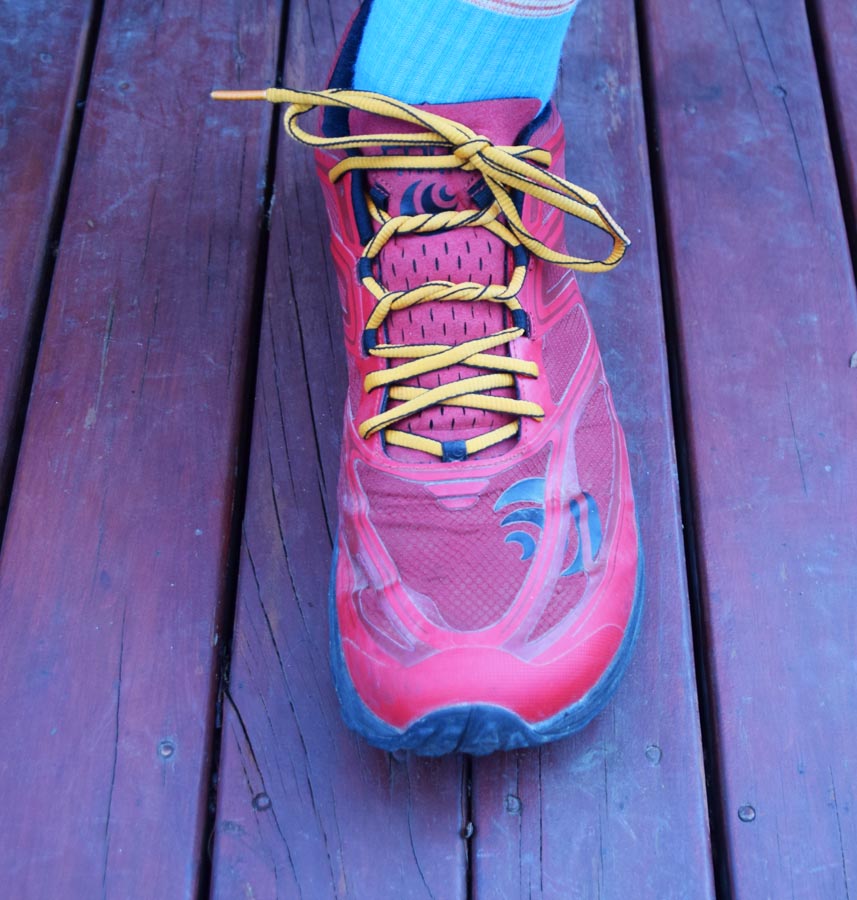
Heel lock lacing helps to lock the heel in place
Final thoughts
If your footwear of choice feels less than perfect due to for example, swollen feet or a strain then playing around with the lacing adjustment may fix the issue. As such, knowing a couple of different lacing options will come in handy.
If however the issue is incorrectly fitting footwear, then changing the lacing is unlikely to resolve the problem and may exacerbate it. In this case, it’s probably time for a different pair of shoes!