Dried Pear
Snacks
Recipe
Pears are my first choice as far as dried fruit is concerned, only narrowly beating out dried bananas. As much as I love commercially dried pears and their chewy texture, I find the preservatives used impacts my breathing if I eat too many. This has pushed me to dehydrating my own pears.
There is a large variety of pears on the market and in the images shown below I used both the Asian and European pear varieties. The Asian pears tend to be drier and not as sugary while the European pears are much sweeter, so depending on your taste it would be worthwhile having a play with different varieties to see what you like. My personal preference is for the Asian pears.Whatever pear variety you choose buy them on the riper side just before you dehydrate them. The other consideration which is purely a personal one, is whether you leave the skin on or take it off. My preference is for skin on as it provides a bit of extra texture and taste.
Once peeled, or left with the skin on, I use an apple corer to remove the centre of the apple including the seeds. Cutting the pears up is best done with a mandolin on a thicker setting of around 3-4 mm. If you go too thin then the pears will dry onto the dehydrator and are almost impossible to remove without destroying them. You can certainly use a sharp knife to slice them but the consistency will vary and it will take a lot longer to prepare. Using a kitchen mandolin is the best way to go to get consistency. If you have any leftover pears due to lack of space on the dehydrator, place them with some lemon juice in the fridge in a sealed container until after your first batch has dried.
Once sliced place them in a dehydrator on a medium heat or a fan forced oven at about 55-60° celcius with the door slightly ajar. The whole drying process will vary depending on whether you like the end result being chewy or crispy. Turn the pears after about 1-2 hours to stop them from sticking to the drying racks. By turning the apples it also allows you to condense the racks a bit and if you didn’t have enough racks to start with you can then start a new rack. Approximately 1.5 pears will fill a 34cm round drying rack. If you don’t turn the pears then you can put them on just before you go to bed and they will be ready in the morning (after about 8 hours). Test the pears every few hours to get dryness just the way you like it. I am happy to eat these crispy to slightly leathery. Once dried allow them to cool before placing in an air proof container/ziplock bag for later use.
This recipe is designed for a food dehydrator however if you don’t have one then you can use a fan forced oven at a very low temperature (55-6o°Celsius). I just wouldn’t leave them overnight in an oven the way you can in a dehydrator.
- 10 medium pears weigh around 1750 grams
- 10 medium pears cored, sliced and dried weigh around 285 grams
- Approximate calories per 100 grams: 350 calories
Give dried pears a go – we’re sure you’ll love them as much as we do!
Ingredients
Ingredients
10 Medium pears (175 grams each)
Lemon juice if you need to store excess pears until you are ready to dry them. You can reduce the pear numbers depending on your needs but they store well
Preparation Instructions
- Core 10 medium pears using an apple corer
- Cut into 3-4 mm slices using a mandolin or sharp knife. Peeling the pears is optional. Approximately 1.5 pears will cover a 34 cm circular drying rack
- Place on the dehydration racks
- Assemble the food dehydrator racks. I recommend having an empty rack on the bottom to allow for a more even flow of air but that’s not essential
- Heat to approximately 55°-60° Celcius if using an oven or use the medium setting on a dryer for around four(4) hours then turn the pear slices over.
- Heat for a further four (4) hours
- Once the pear slices have a leathery to crisp texture (your choice) allow to cool and store in a airtight container
- Pack in a ziplock bag for use
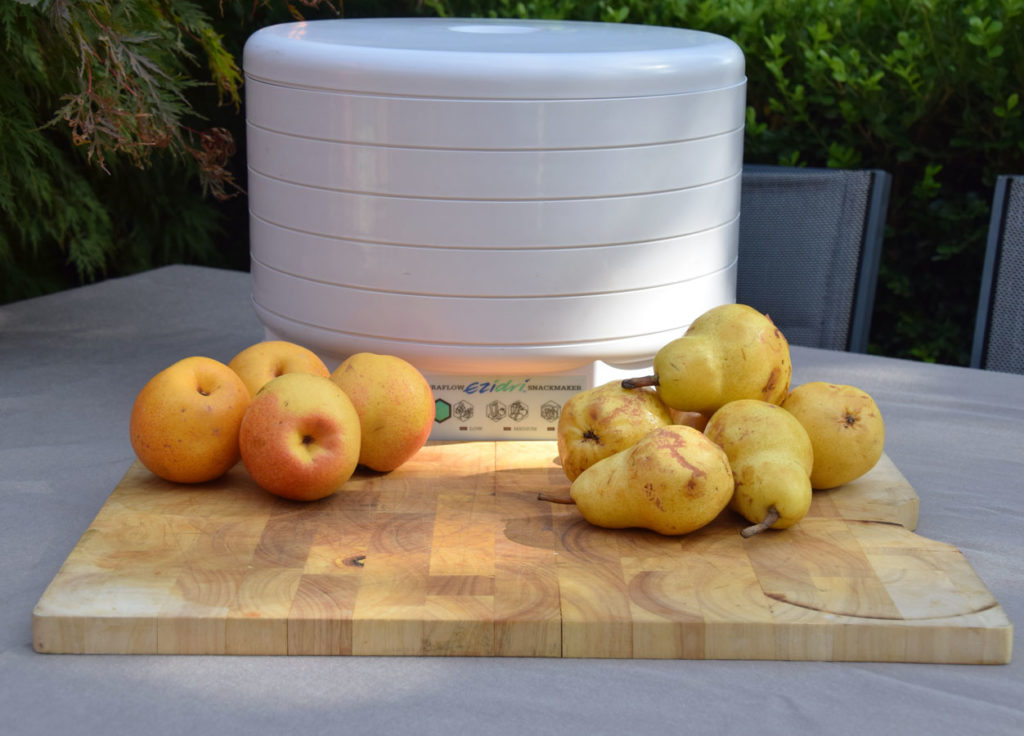
Dried pears and a dehydrator
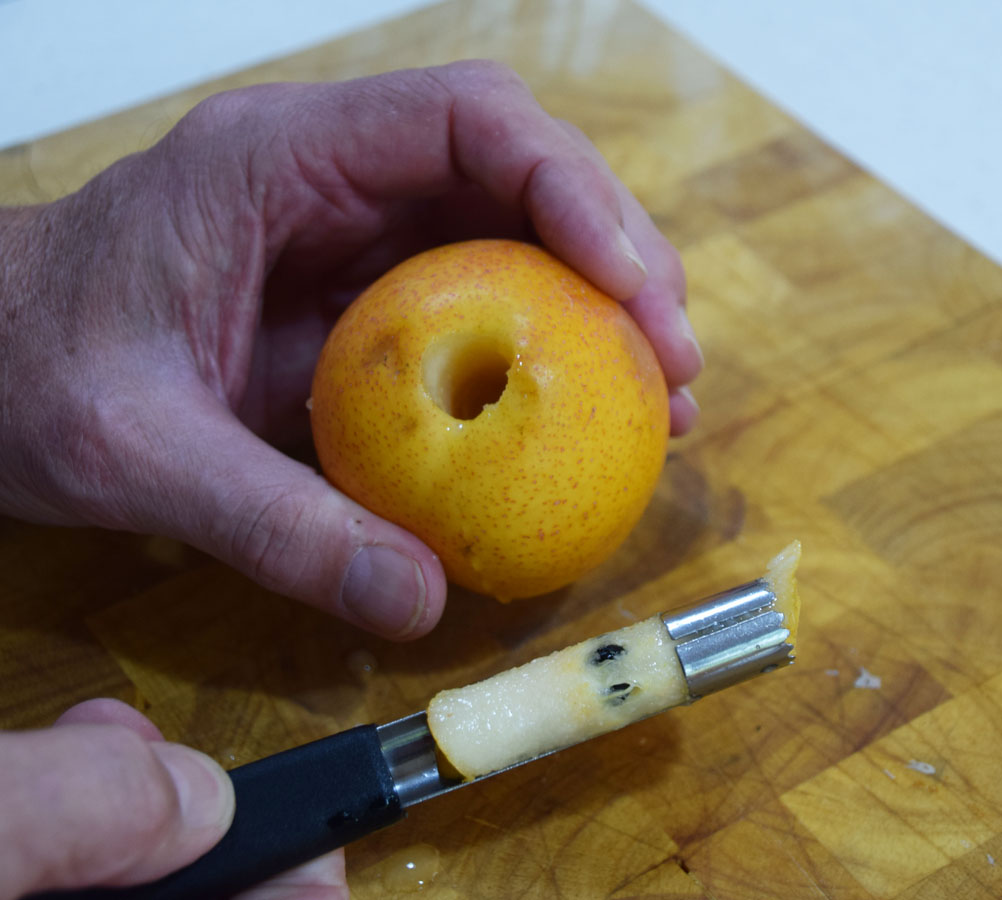
Cored pears
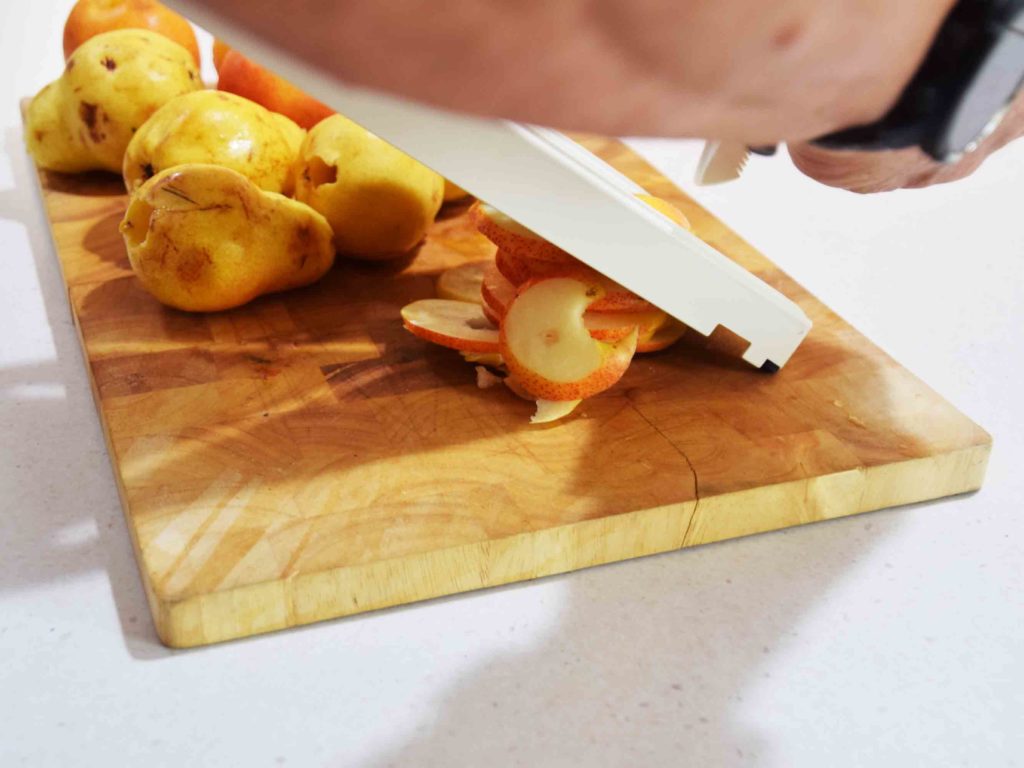
Slicing pears in a mandolin. Use a manoldin if you have one otherwise cut them finely with a knife
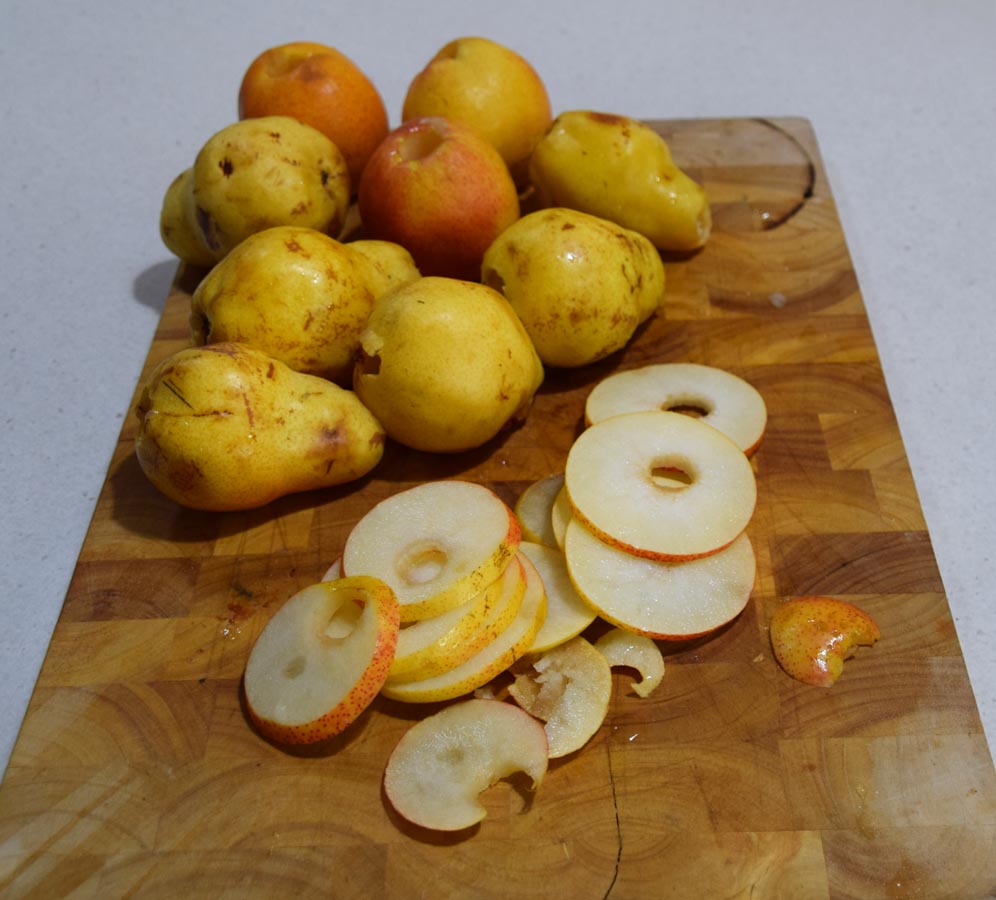
A mix of pears ready to slice
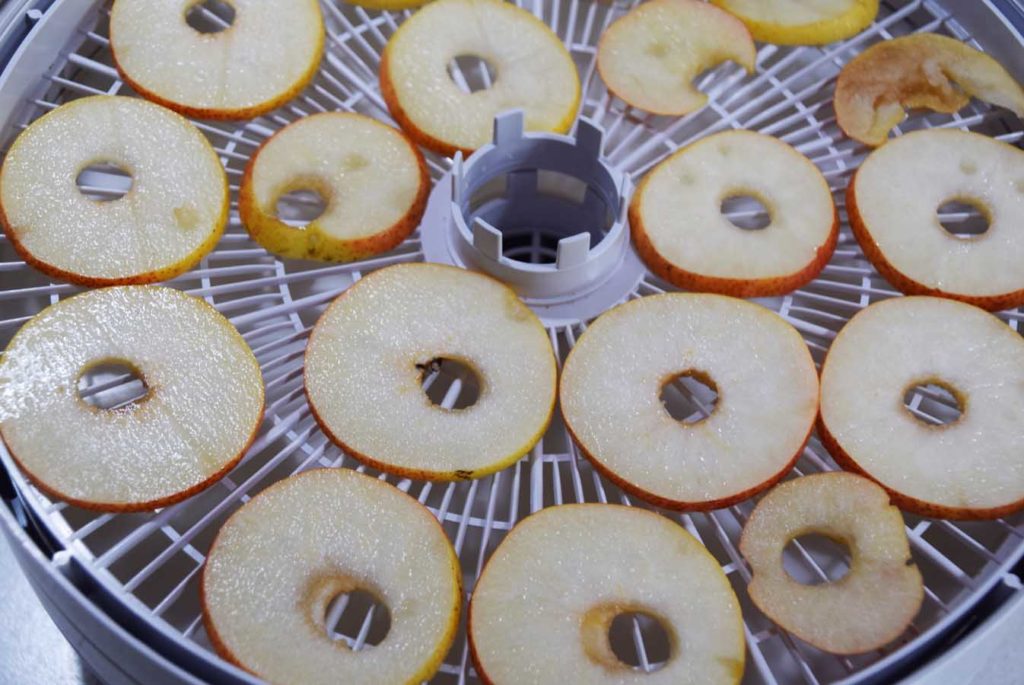
Sliced in tray and ready to dry
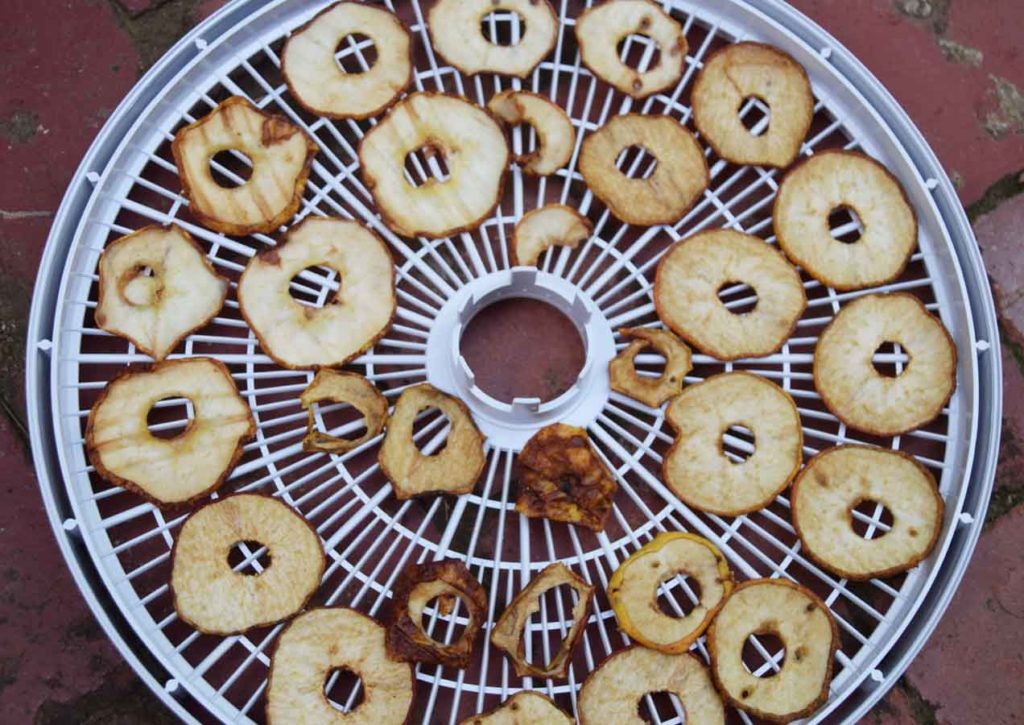
Half dried pears. Turn the pears halfway through the drying cycle to prevent them from sticking to the rack. The pears shrink as they dry and you will be able to condense the racks
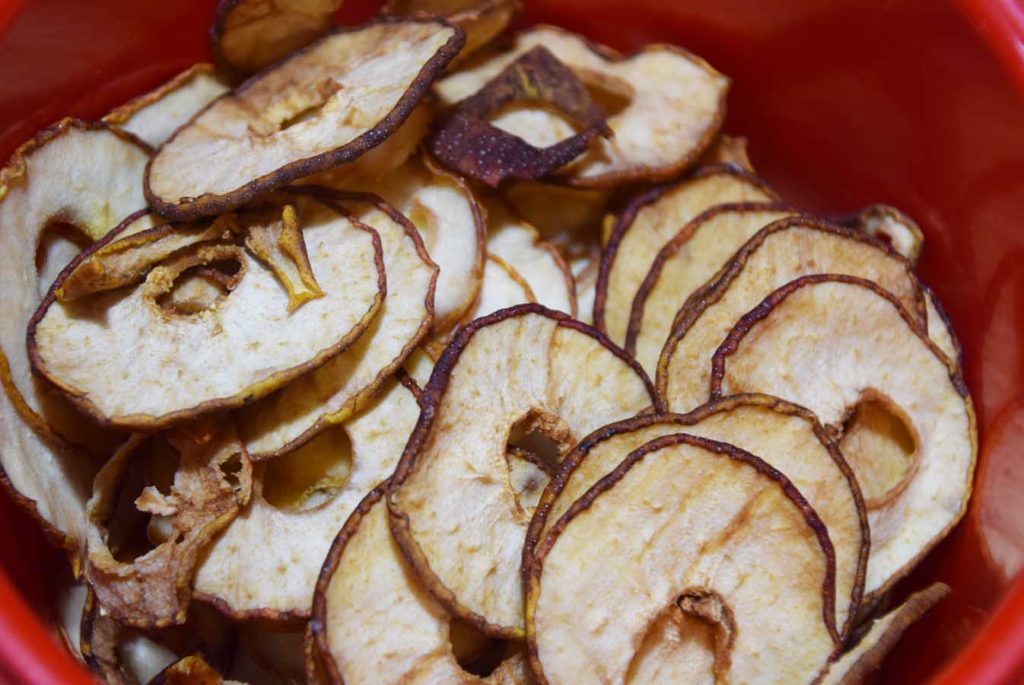
Pears finished drying and in an airtight container ready to be stored