Food resupply options on long distance hikes
Hiking practice
Food is a key aspect of planning for long distance hikes. What to eat, how much to eat, and where to get it from are all essential considerations. Over the past 10 years I have used a number of different resupply options for my hikes and have found that it really comes down to three main choices. In this article we discuss those options and detail how they work.
Food Context
Every hikers food requirements are different and are based on personal preferences and dietary requirements. Whatever that looks like for you, developing a consistent system you use over and over makes it easier to plan. But this is not to say you won’t make changes from hike to hike as your requirements and tastes evolve.
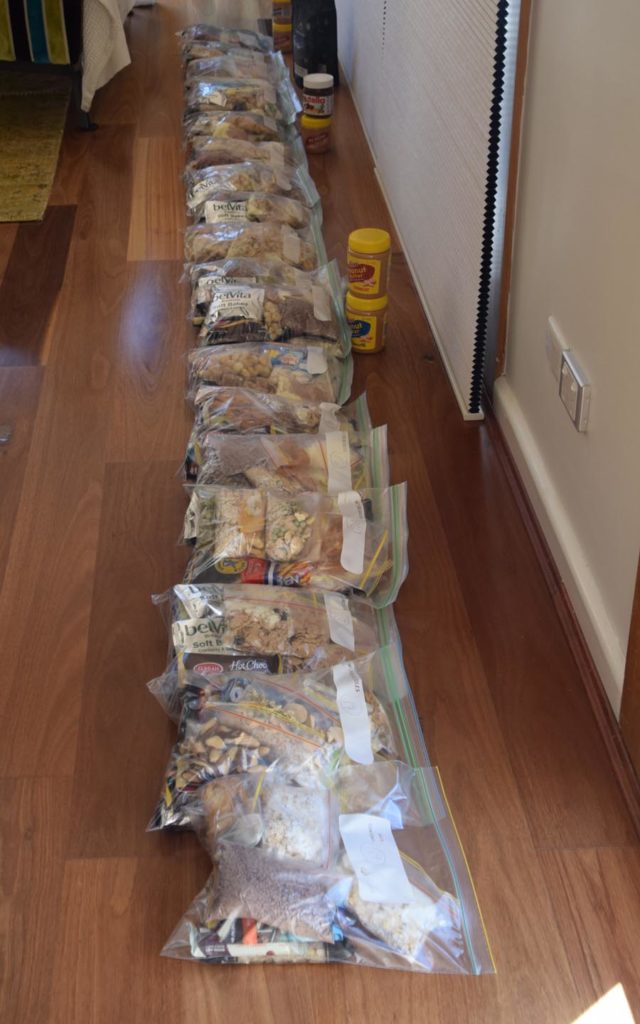
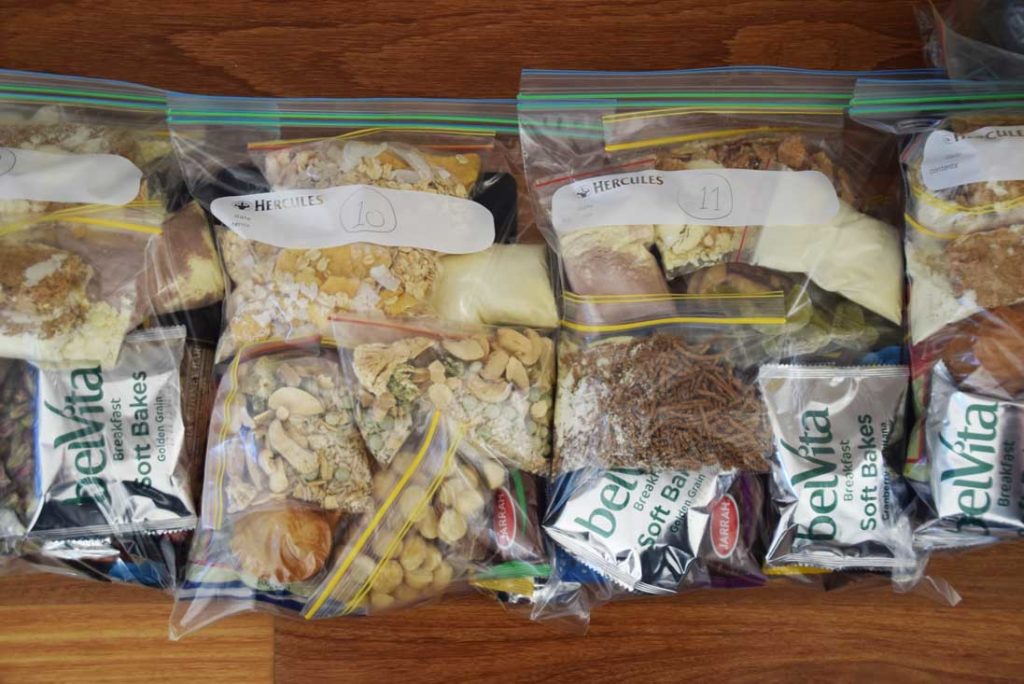
In my case I package each day’s food in its own individual numbered ziplock bag and I rotate through a series of meals and snacks to ensure I get nutritional variety and ensure I don’t get bored eating the same thing over and over. While the individual packs vary in weight, they average around 615 grams of food per day (as at 2026), including all meals and snacks. I rely of freeze-dried and dehydrated food on the whole. In 2018, I ran my hiking menu past a nutritionist to identify any shortcomings and if you are a keen long distance hiker this is well worth considering.
The ziplock bags make it easy to identify my daily allotment and also helps to keep the food fresh. I recycle these large bags and have a number I have been using for over four years.
1. Carry everything
The first option for hiking food is to carry every you need with you. This has the advantage that you can just focus on the hike and not have to go off track or drop into a pick up point to resupply. The disadvantage with this option is that you are making an assessment about your food requirements and how fast you are going to be traveling. Traveling faster than you planned is fine because that means you will have food left over. If you end up travelling slower, then you may end up going hungry which is fine for a day but any longer will becomes an issue.
There is a physical limit to how much you can carry in your pack from a both a weight and a bulk perspective which will vary from individual to individual. Then there’s the amount you want to carry in your pack and these two figures may be totally different.
Over the years I have seen hikers carry varying pack sizes and weights ranging from an extreme 34 kg down to a more typical weight somewhere around 14-17 kg (including food, water and all gear). My personal preference is to carry a maximum pack weight of 21 kg but prefer to be around 18.5 kg with a maximum of eight days of food although my biggest food carry over the past 10 years has been 12 days of food.
Ideally if you plan on carrying all your food for a hike then you should allow some degree of ‘just in case’ which may just be an additional days worth of food.
For most people this option works well for hikes (or components of a hike) up to and around eight days in duration.
2. Caching
For those of you who aren’t familiar with the term ‘caching’ its the practice of storing food and/or water along the trail against a future need. Caches tend to be used when you won’t be able to drop through a town on your trip e.g. the Australian Alps Walking Track. Depending on the length and location of your walk, you may need to allow 1-2 days of travelling time to cache for an upcoming trip.
When caching you will need to consider a number of factors:
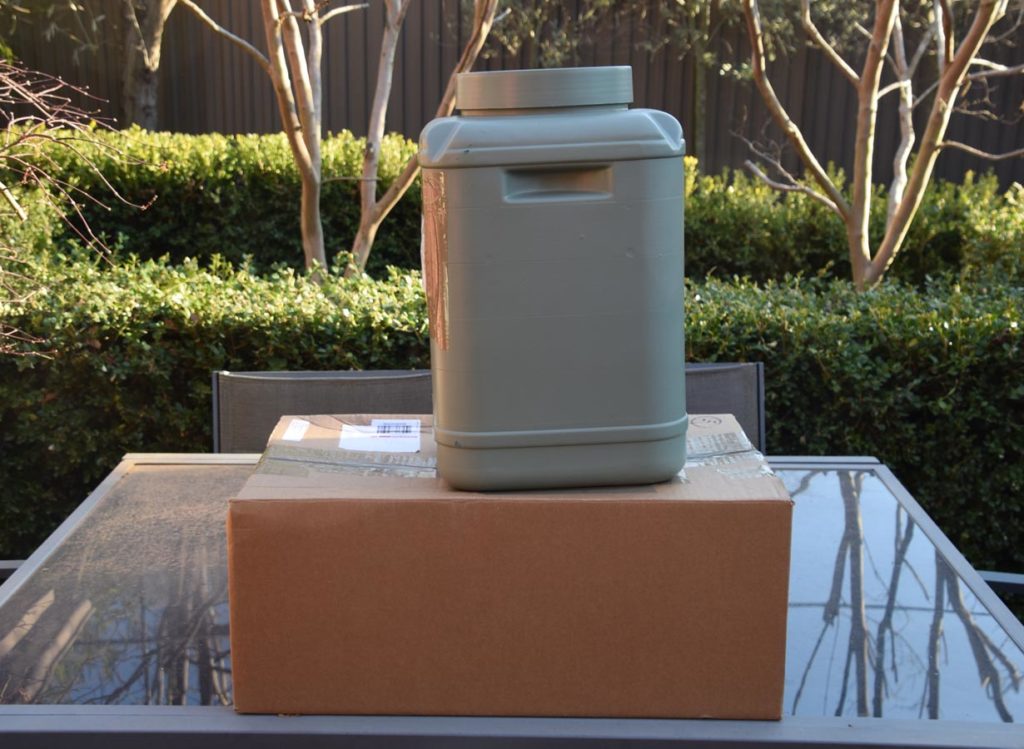
- Storage drum
- Food should be sealed in a weatherproof/animal proof plastic container. The size you need is up to you based on how much food you plan on caching but we use a 30 litre drum to give you a guide
- The drum should have a large opening to allow you to get food in and out
- Typically the plastic drums you can purchase from stores like Bunnings are colours that tend to stand out such as blue or white which isn’t what you want. In addition, many of the plastics used are translucent which also isn’t the best option for storing food
- In the image below I painted the drum in a eucalyptus green colour that disappeared into the bush. Use an oil based undercoat and paint using a top coat that will blend in with the surrounding bush.
- There should ideally be some way to attach the drum to a tree or something similar. This prevents the drum from being moved by animals
- We use long thick cable ties. Use as many as required around a tree trunk or log
- Timing
- Normally caching is done just prior to the trip to minimise the time the food spends in the bush and to take into account any changes to the hike. I tend to cache food the weekend immediately prior to a trip.
- Don’t forget to collect your cache container after the hike
- Location
- Hide your food cache where someone is not likely to find it, preferably at least 50 metres off the trail or roadway
- Hide your cache in a location that you will remember and can easily relocate
- Select a location to hide your food that you will recognise when you are walking
- Make clear notes about the location
- Mark a waypoint on your GPS if you are using one
- Take a series of photos on your phone from the trail into your cache location to help you remember where you hid it
- Attach a waterproof label on the outside of the container with your name, phone number and expected date you will be picking up your cache. This will minimise someone thinking its rubbish
- What if?
- Work out a plan just in case you can’t find your cache or if its missing
You empty cache container can also be used to drop off rubbish and/or unwanted food and equipment.
3. Drop Box
In many respects drop boxes are one of the easiest food resupply options. Like caches you are sending a box of food ahead against a future need. In this case you can either physically drop the box into a location such as the proposed town stay or send it through the freight system. There are advantages to both options.
- Driving and dropping
- If you live within a state you can generally drop boxes into a proposed accomodation point by vehicle. The advantage of this is that regardless of the day you turn up, the food is there and you don’t have to wait until business hours to pick it up. The disadvantage is that you will be spending time and money driving your vehicle to drop off your food boxes
- Postal/freight system
- I’m a big fan of this option and in Australia this is by far the most effective and cheapest option for resupply on long distance hikes providing you are passing through a town at the required intervals. Here’s how it works:
- Generate a postal drop off location which is typically the local post office but can also be a road house in some locations. The App will generate a map that shows you the potential drop off points
- Select the drop off point. Once you select and add this location, it will generate the full delivery address. This will contain your name as well as a unique identification number that stays with you and this will ensure it can be tracked online or via the mobile App
- The App will provide updates at each point in the delivery chain from leaving your postal location to arriving at the destination
- Australia Post will hold your parcel for 14 days at the designated pick up point so this may require you to have a friend or family member send the box after you’ve commenced the hike
- You have two choices as far as delivery goes. You can send the parcel by normal mail or by Express Post. Express Post is more expensive but on my recent Tasmania Trail trip it took two days to get from Canberra to the relevant post office in Tasmania and the additional cost wasn’t that prohibitive. In fact if you compare it to driving and dropping off a box even Express Post works out cheaper
- One thing I discovered on a recent trip was that when I arrived at a destination early and didn’t need the drop box, I redirected it to my next destination point. Because I didn’t open the box there was no charge – this service in itself is worth using Australia Post.
- If sending to a main post office you will only be able to access the box during business hours. Smaller post offices that are combined with general stores will typically be accessible during the shop opening hours but you will need to check this prior to your walk if you are expecting to arrive out-of-hours
- Another option with postal resupply is to send a box to your planned accomodation. If you plan on doing this, check with them first and let them know what you are doing. The advantage of using this alternative delivery location is that if you arrive on a weekend or public holiday, you can still access your box rather than having to wait until business hours
The other advantage to using drop boxes through a freights system is that if you change your mind about the quantity and what you ant in each box you can let the persons doing th sending know providing you can access a phone signal on trail.
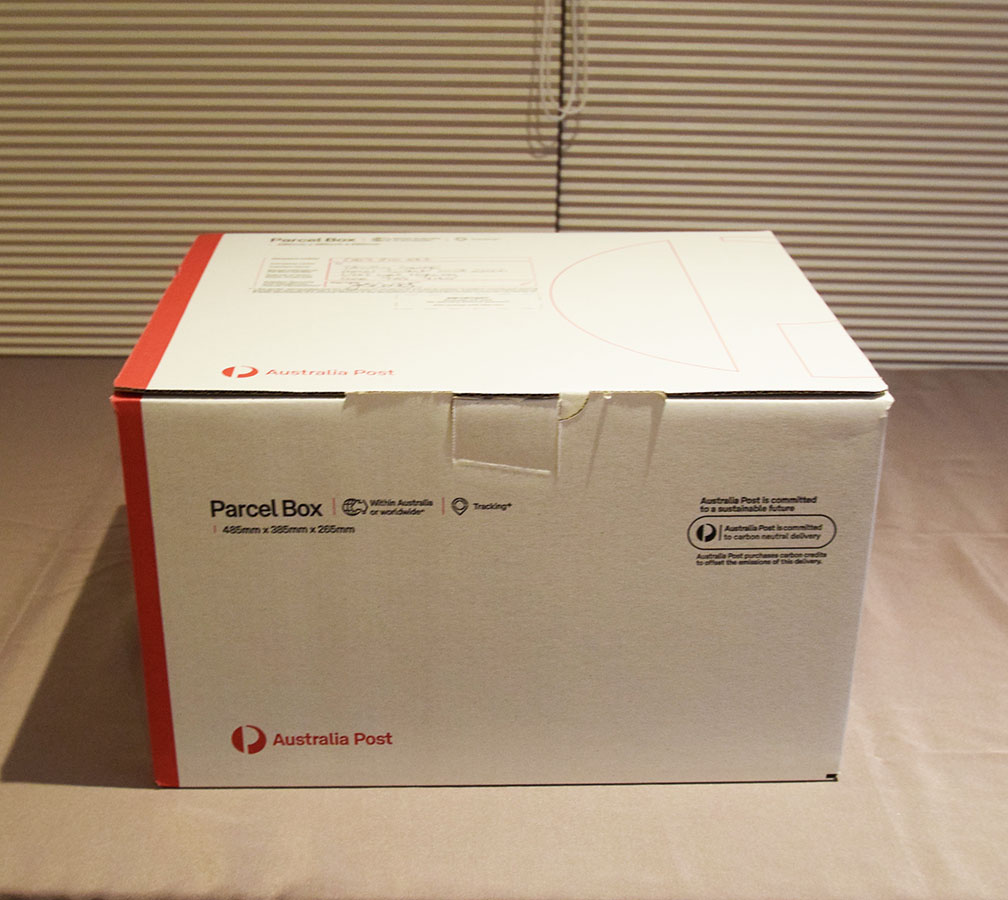
Drop box ready to go into the postal system

Australia Post App

Setting up a new postal adress
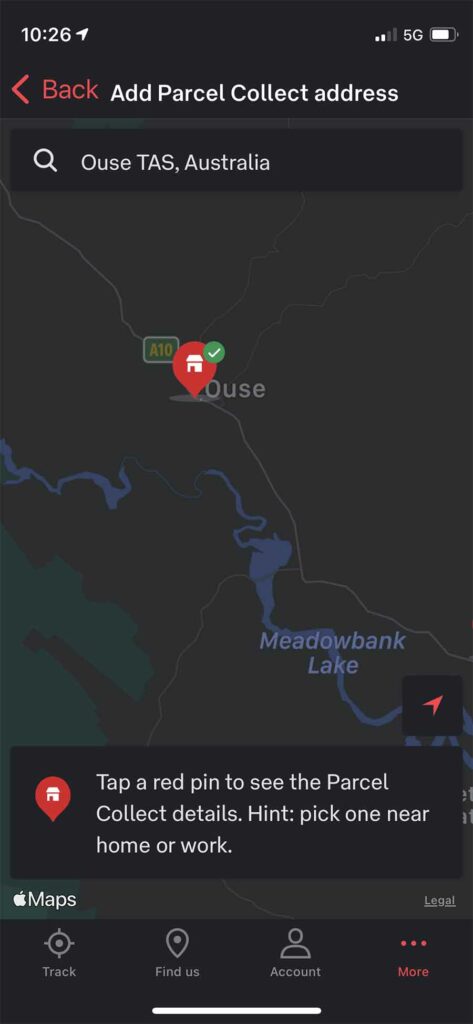
Choose a delivery location from the handy online map. Once you select a destination and add it to your list it will generate your delivery address which can then be tracked via the App in real time. Each time the box moves along the delivery system you will receive progress reports if you have opted to track it
Final Thoughts
Depending on the hike, and the duration of the hike it is likely that you will find yourself using different resupply strategies or combination of strategies. In fact, I have used all three options described above and in various combinations. The main aim in resupply is to provide you with food when and where you want it and if possible providing a degree of flexibility. Which option or combination of options you choose will depend on factors that are unique to you but if it works the way you want it to, then go for it.
Last Updated
1 June 2026