Transitioning from Day Hiking to Overnight Hiking
Hiking Practice
Is it time to give overnight hiking a go?
So you’ve been doing day walks for a while now, you enjoy them but you feel that you may be missing out. Your friend’s keep on raving about the amazing trips that they’ve done but you’re not sure if you’re up for the change to overnight trips. This article is an overview on making the transition from day hikes to overnight trips where we look at basics that you will need to think about. Considerations such as weather, gear, food preparation, site selection, as well as the all important issue of ‘Where do you go to the toilet?’ Hopefully this will ease your concerns about the change to overnight trips and answer any questions you may have.
This article is linked to Australian Hiker Podcast episode#26, the Northern Campground Trail review, as well as to Australian Hiker Podcast episode #27 where we talk you through the steps for a trip suitable for first timers in real time.
Step 1 Making the decision
This sounds simple enough particularly if you have been doing this for a while but think back to your first overnight hike. If most of us are honest there was a level of apprehension, particularly if you did your first overnight trip without anyone else to help you.
If you are doing your first overnight hike here a few things that will make it easier:
- Do it with a friend or a group who have done it before, they can help you with all the logistical issues, can probably lend you some equipment and can teach you what to do around camp and on the trail.
- Alternatively if you are doing this by yourself or with someone else who hasn’t done an overnight hike before consider the following:
- Car Camp – Drive to a campground and set up near, or preferably a short distance from your car. This provides a level of reassurance so if things just aren’t working for you the ability to call it quits exists. The issue with car camping is that you need to know that you can carry your pack so I would suggest camping at least a kilometre or so away from your car so that you at least get feel for the additional weight; or
- Hike to a location that you know very well from your day trips, preferably one where there are toilet facilities. Overloading yourself which too many new experiences can be off putting. By using a well known site you will minimise any anxiety.
Step 2 Planning
This is where the bulk of the work occurs and why if you are doing this solo, as a couple, or with a friend, then car camping or using a well known site will make this process easier. Things to consider:
- Where
- A campsite that you can drive to, or
- A site you know well from your day hikes that only involves a short walk. Here’s an example of an ideal site Northern Campground Walk
- Preferably choose a site for your first overnight foray that has toilet facilities and also has mobile phone coverage.
- Don’t choose a site where you need specialist navigation skills unless you already have them. Hike within your limits, in this case make it really easy.
- When
- Pick a date that suits and where you wont be rushed.
- While experienced hikers wont be to fussed if the weather isn’t perfect choose a night where you know the weather will be good so you wont have to deal with the added logistical issues of dealing with rain, extreme cold or high winds.
- It takes a while for a hiker to be able to build up a layering system to an extent that they know exactly what components go together to suit specific situations.
- How will you get there?
- Park you car, car camp, or get dropped off? These are all suitable options so do whatever works for you.
- Who?
- Will you be camping with more experienced hikers who have done this before and who can step you through the process?
- If this is the case pick there brains and ask them what to bring because each state, territory or country is going to be different in how you do things
- Is this going to be a solo trip or with another hiker, be it friend or partner, who has also not camped?
- You/your partner are responsible for the trip and if you don’t have friends that can help you plan talk to your local outdoor store that will usually be very happy to help you out.
- Will you be camping with more experienced hikers who have done this before and who can step you through the process?
- Equipment
- Overnight hikes require additional gear and what you choose to bring is going to be an individual choice
- Pack- assemble all your other gear first. Don’t let your pack size dictate what you bring. You don’t want to leave an essential piece of equipment behind because your pack is too small. You also don’t want to fill up your pack just because just because you have space. By all means borrow a pack but it should fit properly
- Shelter- Best borrowed if you don’t own one. You don’t want the world’s largest tent, it should be easy to set up, and be suitable for the planned conditions. This usually means a 3-Season tent. Wait until you are sure that this is for you before splurging out on one of the most expensive pieces of equipment
- Sleeping bag- needs to be warm enough to suit the expected conditions of the hike. Again borrow is best if you don’t own one and go a bit warmer than you think you will need.
- Sleeping mat – again borrow here and convince your more experienced friends to give you a good sleeping mat if you don’t already have one. Your sleep system is very important to your comfort, particularly if you are a side sleeper
- Camp stove- For your first overnight hiking trip unless you are familiar with using camping stoves I would suggest skipping the warm food. If you are familiar with using a camping stove keep it simple
- Layer your clothing- if this is your first time overnight hiking bring clothes to suit colder conditions than expected just in case. There is nothing worse than being cold for no reason. Everyone’s cold tolerance is different but the uses of a layering system is standard hiking practice
- Lighting– You need a reliable torch but it doesn’t need to be one specially made for hiking. You can purchase that later. One light/person is a must.
- Overnight hikes require additional gear and what you choose to bring is going to be an individual choice
- Food
- Be sensible and work out what you will eat for dinner and breakfast and also remember snacks. As you are only going overnight treat yourself with your favourite treats e.g. cheese, chocolate, etc.
- Remember cutlery and crockery (lightweight)
- Toiletries
- Minimise what you bring, but bring what you need. Remember you will need to carry it. Always bring toilet paper just in case and if you have one bring a lightweight trowel to dig a cat hole
- Safety Equipment
- Hope for the best, plan for the worst. I have never needed to use my first aid kit on a hike nor set off an emergency beacon but I carry both just in case
- Carry a basic first aid kit, keep it simple
- Download the emergency+ phone app just in case. This is a good app to have on your phone at any time, not just for hiking.
- Hope for the best, plan for the worst. I have never needed to use my first aid kit on a hike nor set off an emergency beacon but I carry both just in case
- Rubbish
- Pack it in, pack it out. The old concept of burn, bash and bury no longer exists
- Water- Pick a site that has access to water either from a tank or a stream. Alternatively bring what you need. Consider a water filtration bottle, its an easy option to filter water. You may choose not to treat or filter the water but I have had Giardia before and I don’t wish to repeat the experience again.
- Worst case
- Work out emergency procedures.
- When do you call it quits?
- When do you call for help? Who do you call
- Work out emergency procedures.
- Entertainment
- Bring a book, a deck of cards, puzzle book. Or maybe you are just happy to talk?
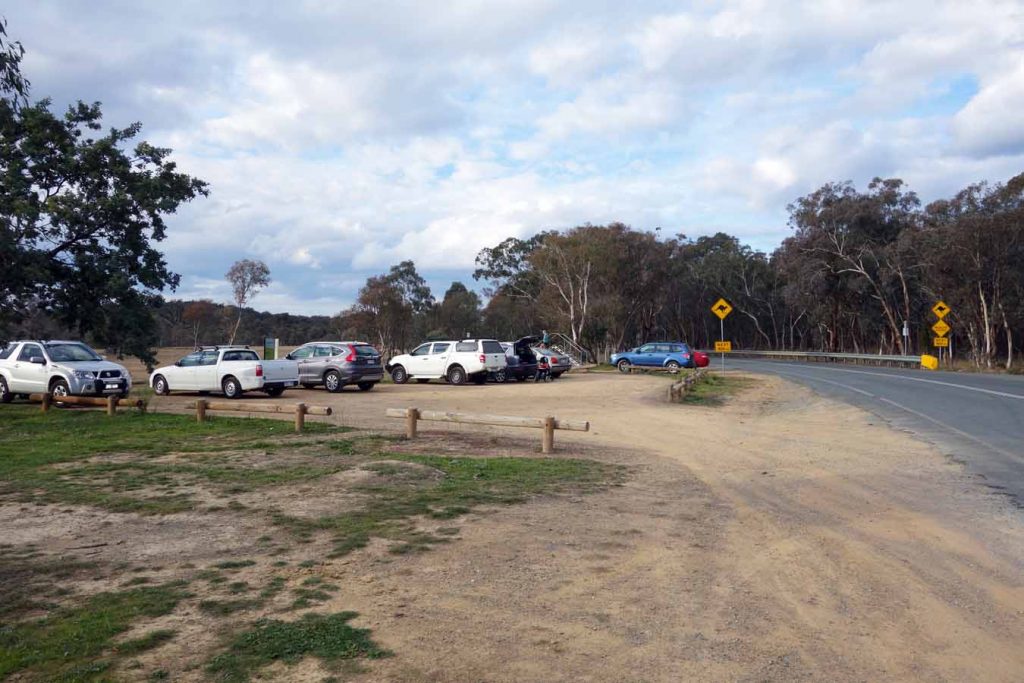
Choose a site that is easy to drive to and easy to park

The Emergency+ Phone app is worth having on your phone even if you don’t hike
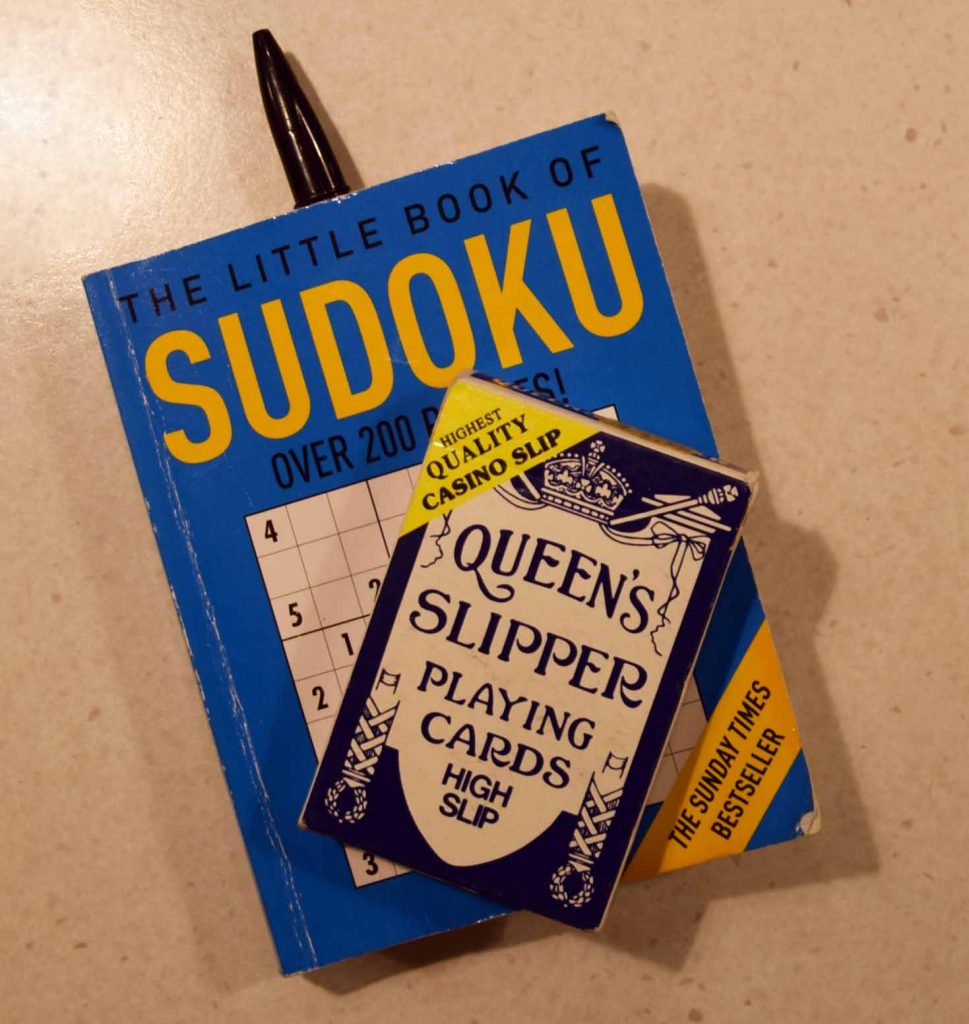
If you need something to do at night bring some games
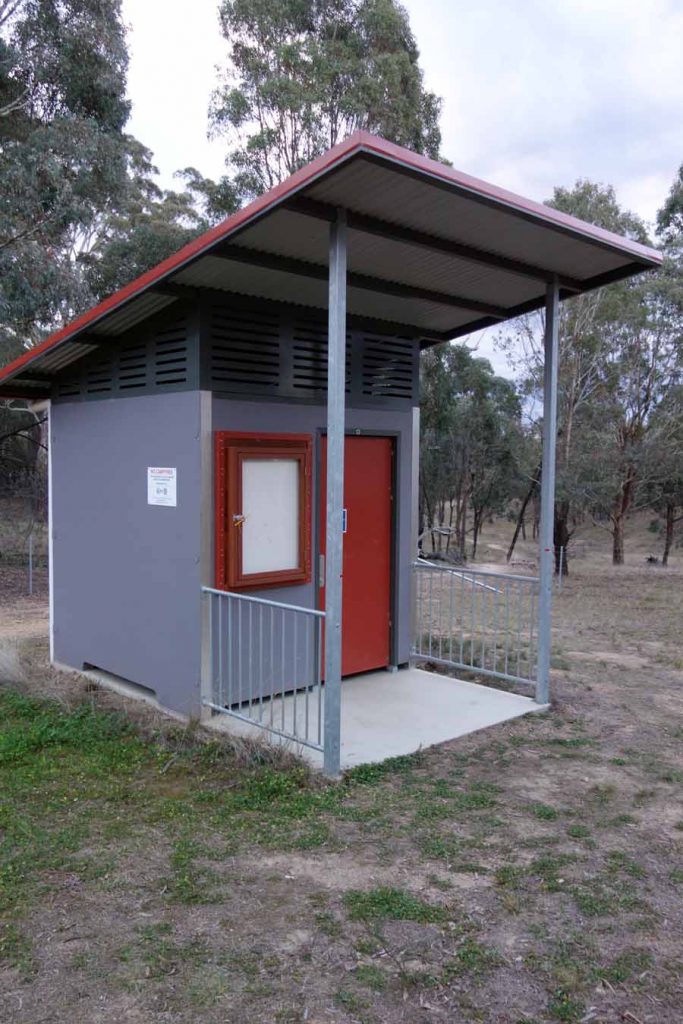
Choose a site that has toilet facilities to minimise additional things to worry about. If there is no toilet come prepared to dig cat hole
Step 3 Before you go
- At least a week before (so that you can fix any issues)
- Do an initial pack. Properly packing your pack means that you can easily access things you need during the day and that you aren’t lopsided which is just uncomfortable
- Do a day hike of the same distance that you are planning to do with your full pack prior to going to ensure that you can physically cope with the weight and balance of the pack as well as to familiarise yourself with any new equipment. This is called a shakedown hike
- Make sure that you have set up the tent, used whatever stove you are taking prior to your first overnight trip. This will ensure that you are familiar with the equipment
- Check times or sunrise and sunset
- Check the long term weather forecast
- If you can be bothered camp in your backyard.
- The day before
- Check the weather forecast, has it changed? Do you need to reassess the trip altogether or maybe just your planned equipment
- Do a final pack, checking your equipment one last time
- Let someone know what you are doing and when you will be back. Give them a written copy of your plans that includes the location, expected return time, and group size
- Pack non perishable food
- Check your torch batteries are full
- Take or print out a map even on easy trails
- On the day
- Confirm the weather conditions one last time. Don’t be afraid to cancel the trip if its not looking good.
- Check the health of the participants. Again if you aren’t well, don’t go.
- Pack any perishable food
- Let your emergency contact know that you are actually going
- Travel to the embarkation point
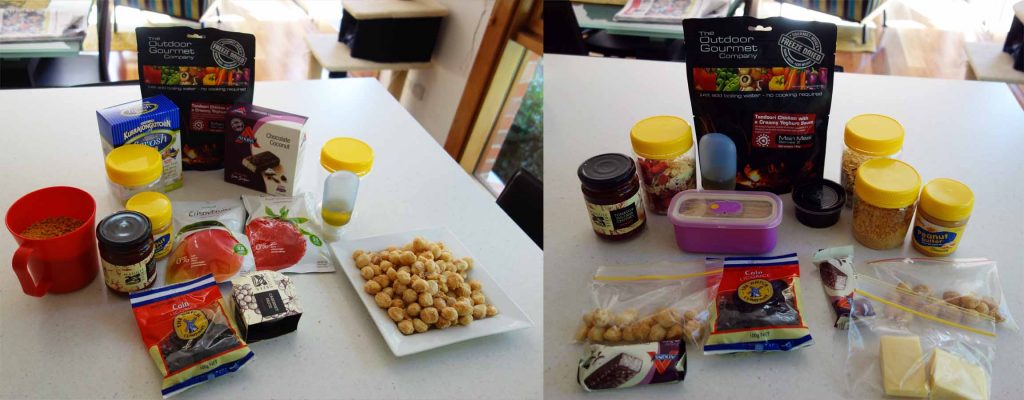
Food as it comes and then packed and ready to go. Bring lots of your favourite things on your first overnight hike but be realistic about how much you are going to eat. Most people overpack food
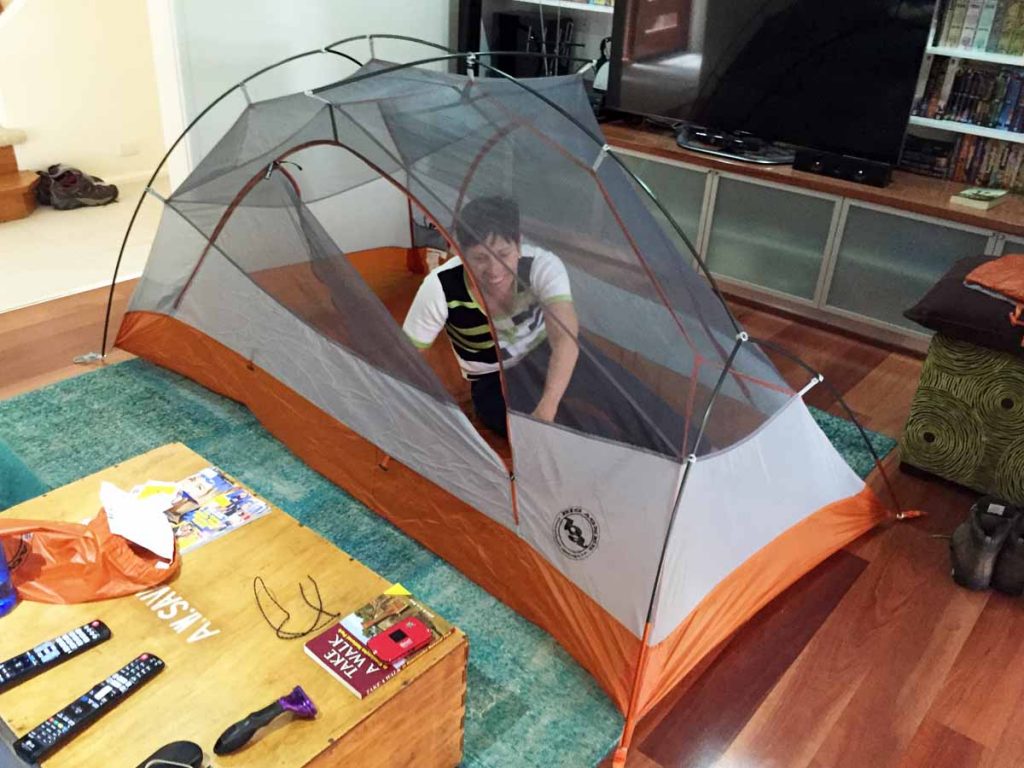
Tent set up inside the house. This meant that the first time we set up on the trail that is was very easy.
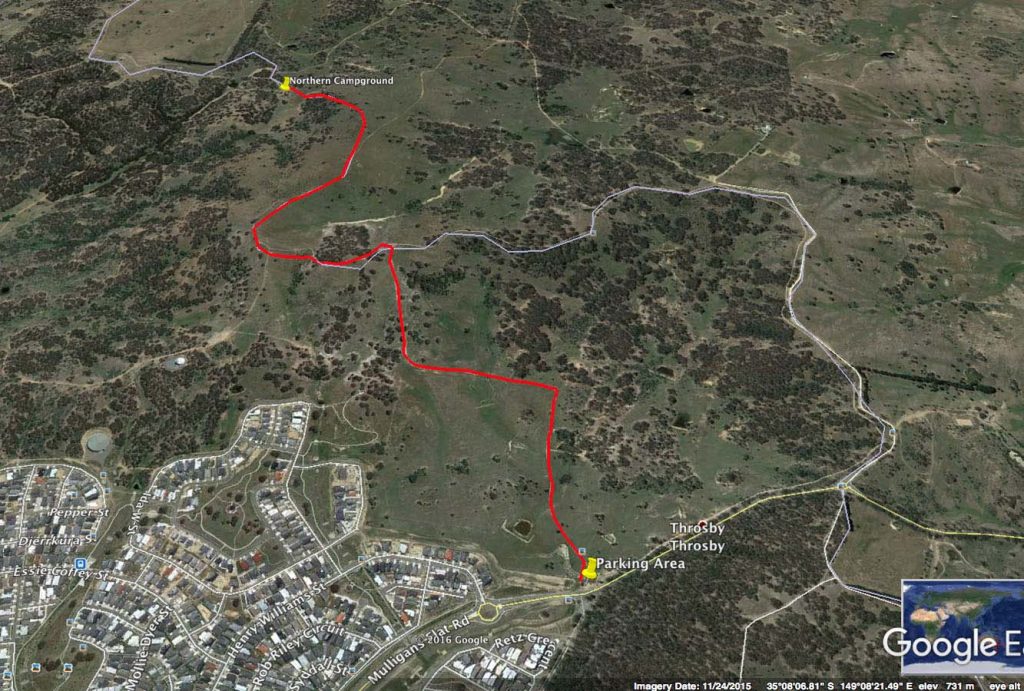
Route to to the Northern Campground printed off from Google Earth. For short trails this is a great tool
Step 4 On the trail
- Walk to your campsite as if you were doing your normal day hike. Remember it’s not a race. Arrive well before dark so that your camp set up is easy. Trying to set up gear that you may not be overly familiar with in the dark adds an additional layer of complexity.
- Select an appropriate campsite. Do a walk around the whole area while its still light so that you know what’s there e.g. ants nests
- Flat ground, smoothish ground. Get rid of any rocks, sticks and sharp objects from underneath your tent. If you are on a slope sleep with you feet down hill. Sleeping with your head down hill gives me a headache and sleeping with the slope across your tent means that you end up one the side of the tent.
- Don’t sleep under dead tree branches; they fall! Avoid large trees branches even if alive; they can fall!
- Look for shelter from any prevailing or potential wind.
- Set up your tent as well as your sleep system while its still light.
- Set up your camp kitchen preferably before dark so that you are ready to go. Do leave food out as the wildlife may make off with it.
- What’s happening with water? Are you filtering?
- Work out what the toilet system is.
- Are you using the facilities provided?
- Do you need to dig a cat hole?
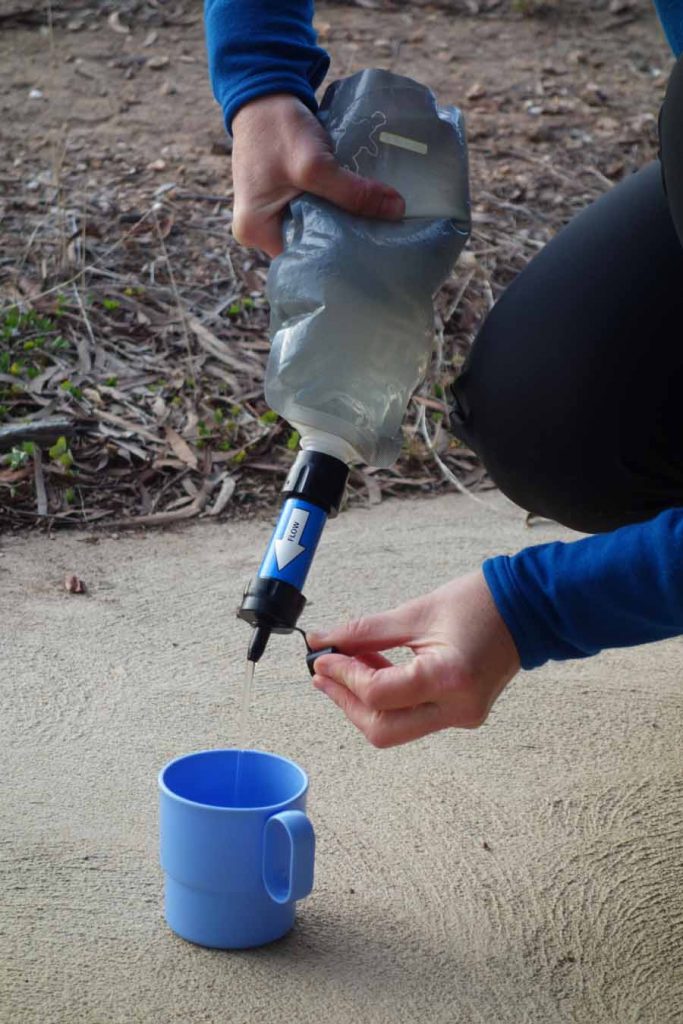
I always filter water on my trips. This is a personal choice but having had Giardia once I don’t want it again. This image shows a Sawyer Mini being used to filter the water. Probably the easiest filtration system is a filter bottle brought from the outdoor stores
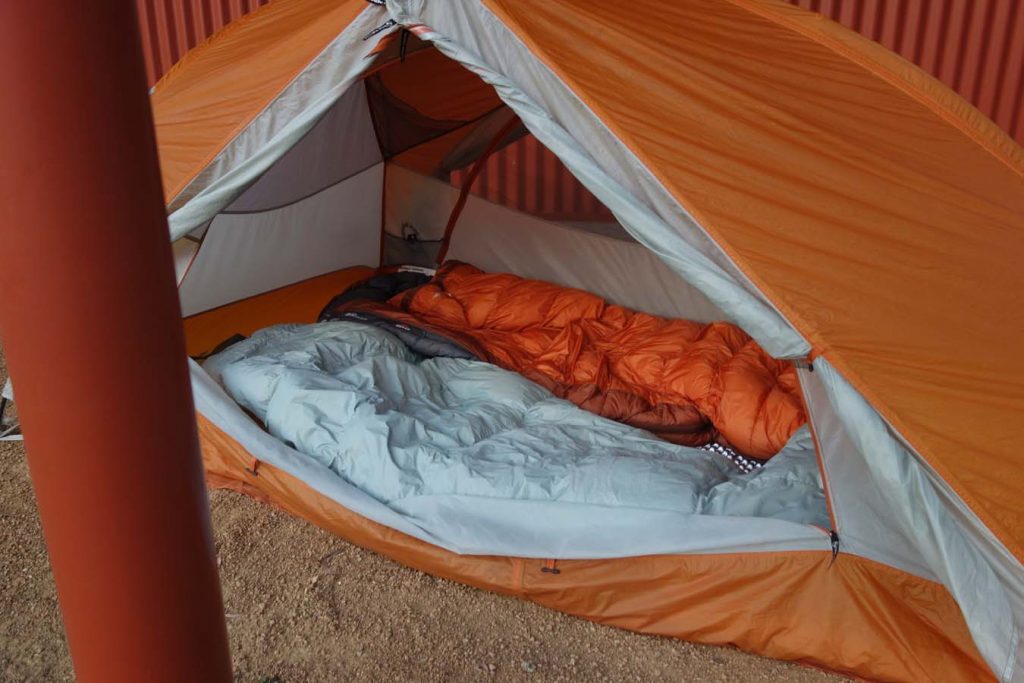
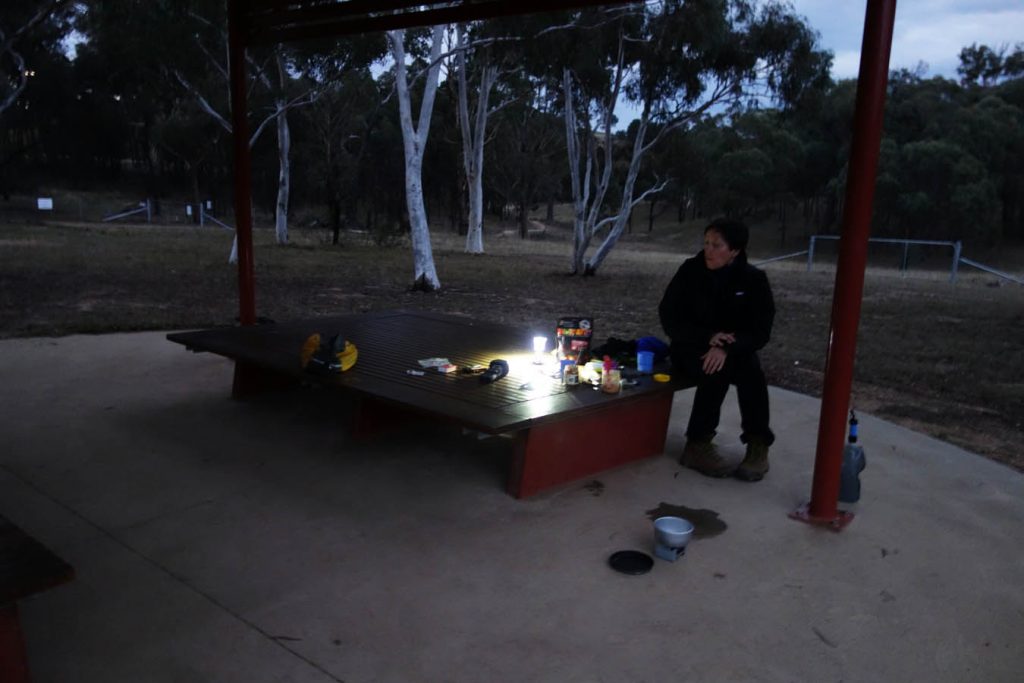
Allow time on your first overnight hike to arrive while its still light so that you can choose a good tent site, set up your tent including your sleep system and get you meals area set up. Once you build experience doing these tasks in the dark doesn’t seem as daunting
Step 5 Time to go home
- Before you leave your campsite
- Pack everything
- Do a check of the site to ensure that you haven’t left any rubbish or equipment. Double Check- I am now the proud owner of a number of assorted tent pegs that have been left behind
- Top up your water if you need to
- Head off back to the return point
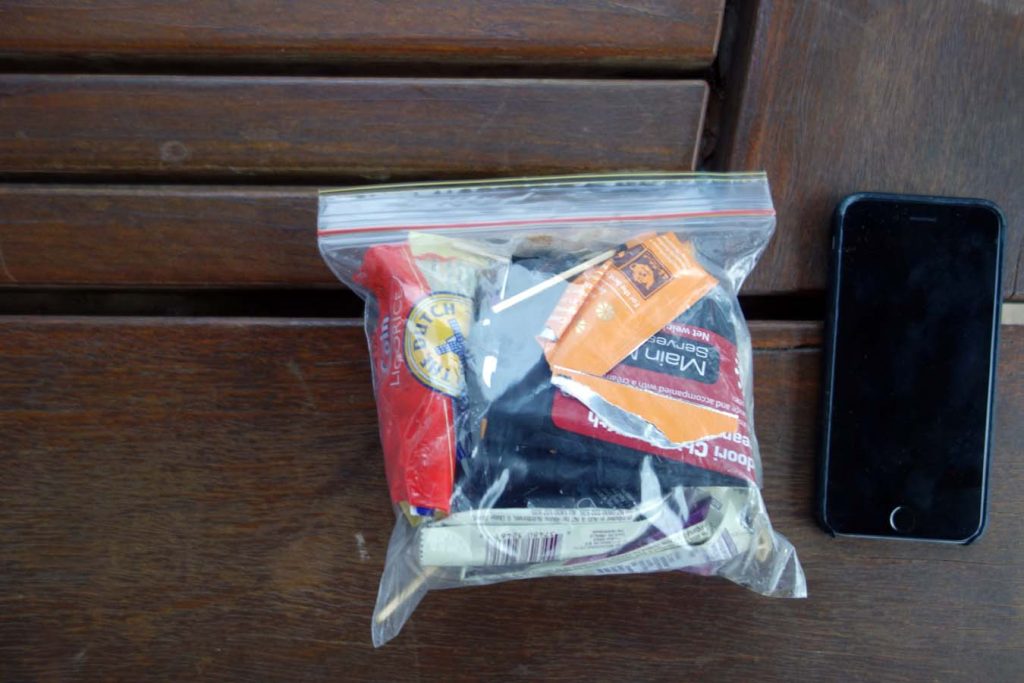
Always take your rubbish home, don’t leave it lying around for the next person. If you minimise your packaging there won’t be much to take (see iPhone for comparison)
Step 6 When you return
- Unpack your equipment, wash and clean what you need to, air everything else
- Let your emergency contact know that you have returned
- Start planning your next trip
The last word
So hopefully you have an enjoyable successful hike on your first attempt but don’t be disheartened if things go wrong. Remember that this is a learning curve and even some 40 years on from my first overnight trip I still make mistakes and I’m still learning. Slowly build up the complexity of your hiking trips. If you went with a group first time look at progressing onto solo or couples trips. I must admit for me as much as I love meeting new people my ideal hike is either with my wife or or by myself as I love the solitude which you just don’t get with larger groups. Having said that the group thing may be your cup of tea and what gets you on the trail. Whatever it is that drives you just get out there and enjoy yourself!
Relevant Links
The following links all contribute to this article and will provide you with a different perspective on this topic:
Australian Hiker Podcast Episode 026 Transitioning from day hiking to overnight hiking-Step by Step
Australian Hiker Podcast Episode 027 Transitioning from day hiking to overnight hiking-On the Trail
Northern Campground Walk Review
Australian Hiker Podcast Episode 035 Which light for hiking?