Canberra Summits Walk ACT (81.6km)
Urban hiking
The context
It’s Easter 2022 and I was supposed to be finishing off the remaining section of the Hume and Hovell Track but things didn’t go to plan. I discovered too late that a large number of Australians were travelling after three interrupted years – first with bushfires and then COVID. So, many of the campsites I needed to use were booked out and a change of plan was required. Typically I like to do hikes that are a bit more secluded or at least not so crowded so I opted to swap my planned hike with a long distance urban hike that I originally intended on doing in May.
This hike falls into two categories. Firstly, this is an urban hike taking in my hometown of Canberra. Secondly this hike is very much a choose your own adventure rather than a formal trail. I have been thinking about this walk for around 12 years but never got around to it. After a prompt by another Canberra hiker who undertook a similar journey coupled with the desire to do something just that little bit different, 2022 was the year!
After a couple of months planning I put together a three day, 82 km peak bagging trip taking in the key mountains and hills in central Canberra region which would have us averaging around 27 km each day. I developed a route that hit 12 peaks, that could be connected in a logical sequence and that didn’t involve camping (given it isn’t allowed within the city confines).
The summits
- Mount Painter – 742 metres
- Black Mountain – 812 metre
- Mount Majura – 888metres
- Mount Ainslie – 843 metres
- Red Hill – 720 metres
- Davidson Hill – 750 metres
- Mount Mugga Mugga – 812 metres
- Mount Taylor – 856 metres
- Mount Waniassa – 809metres
- Tuggeranong Hill – 855 metres
- Mount Rob Roy – 1094 metres
- Big Monks – 916 meters
Day One
- Day 1 – 28.79 km
- Highest altitude: 888 m
- Lowest altitude: 580 m
- Metres ascent: 1,144 m
- Metres descent: 1,201 m
- Duration: 8.75 hours
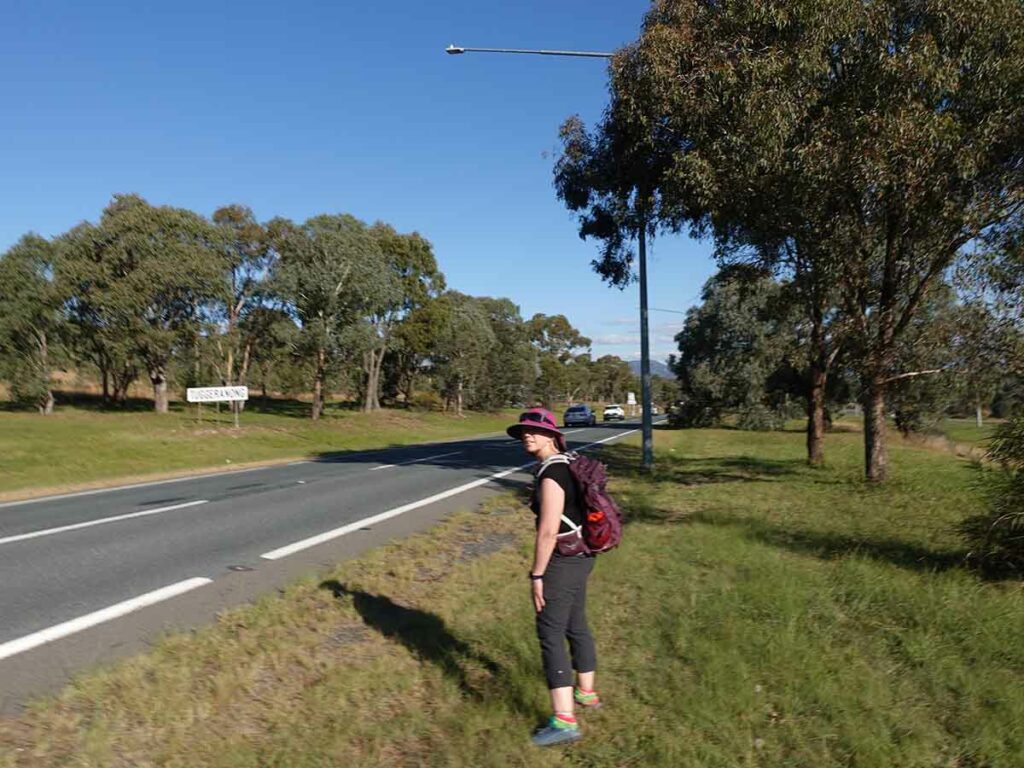
Day one and as is typical for us, we like to get an early start preferring to have time up our sleeve at the end of the day. Each day of this trip is unique and today we are starting off with an Uber ride to the starting point of our first summit, Mount Painter, and will walk to each of the next three peaks planned for the day.
Mount Painter is one of the most underrated summit walks in Canberra providing views to the taller adjacent mountains. Today was the second time we have summited this mountain and the weather turned it on for us. This was the first big fog of the season and the valleys below were hidden by the sea of fog. It created an almost mystical feel with Black Mountain ‘floating’ out of the mist.
My planning had all been done with online mapping tools but on the day when we were supposed to descend into the valley on my chosen route, the fog that I loved so much prevented that from happening so we reverted to the designated trail that added around 1.5 km to the planned distance for the day.
From Mount Painter our next stop was Black Mountain. Those familiar with this peak you will know that it has a huge array of trails criss-crossing the slopes that provide a many options to reach the summit. One thing I hadn’t realised was that the Black Mountain Tower, which used to to be one of the major tourist attractions in the city, was closed with an as-yet still undecided future as many in the community either try to get the tower removed or refurbished and reopened. This means that while it once provided unique panoramic views over the city, it is now a tree shrouded summit with limited views.
From the summit of Black mountain it was back down and into the Canberra suburbs for the first real ‘urban experience’ as we headed across the northern central suburbs towards our third summit, Mount Majura. What many people may not realise is that while both Black Mountain and Mountain Ainslie are more prominent features in the landscape, Mount Majura is the tallest of the central peaks. On our way over we stopped in at the Ainslie shops for an early lunch and to use the toilets before heading on a short distance back into the bushland at the base of Mount Majura.
The hardest part of this ascent is towards the summit itself where there is a section of a few hundred metres that is quite steep. Again the views at the summit are quite limited but you can see down towards the airport as well as towards the northern areas of the city. This summit’s main claim to fame is that it houses the major radar for the airport and is only accessible to the general public via the foot trail.
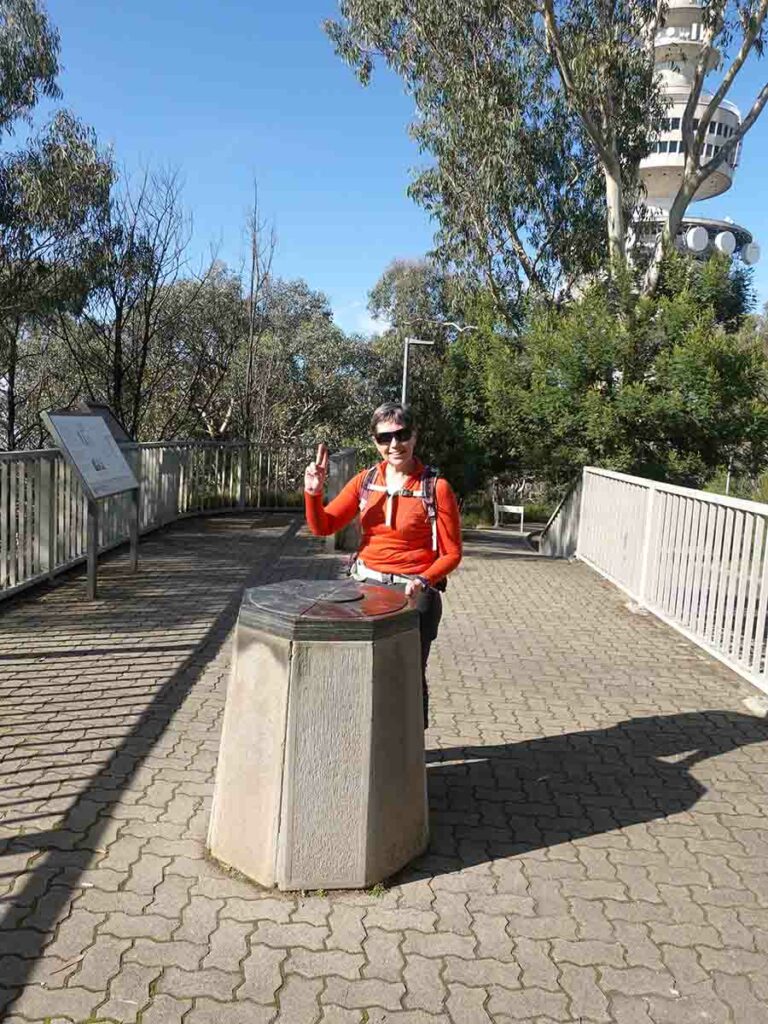
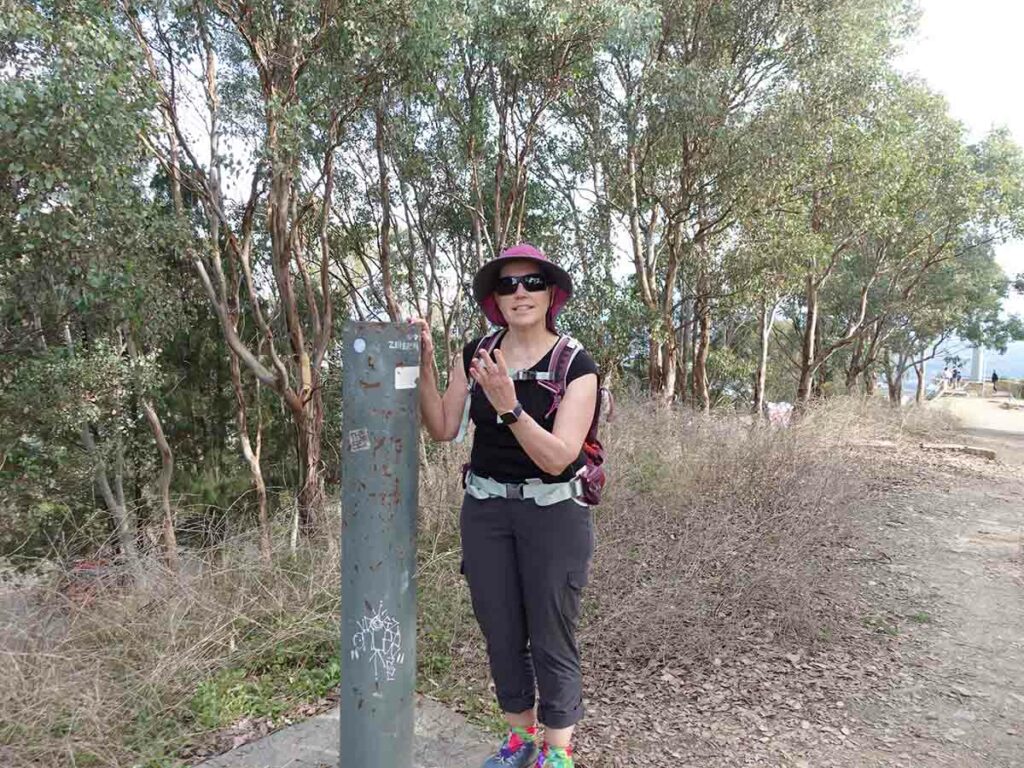
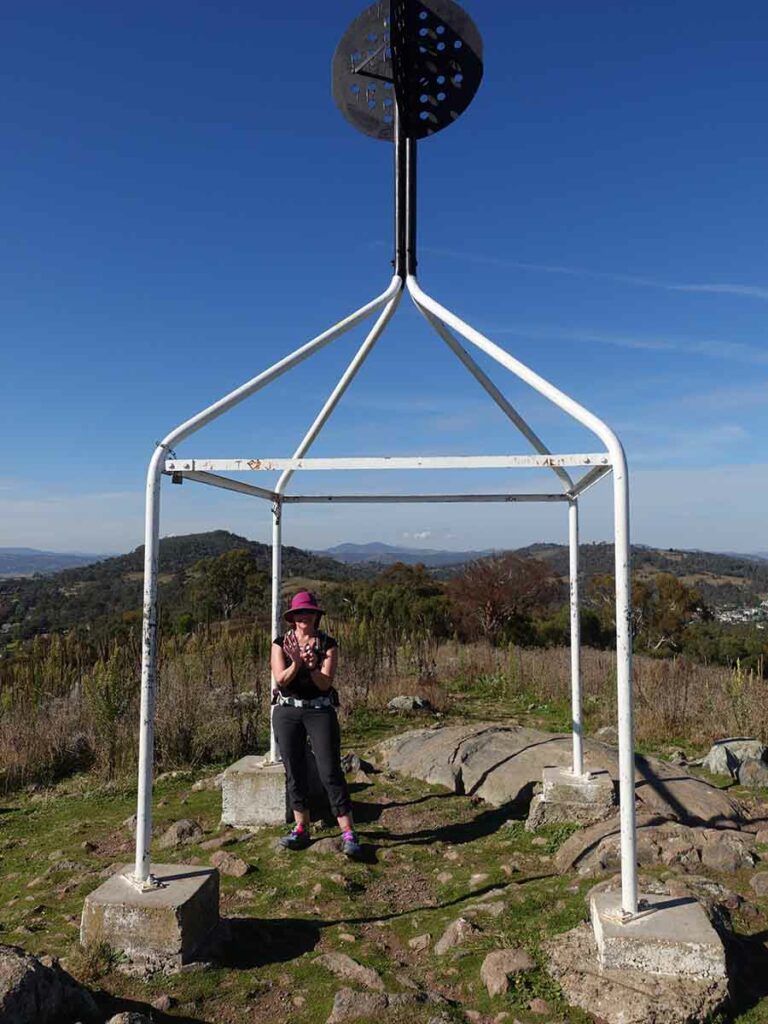
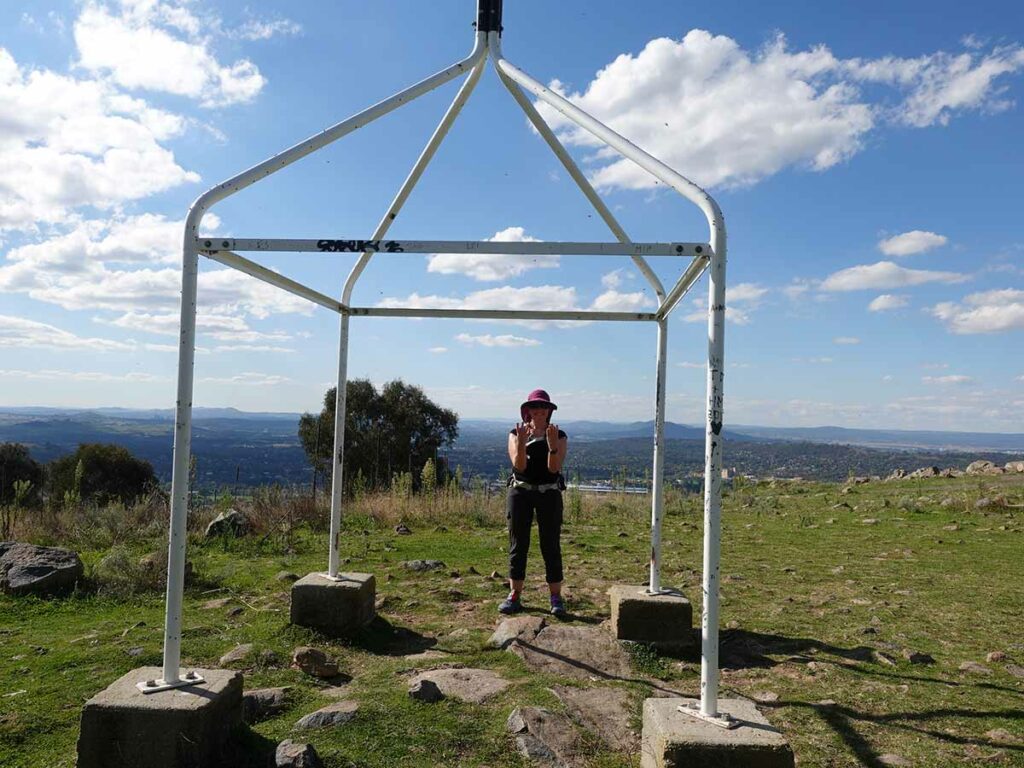
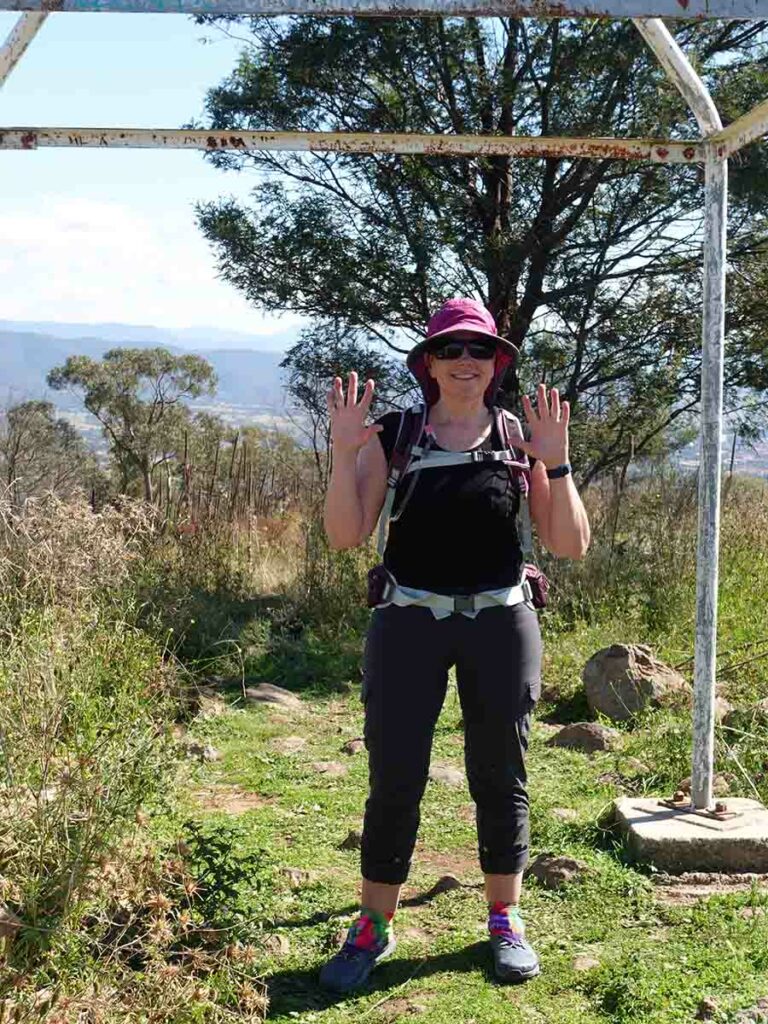
On from Mount Majura towards Mount Ainslie and again there are a couple of different options to get there as well as a number of ascent points; some easier than others. We opted for the ascent at the rear of the mountain which is also part of the Canberra Centenary Trail and is signposted as such. The summit of Mount Ainslie provides the best views down to the central area of Canberra and is the most accessible for tourists. The summit itself is behind the large light tower consisting of a non descriptive metal pole that sticks about 1.2 metres out from the ground. After taking in the views it was time to head into the suburbs below and then home for a well earned rest.
Day one complete, four peaks down!
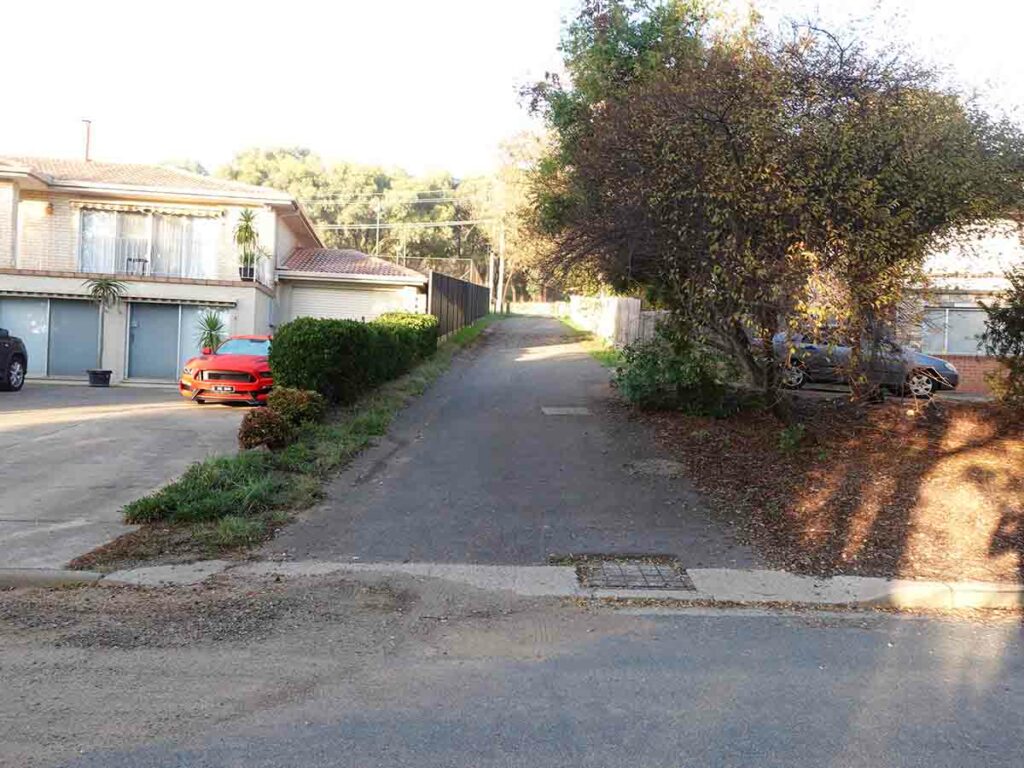
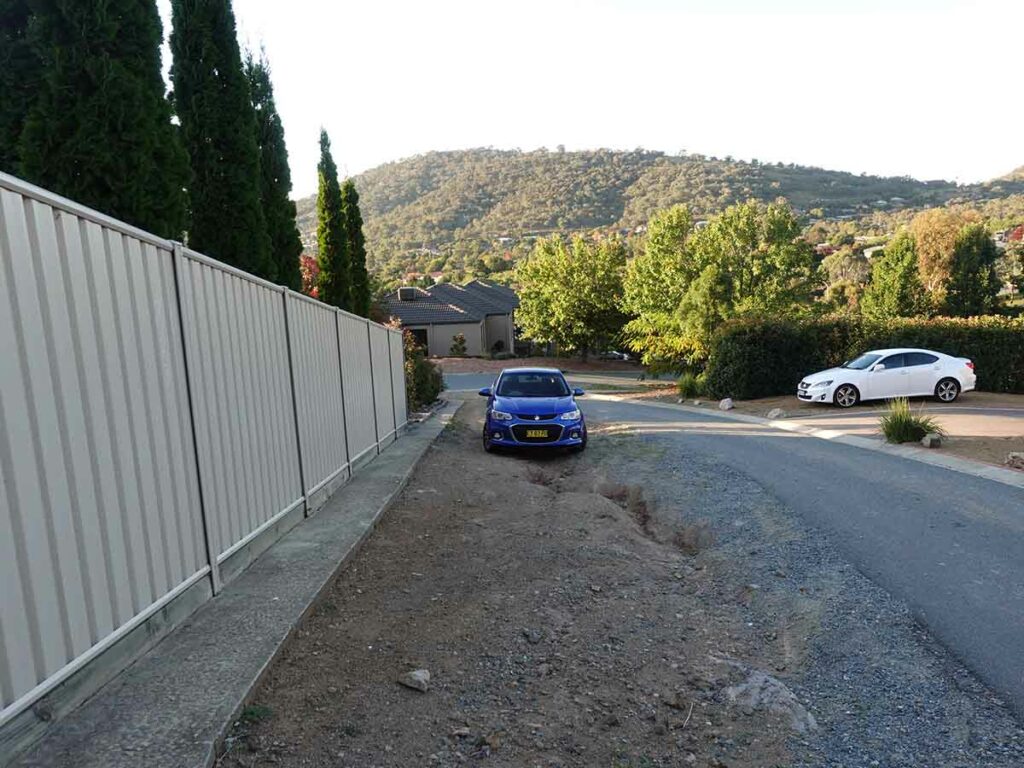
Trailhead for our Canberra Summits Walk
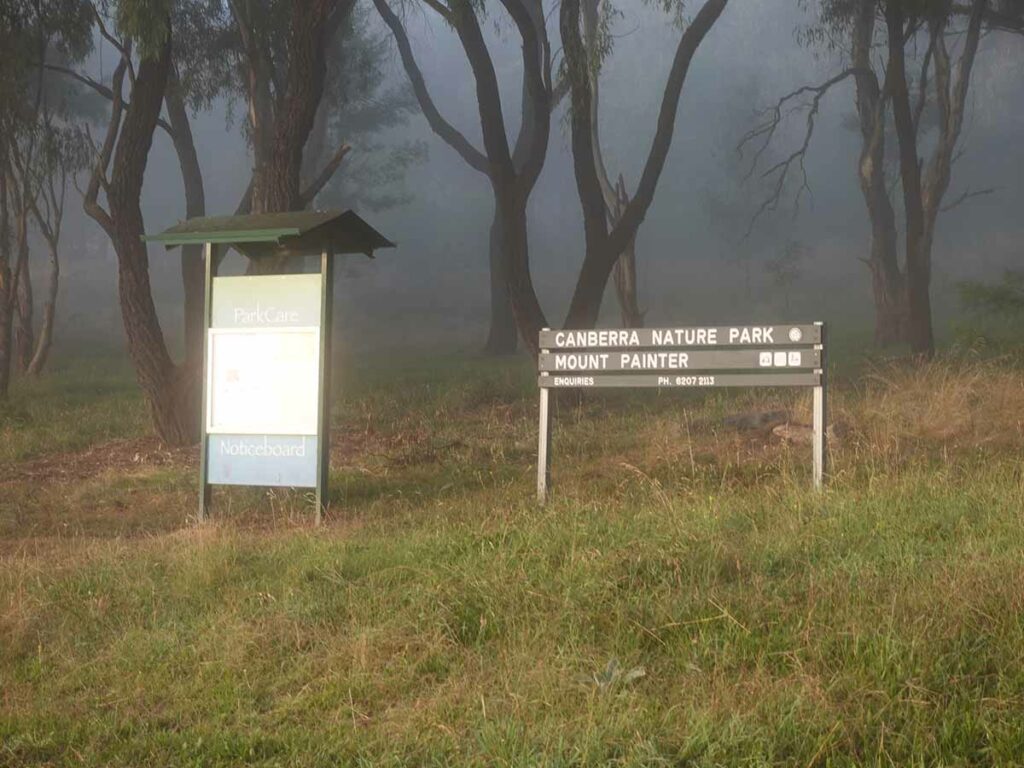
Mount Painter Reserve

Belconnen Town Centre shrouded in fog
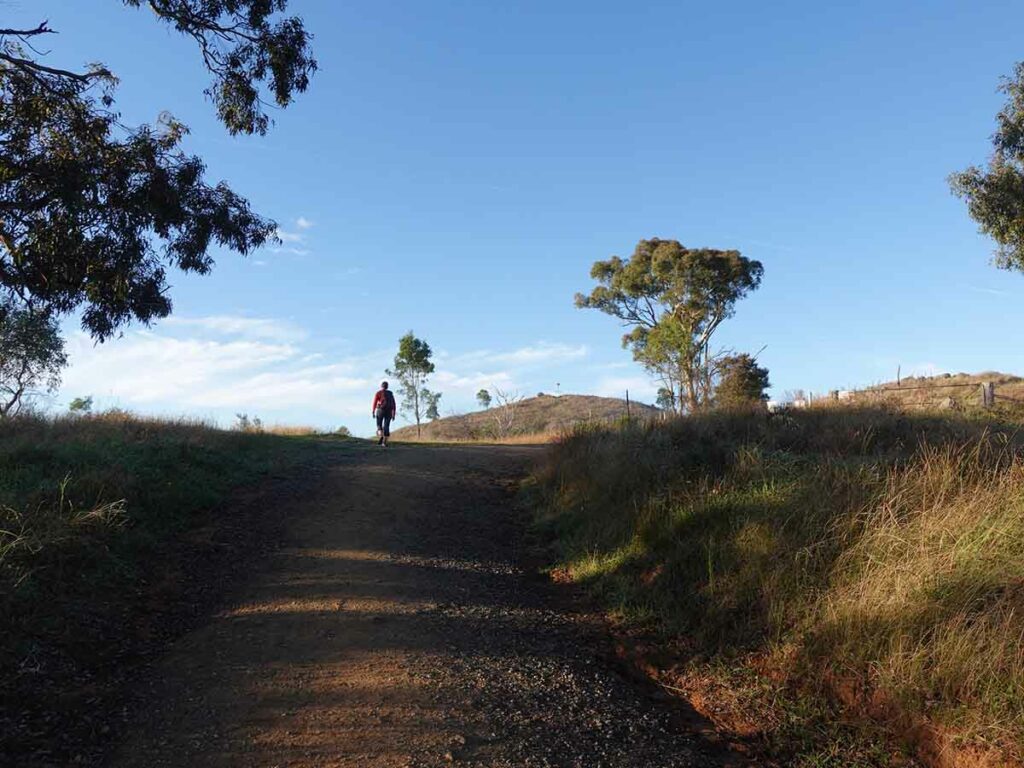
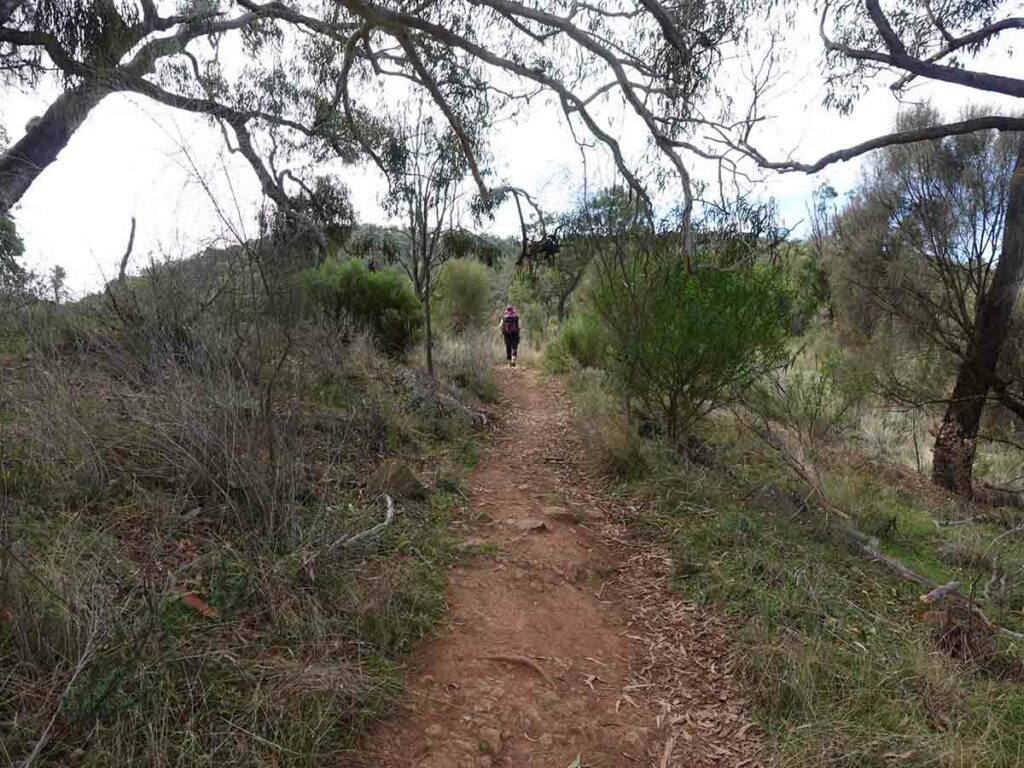
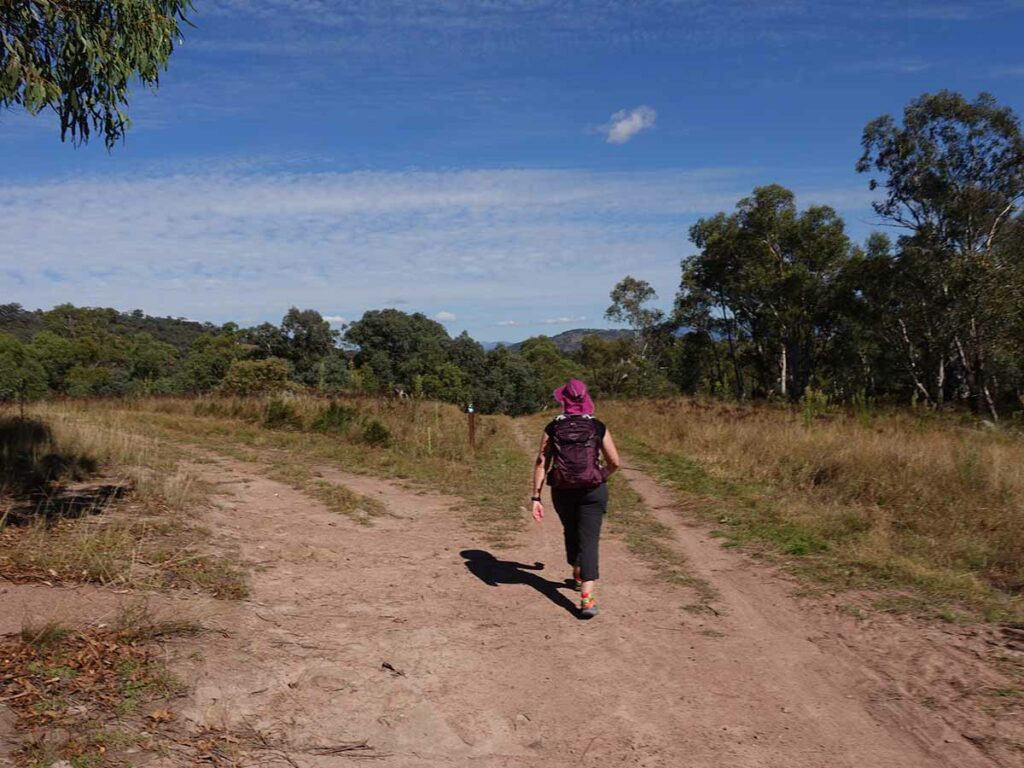
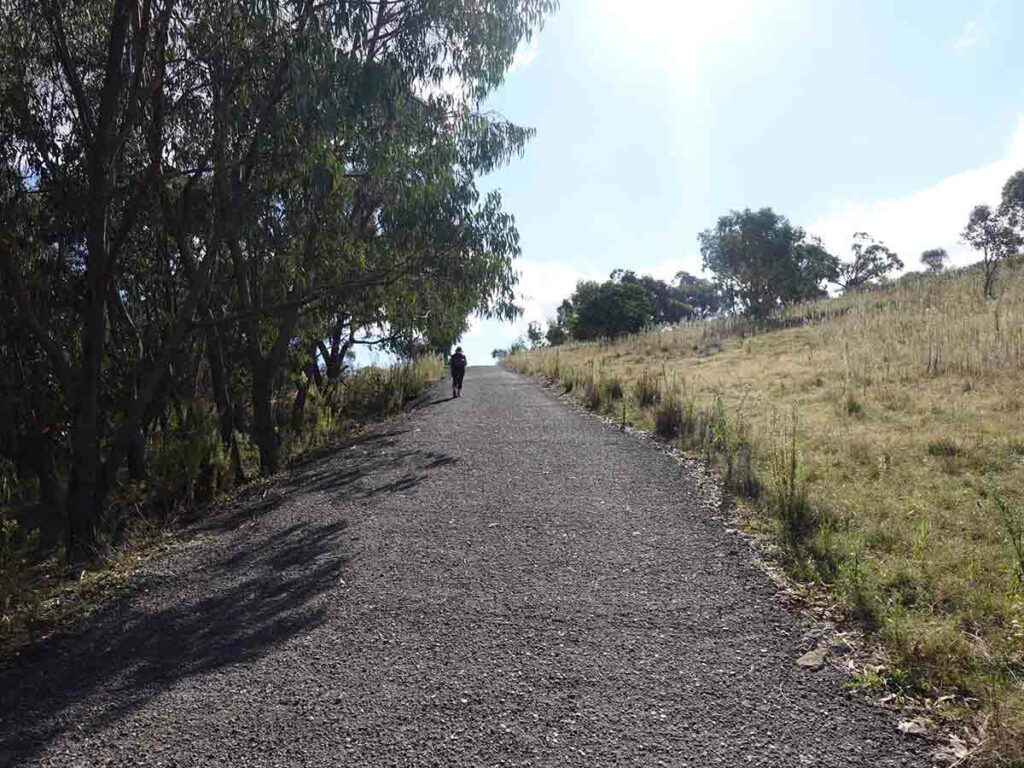
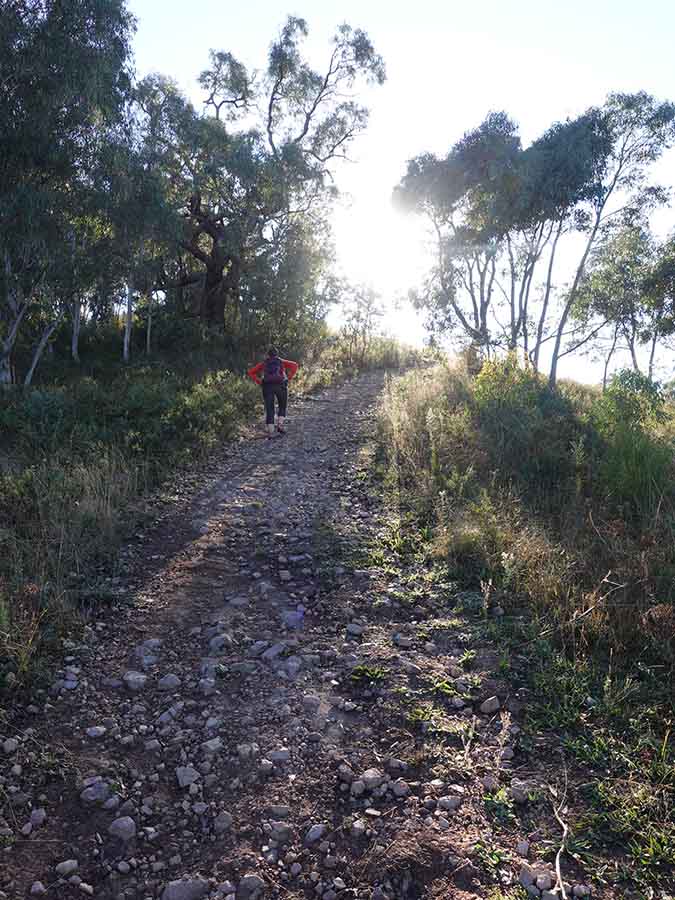
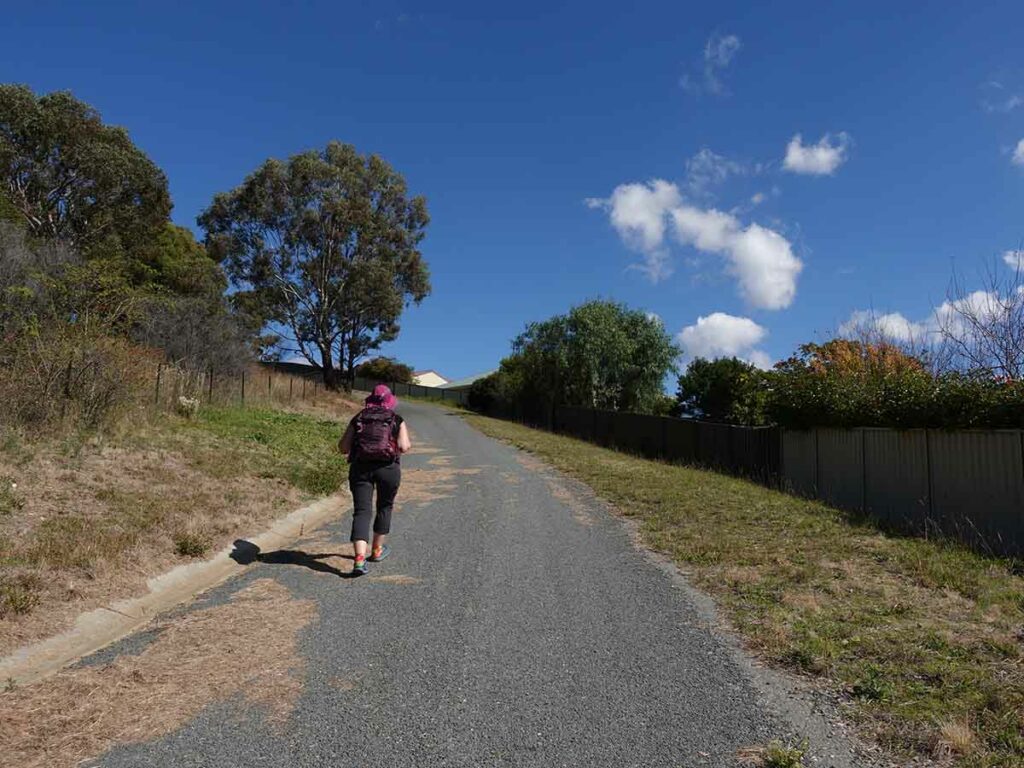
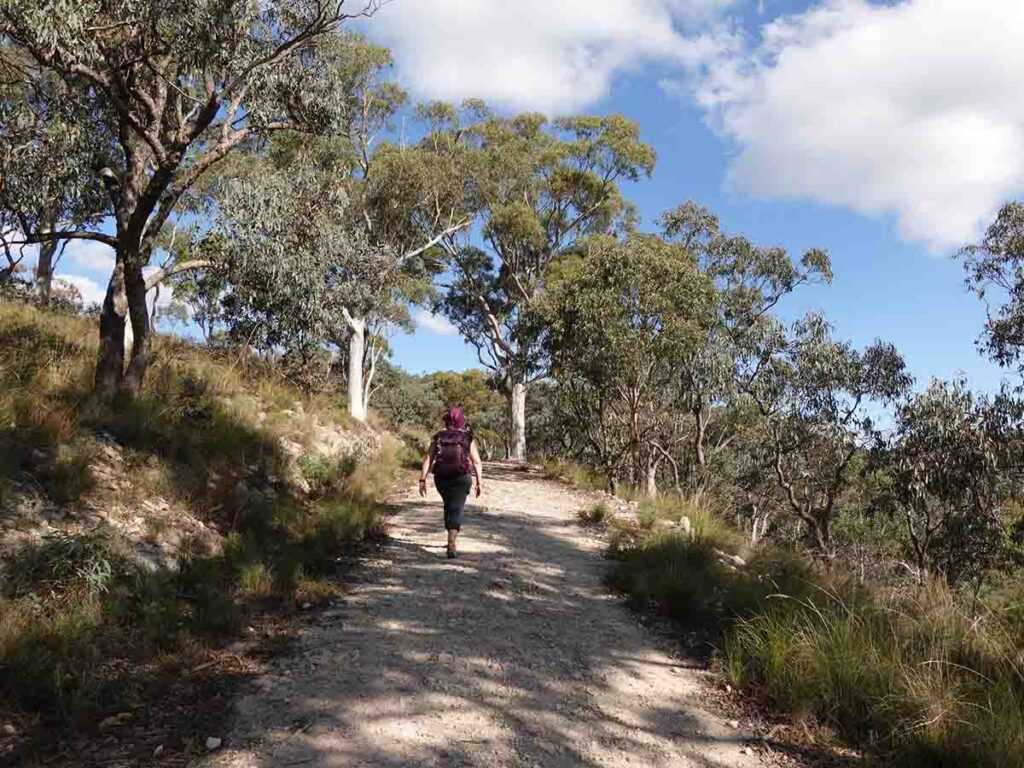
Heading to Mount Painter
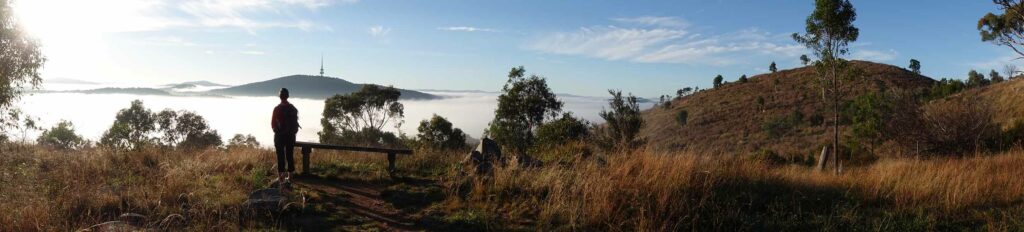
View from below the summit of Mount Painter
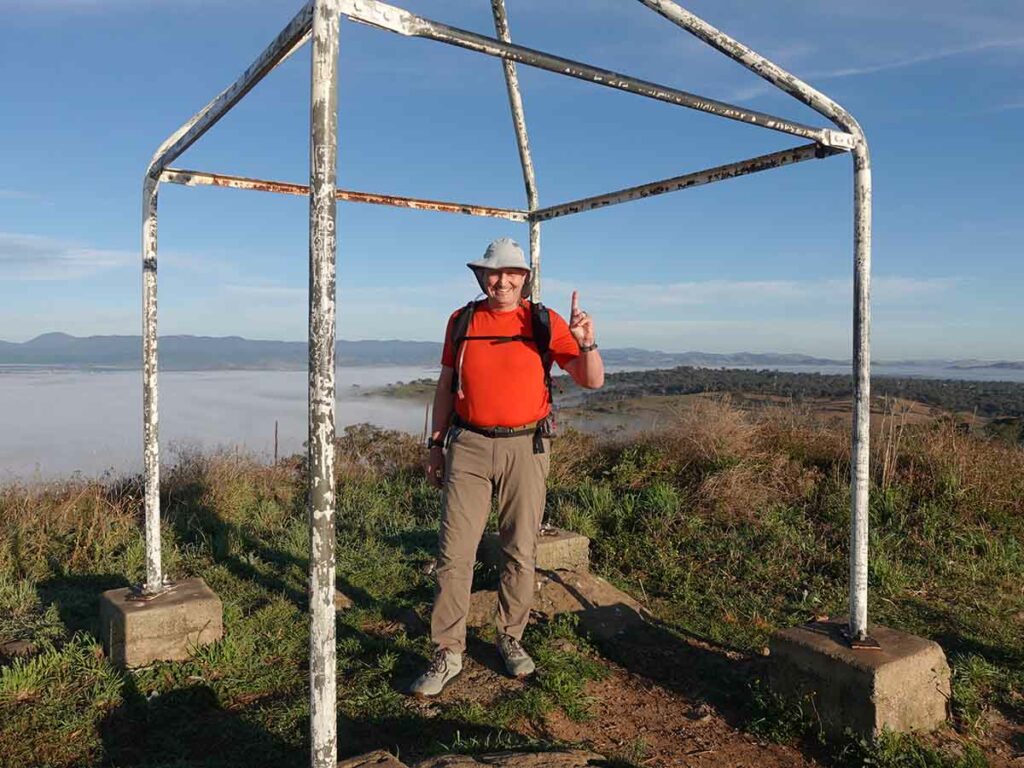
Summit number 1: Mount Painter
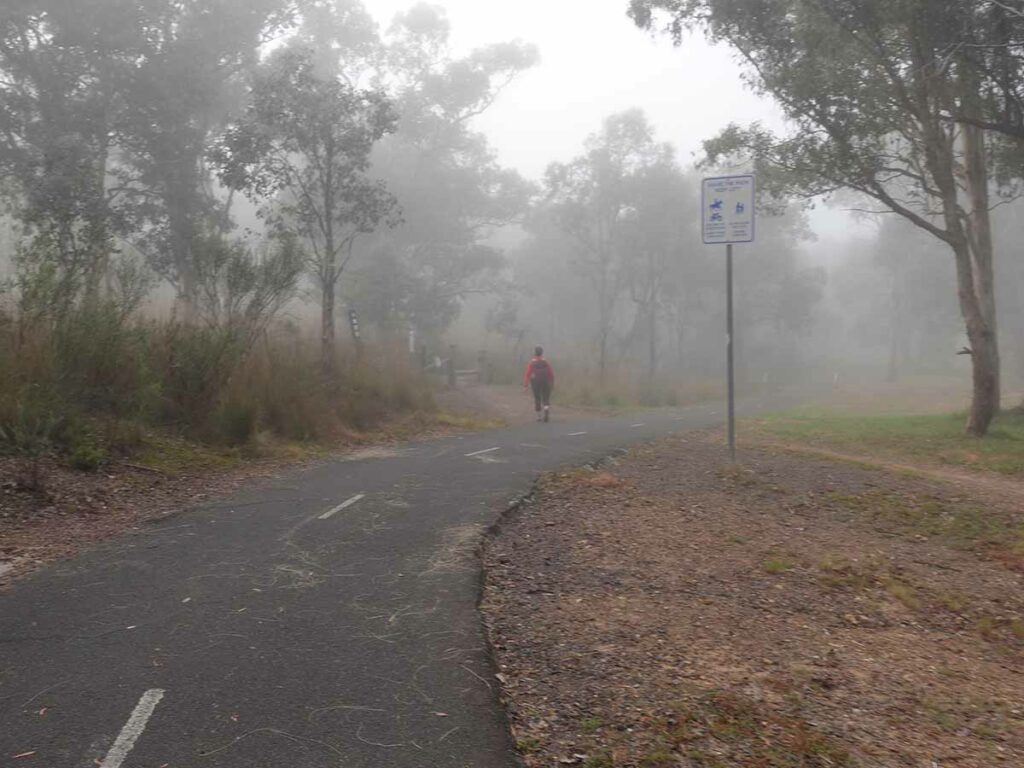
Heading towards Black Mountain

Under the road
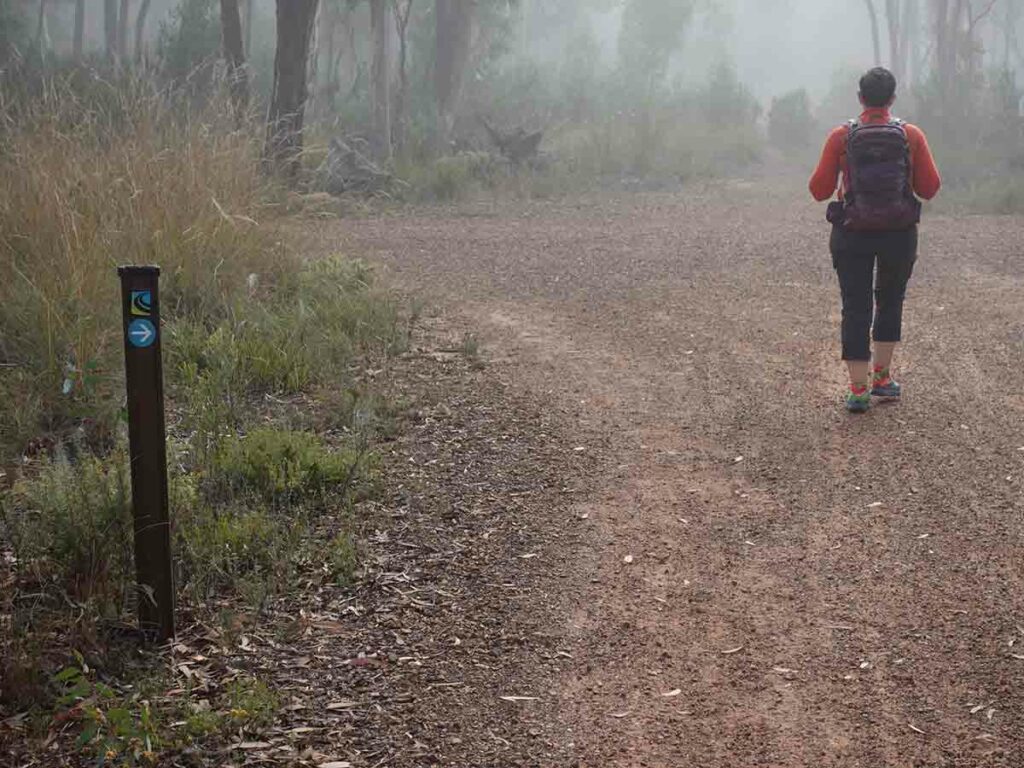
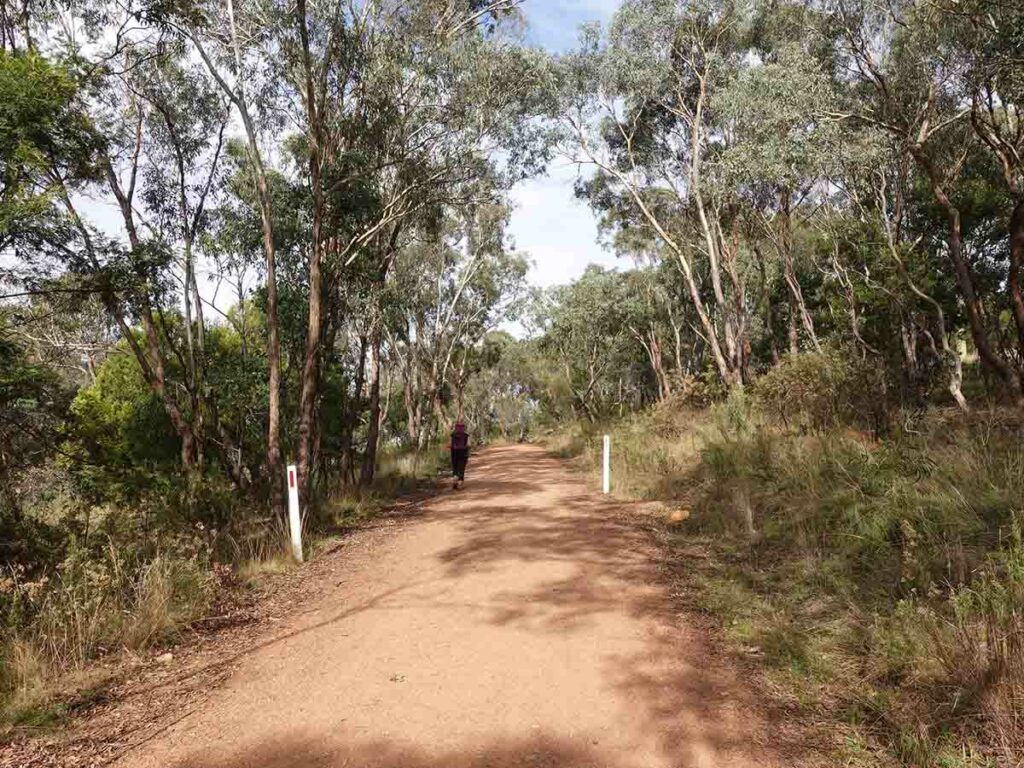
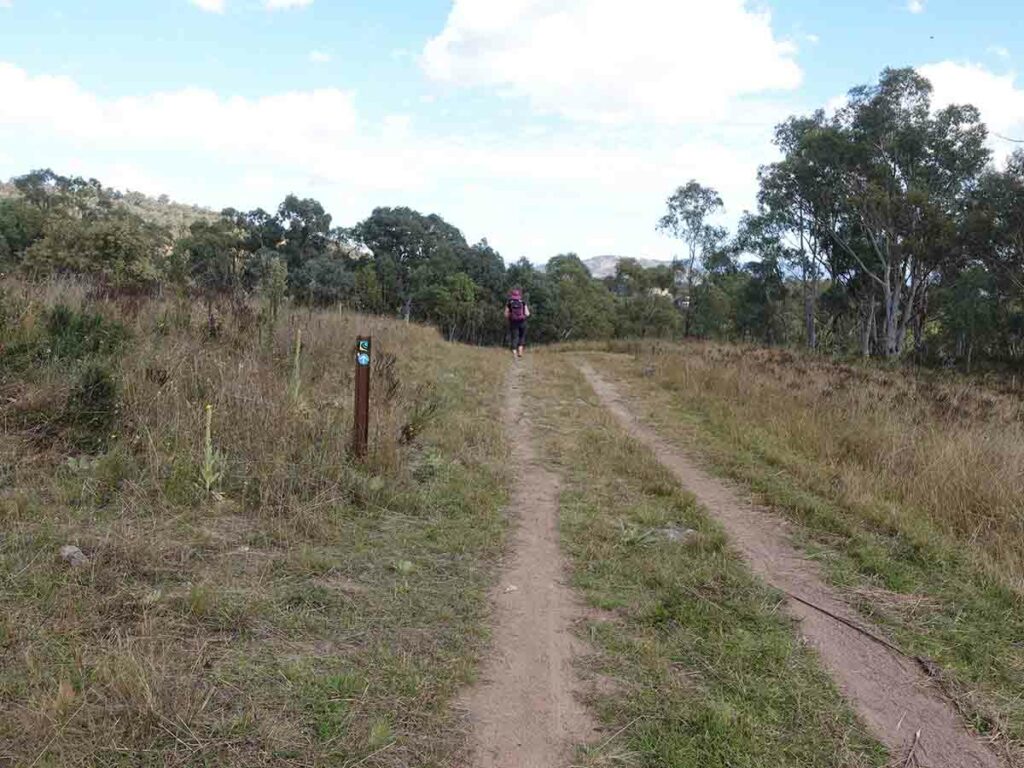
Following the Centenary Trail
Approaching the summit of Black Mountain
Black Mountain summit: peak number 2
Through the suburbs heading towards Mount Majura
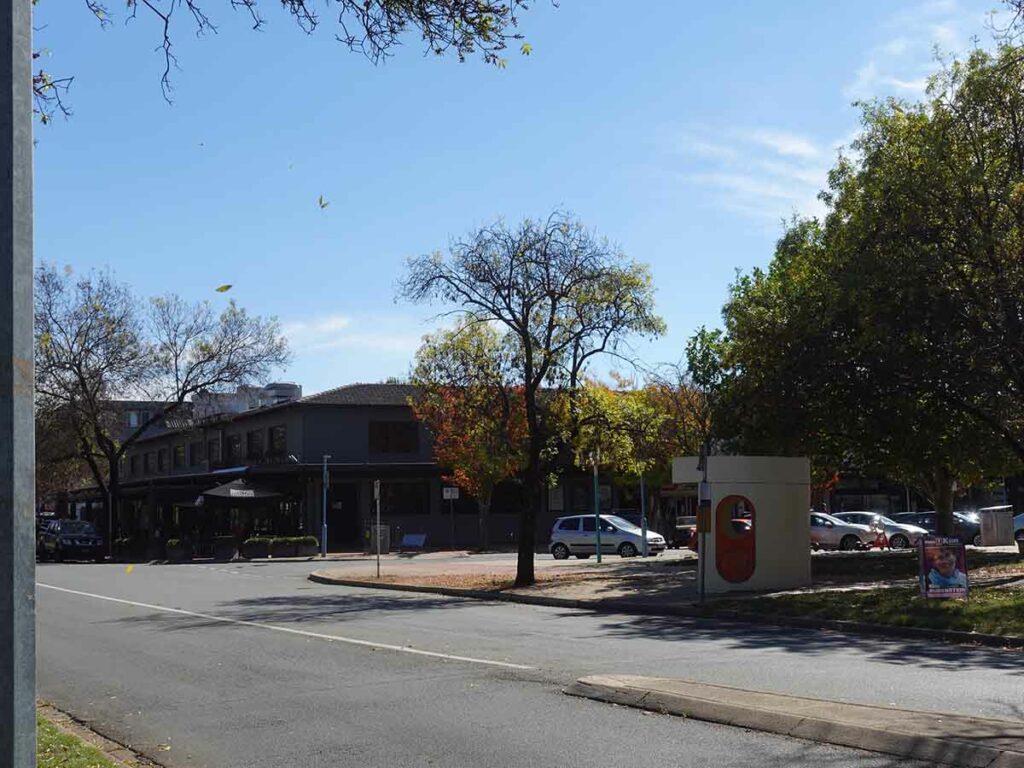
O’Connor shops
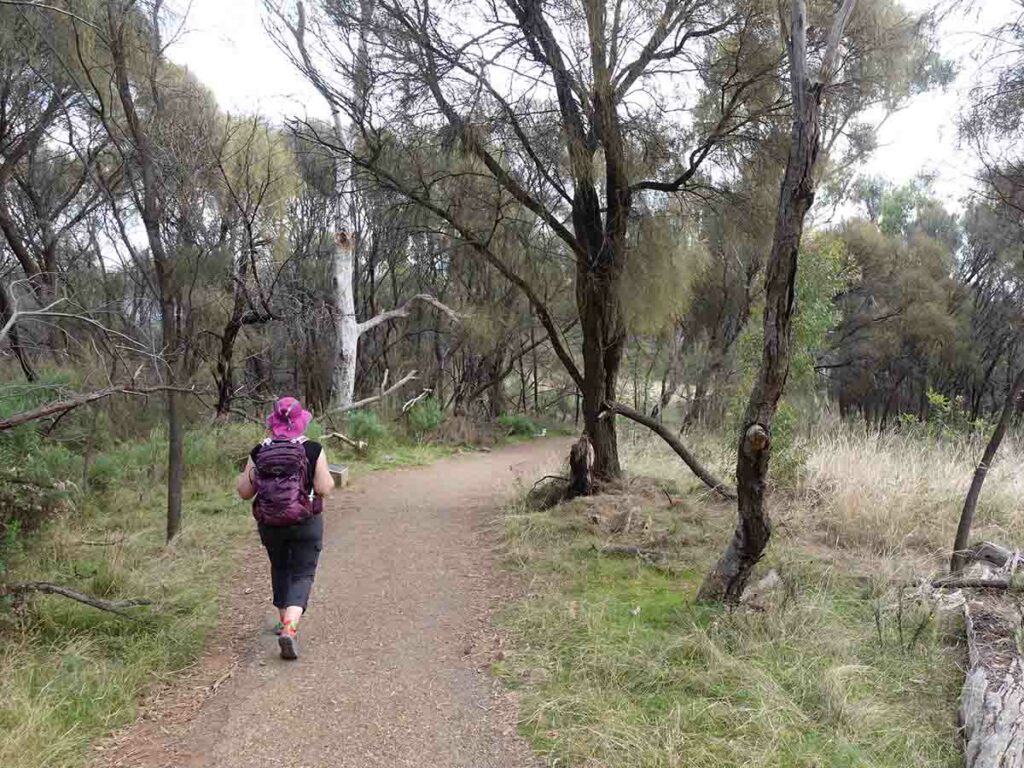
Heading towards Mount Majura
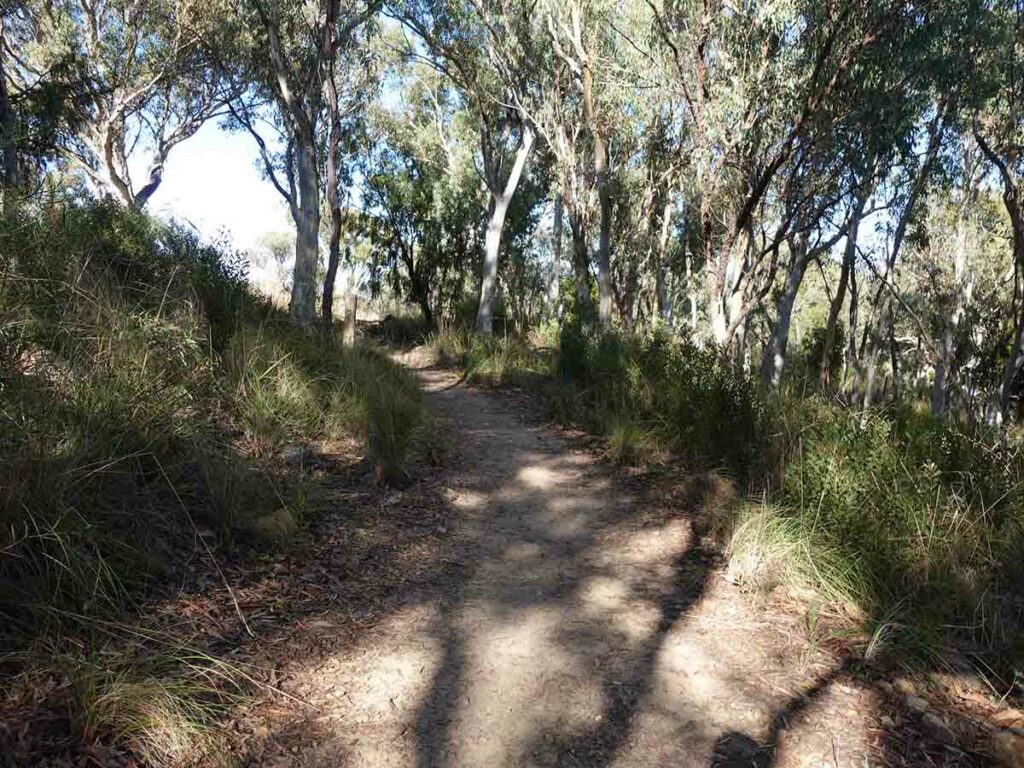
On the trail to Mount Majura

Mount Majura summit: peak 3
Heading towards Mount Ainslie
Summit of Mount Ainslie: peak 4
Descending Mount Ainslie
Day Two
- Day 2 – 27.33 km
- Highest altitude: 856 m
- Lowest altitude: 561 m
- Metres ascent: 878 m
- Metres descent: 867 m
- Duration: 8.5 hours
Day two started where we left off on day one in the northern suburbs and making our way across Canberra’s biggest lake, Lake Burley Griffin then onto our first peak of the day, Red Hill. For many years Red Hill was the main summit destination given it had a restaurant and toilet facilities, and the only one accessible to vehicles. The restaurant is currently closed for renovation but the toilets are still available to use. After a short break we headed along the ridge line to the nearby Davidson Peak. This is another of Canberra’s lesser known summits given it is only accessible by foot and tends to be used frequented by locals in the know.
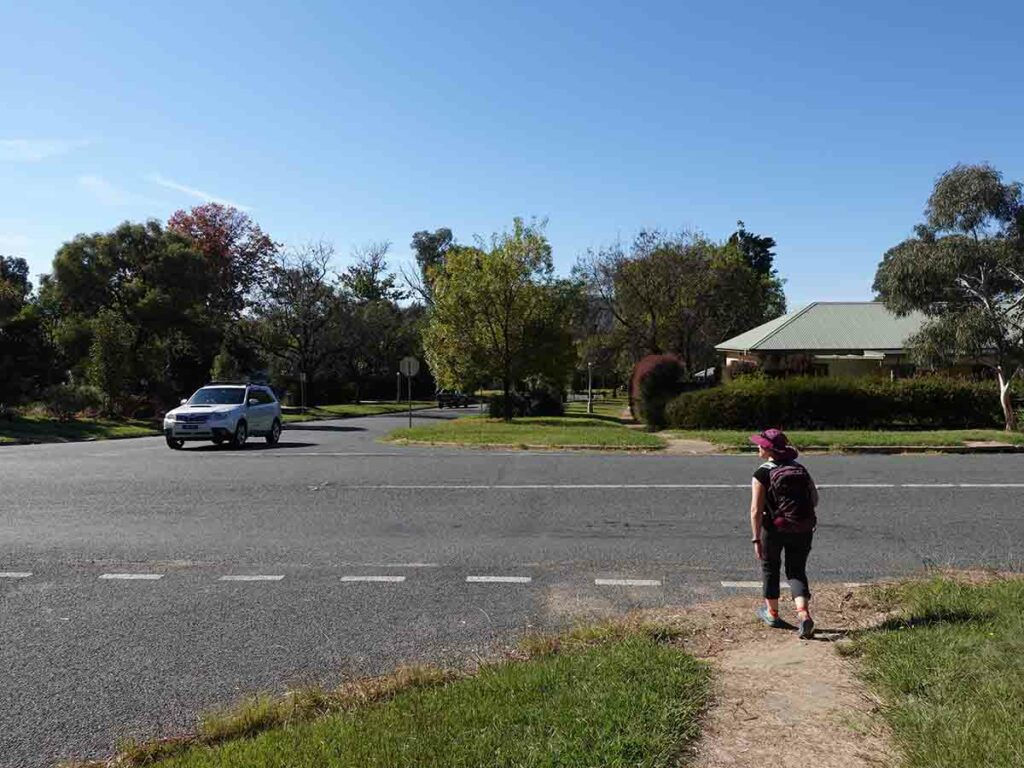
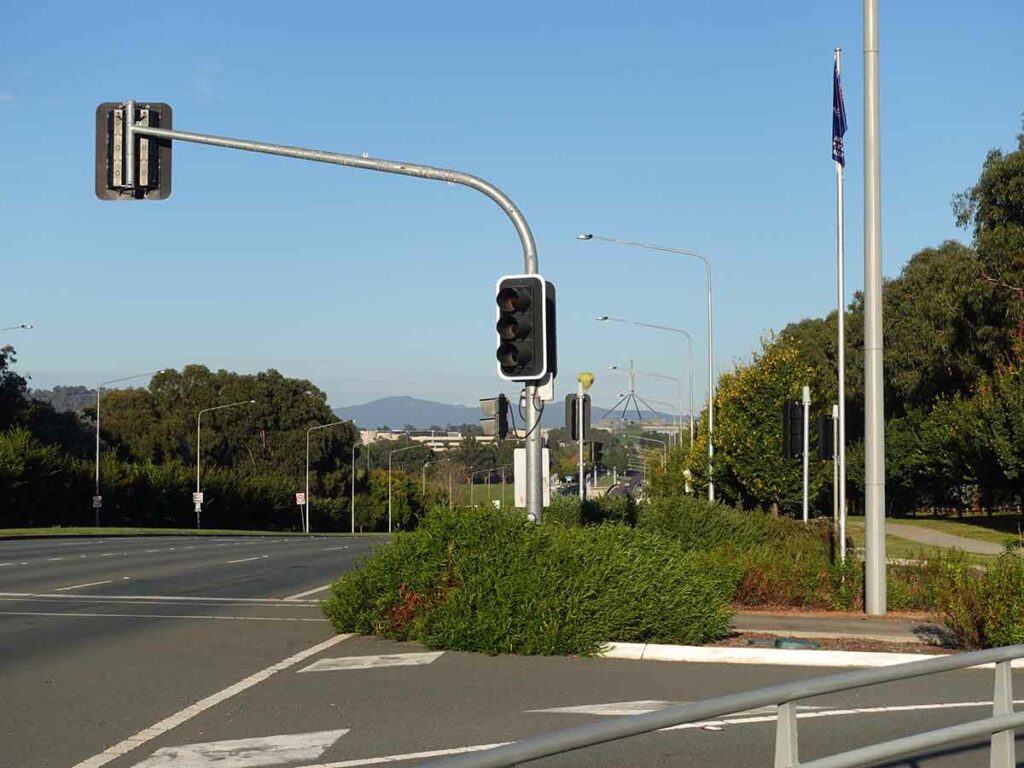
From Davidson Peak our next designated stop was Mount Mugga Mugga and this is where you have a decision to make. The option we chose was the ‘safe option’ that added almost 2 km to our trip and a route that took us down the hill to a set of traffic lights that allowed us to cross the six lane road safely before heading back up the hill again. The other option was to head straight over to Mount Mugga Mugga from Davidson Peak but this required us to cross three lanes of the major arterial road Hindmarsh Drive by dodging traffic and seeking refuge on the wide verge before attempting the next three lanes. Choose at the wrong time the day and it will take a while and would be very unsafe; you definitely don’t want to try this at peak hour. Which option you choose is up to you but I suggest you do some pre trip reconnaissance to see what you’re up against or alternatively take the longer safer route.
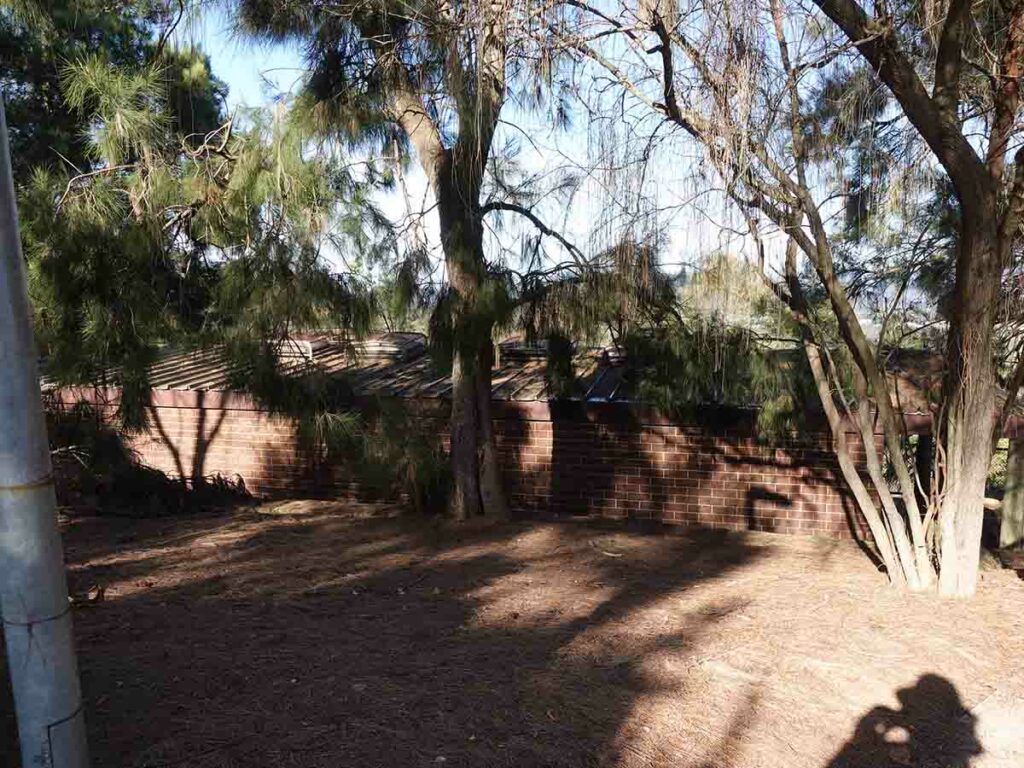
Just a heads up on summiting Mount Mugga Mugga; you can’t! The summit is actually behind a mesh fence in a quarry so while you can come within about 40 metres of the summit, that’s the best you can do. As you follow along the Canberra Centenary Trail route, turn towards a very obvious saddle and you will come to the quarry fence. While there is no formal trail to the summit of Mugga Mugga, its steep but easy to access if you walk along the outside of the fence – keep heading up and towards the right and you will reach the high point at rear of the quarry.
There are no views at the peak given it is densely covered by eucalyptus trees so you really are doing this one to peak bag. Back down along the fence and back onto the Canberra Centenary Trail for a short section before going off that trail as you head towards Mount Taylor which is the fourth and last peak of the day. This is another walk through the suburbs and we took advantage of walking straight past the Southlands Shopping Centre for a toilet break (which we could locate) and lunch with lots of options to choose from.
After our break we headed on through the suburbs and then to Mount Taylor which after Mount Ainslie, is Canberra’s most visited summit providing views down into Woden Valley and south into Tuggeranong Valley. This trail has been upgraded over recent years and the steep sections that used to be dirt management road, are now sealed making the trip much easier than it used to be. We had originally planned on doing Mount Wanniassa today but decided to call it s day and picked a logical stopping point to made it easy for an Uber pick up.
While today was hard, it was easier than yesterday.
Day two start
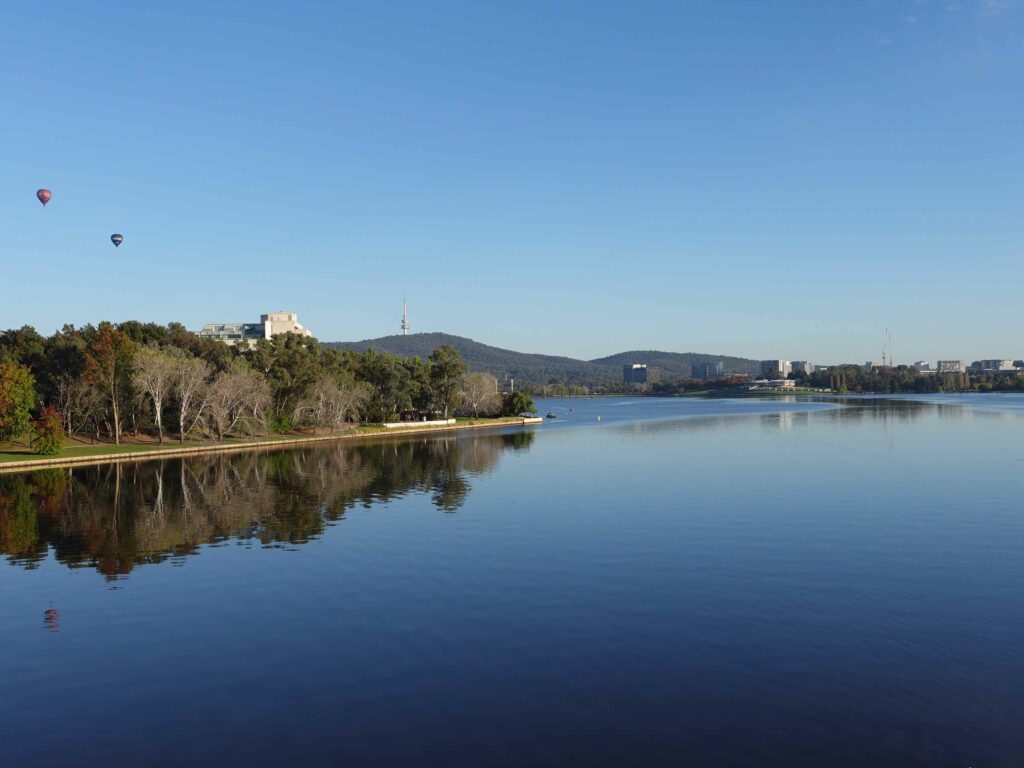
Hot air balloons as we head towards Red Hill
Heading up Red Hill
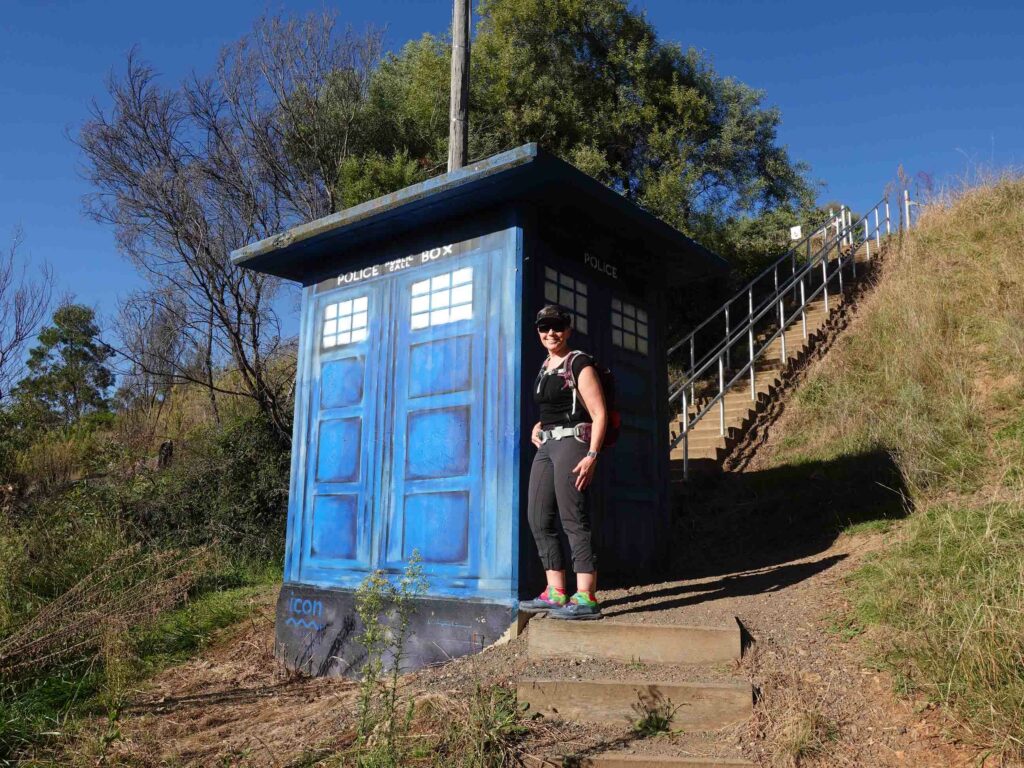
The ‘Tardis’ on Red Hill
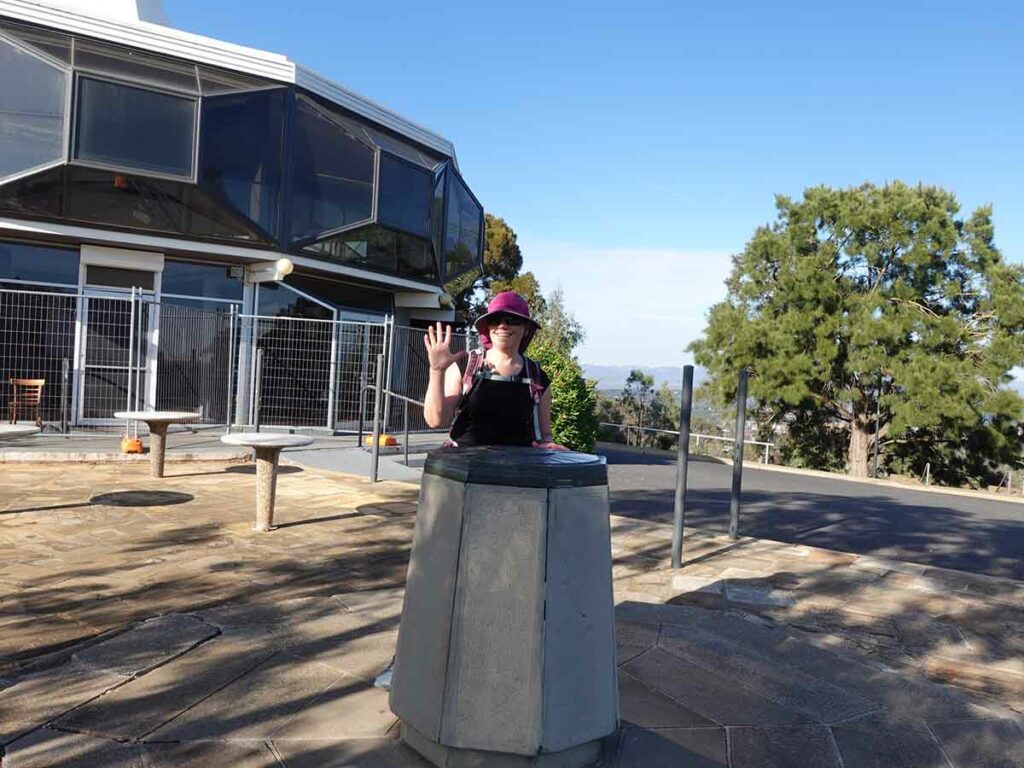
Red Hill summit: peak number 5
View from the summit of Red Hill
Toilets at Red Hill summit
Heading to Davidson Peak
Davidson Peak: peak number 6
Turn left towards Mount Mugga Mugga
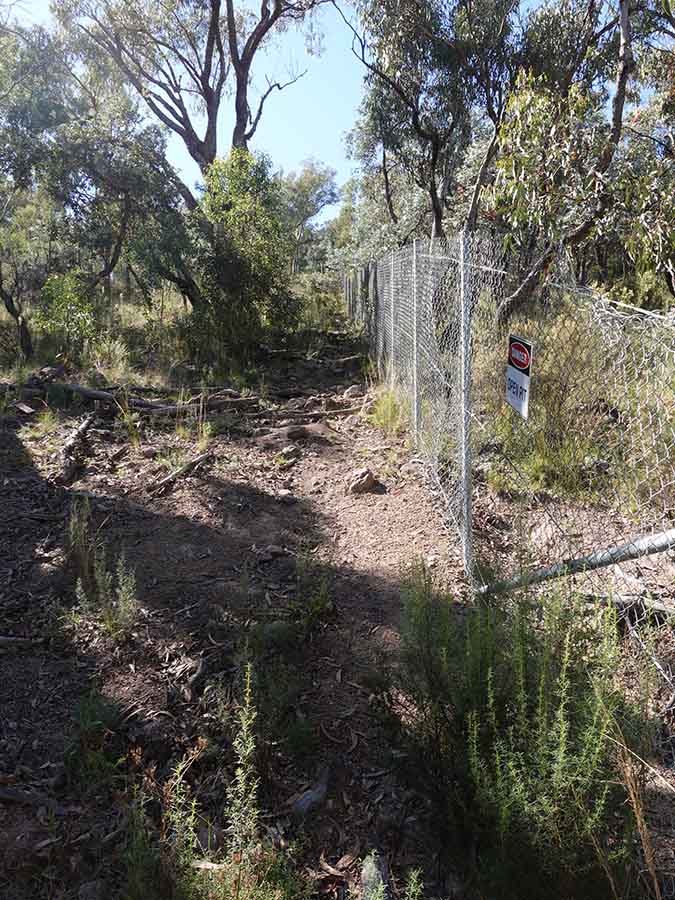
Follow the fence line to the summit of Mount Mugga Mugga

Mount Mugga Mugga: peak number 7

No views at Mount Mugga Mugga
Back on the Canberra Centenary Trail
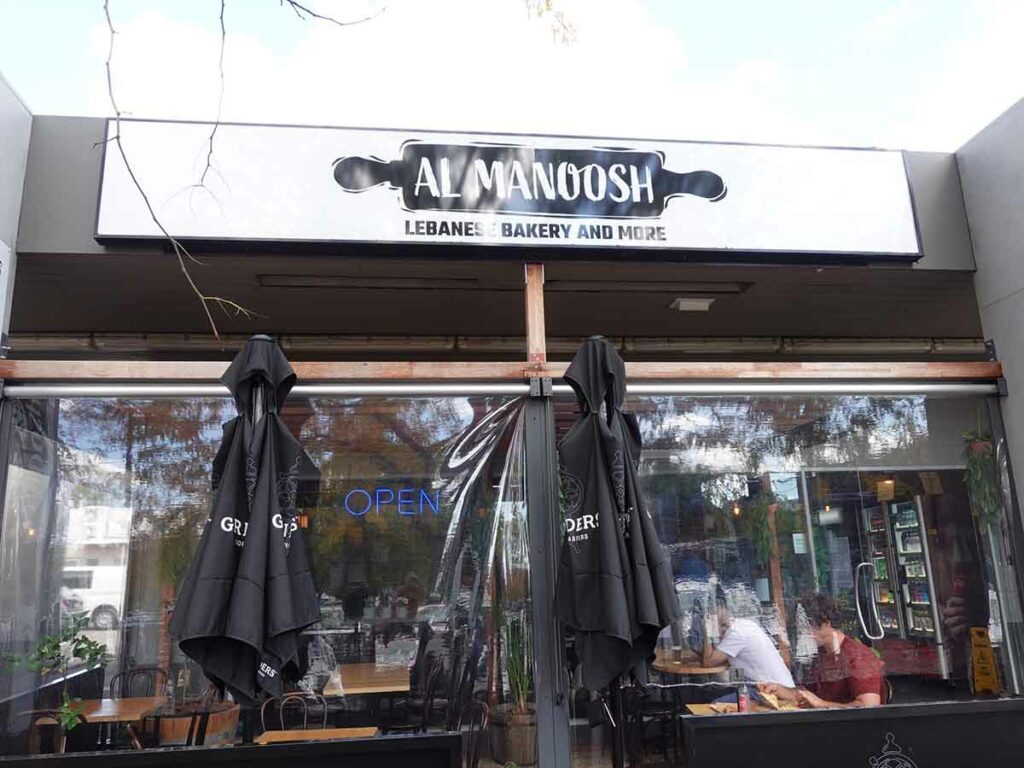
Lunch time on day two at the Southlands Shopping Centre. This takeaway was a real find – we ordered based on price and got way to0 much food for the two of us to eat. Well worth a visit!

Drain crossing
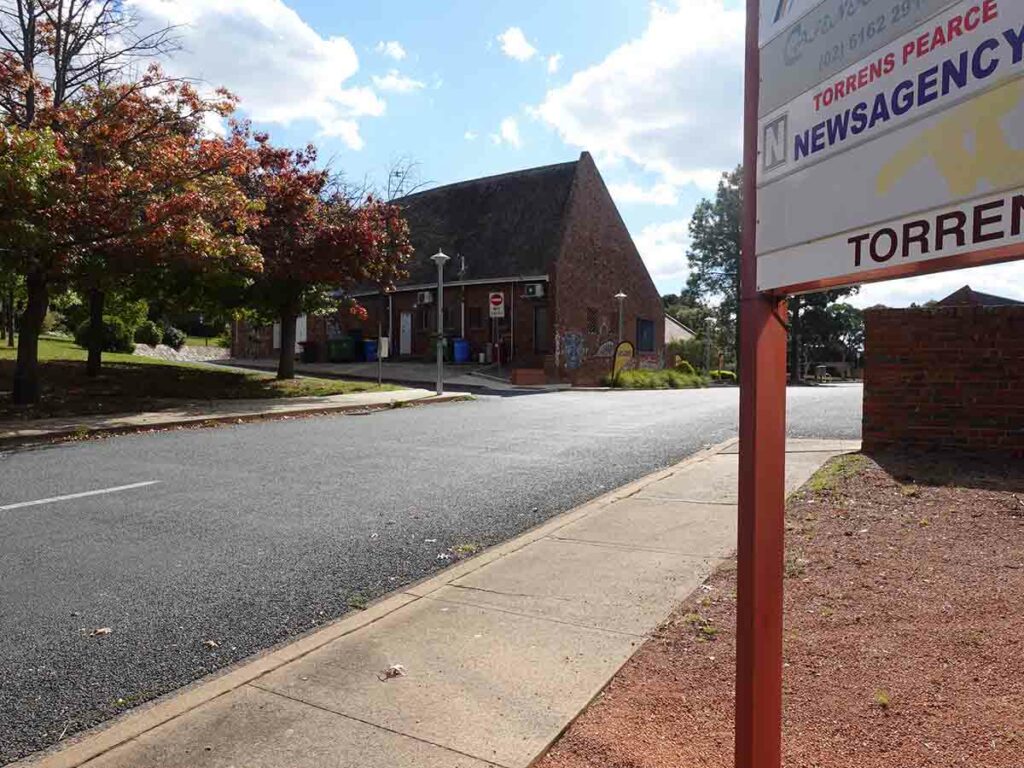
Torrens shops

Turn onto Mount Taylor access road – an eerie reminder of the 2003 firestorm on Mount Taylor
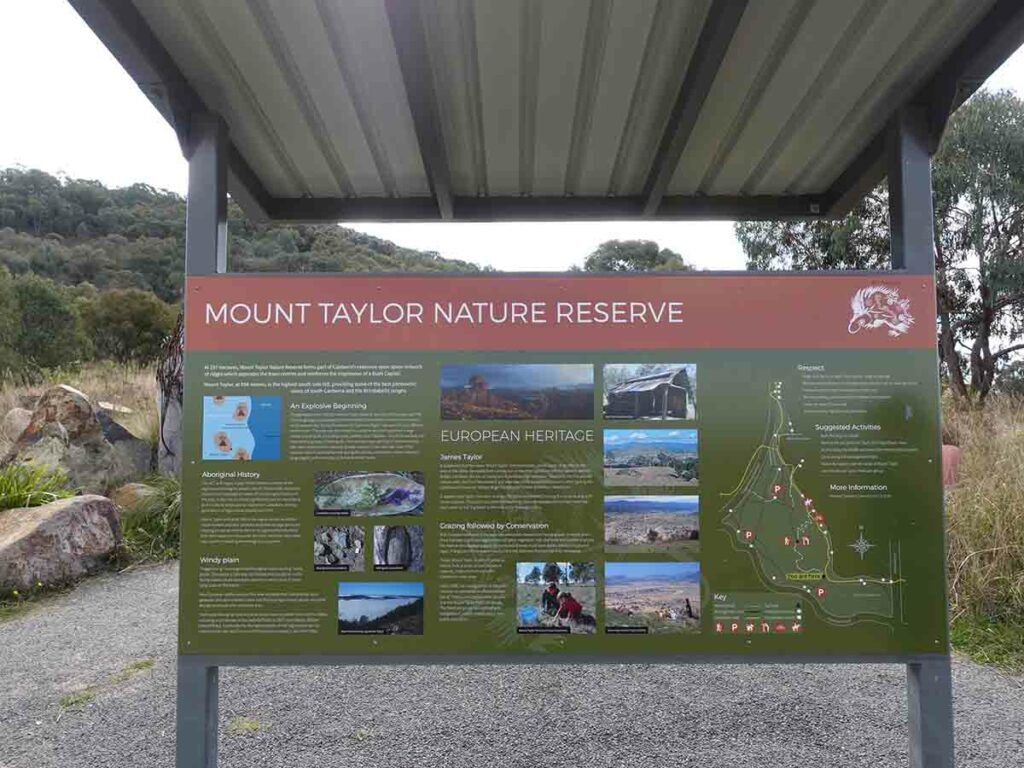
Mount Taylor signage
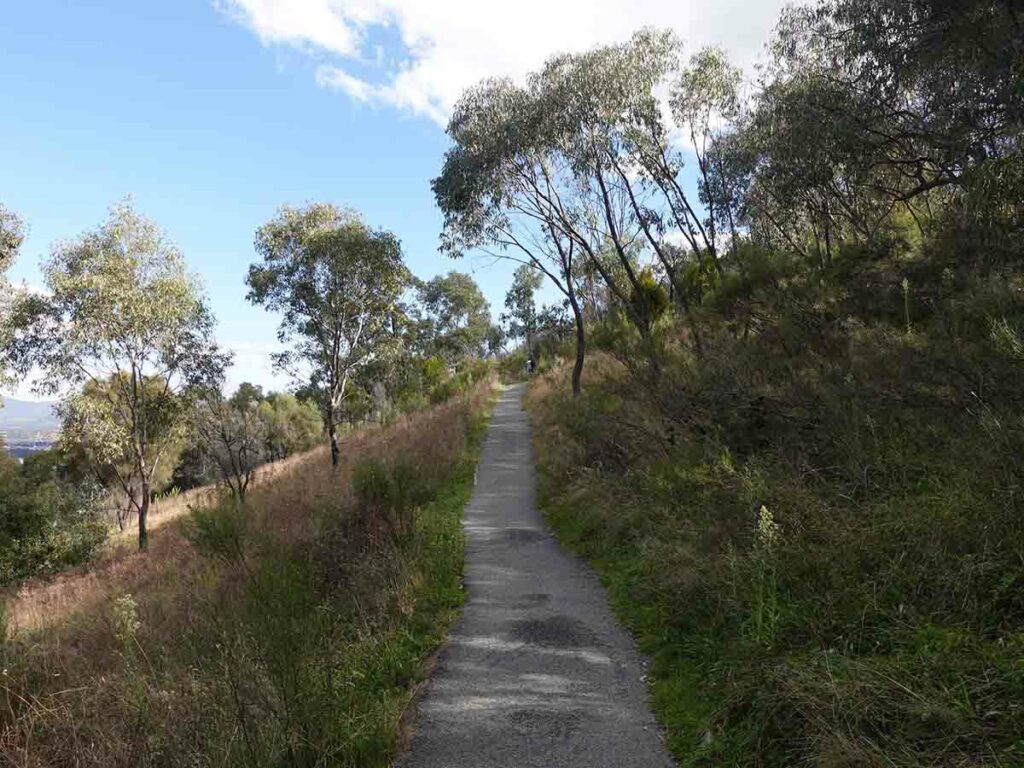
Mount Taylor trail
Approaching the Mount Taylor summit
Mount Taylor summit: peak 8
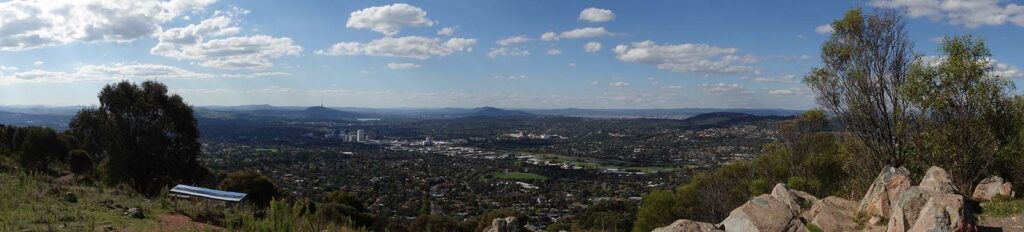
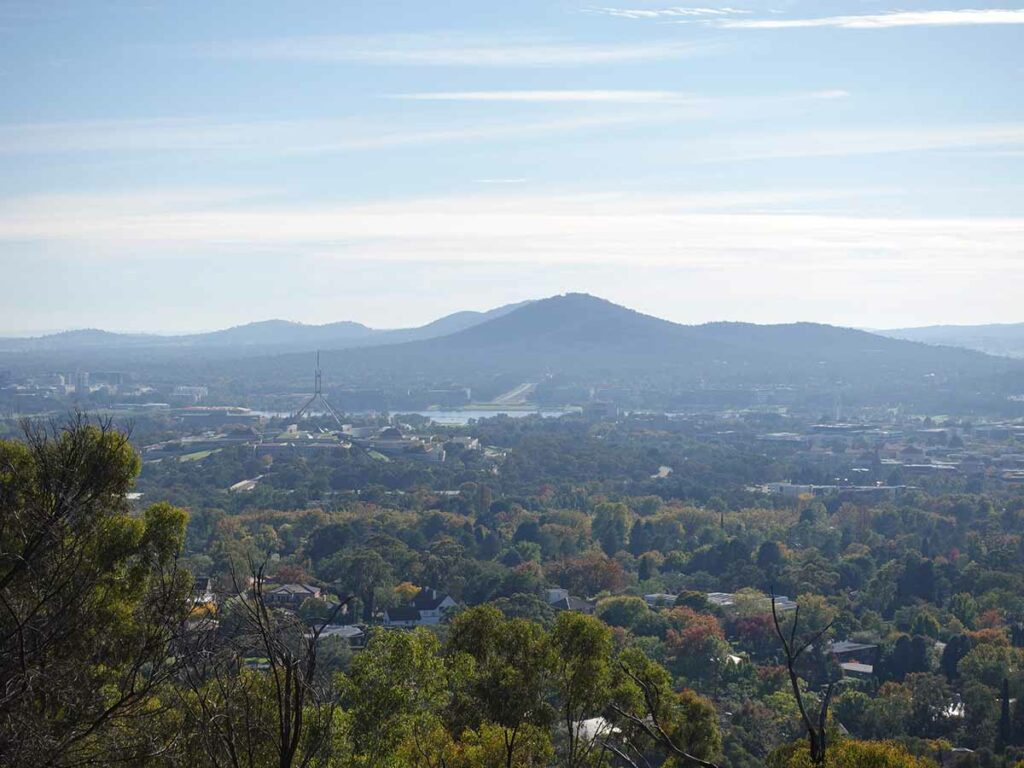
View north to Woden Valley from Mount Taylor
View south to Tuggeranong Valley from Mount Taylor
Crossing over into Tuggeranong Valley
Day Three
- Day three – 28.39 km
- Highest altitude: 1094 m
- Lowest altitude: 615 m
- Metres ascent: 1,302 m
- Metres descent: 1,201 m
- Duration: 9.5 hours
Day three our final day and after a drop off at our finishing point from yesterday, we started to make our way towards Mount Wanniassa. We realised that this was a walk that we had somehow missed!
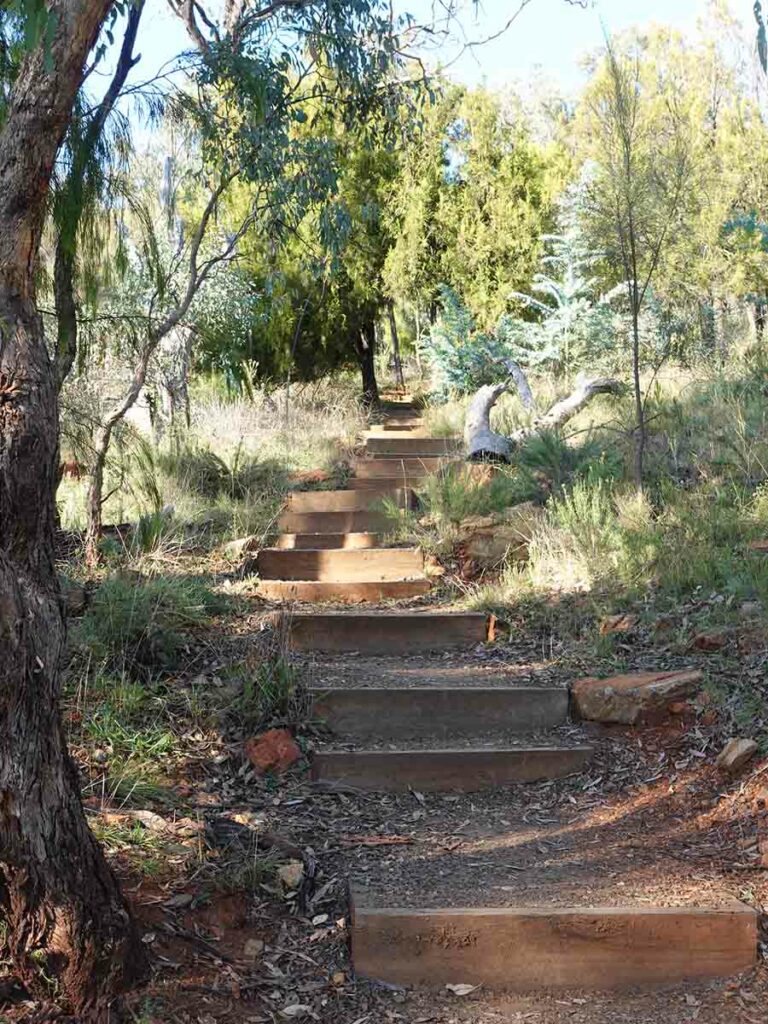
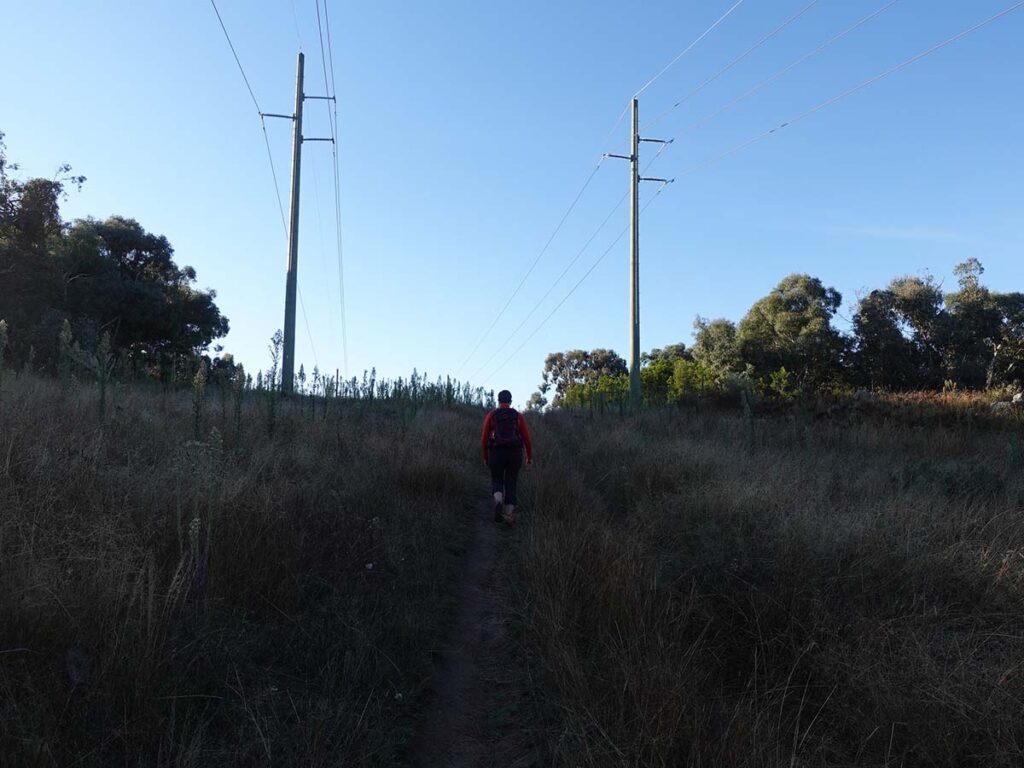
One of the route decisions you need to make is whether you travel through the underpass rather than trying to cross a busy major road. We entered into the Farrer Ridge nature reserve and made our way along an overgrown but identifiable trail – saturated our pant legs as we went as the weather shifts towards mid autumn. After going through the underpass we accessed an obvious but poorly maintained management road that headed towards the saddle at the top of the hill before heading on towards the Mount Wanniassa summit.
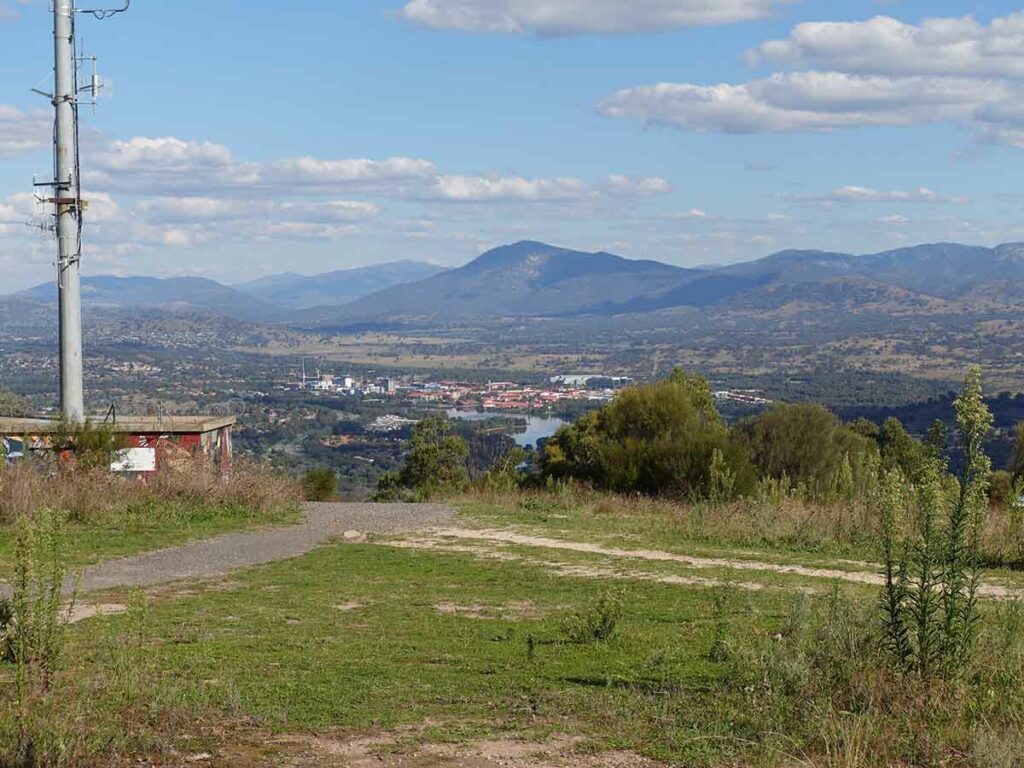
As mentioned we hadn’t done this summit before and it provided some great views that we hadn’t come across previously. Rather than returning back down the hill the way we came, we opted to loop around the hill which provided some bushland walking and limited time spent travelling through the suburbs. Coming back off this summit into the suburbs provided the longest stretch of urban walking as we made our way to our next peak which was Tuggeranong Hill.
Along the way we stopped at some local shops for morning tea and a toilet break before heading on to Tuggeranong Hill. While we had previously summited this peak we did so on the ‘main trail’ whereas this time we came from the other side. As we ascended, we thought why on earth did we choose such a hard route but then remembered on the way back down, that the main trail is just as physically difficult just on a wider more heavily used route.
On our descent from Tuggeranong Hill we opted to change our proposed route which would have seen us head towards Mount Rob Roy along the adjacent ridge line which was a more gradual ascent although one that was slightly longer. This was a spur of the moment decision and instead we decided to head up and down Rob Roy on the main designated trail.
We walked past the summit of Big Monks, saving it for later and made our way to the summit of Mount Rob Roy. A word of warning here the Rob Roy summit is off the management road and is poorly marked. To access this final ascent you need to head downhill by about 100 metres past the survey markers on the side of the road. The summit of Rob Roy has a very old TRIG marker and the summit provides almost no views. Without going into nearby Namadgi National Park, this is Canberra’s most remote summit. After reaching Rob Roy and taking a break, we started heading back down the way we came to our final summit of Big Monks.
This visit to Big Monks which was our first in almost two years was just as windy with the peak always being a bit blowy. The weed growth was very noticeable from our last visit with such a recent wet season.
From here it was our last walk down the hill to the trailhead and our adventure is done!
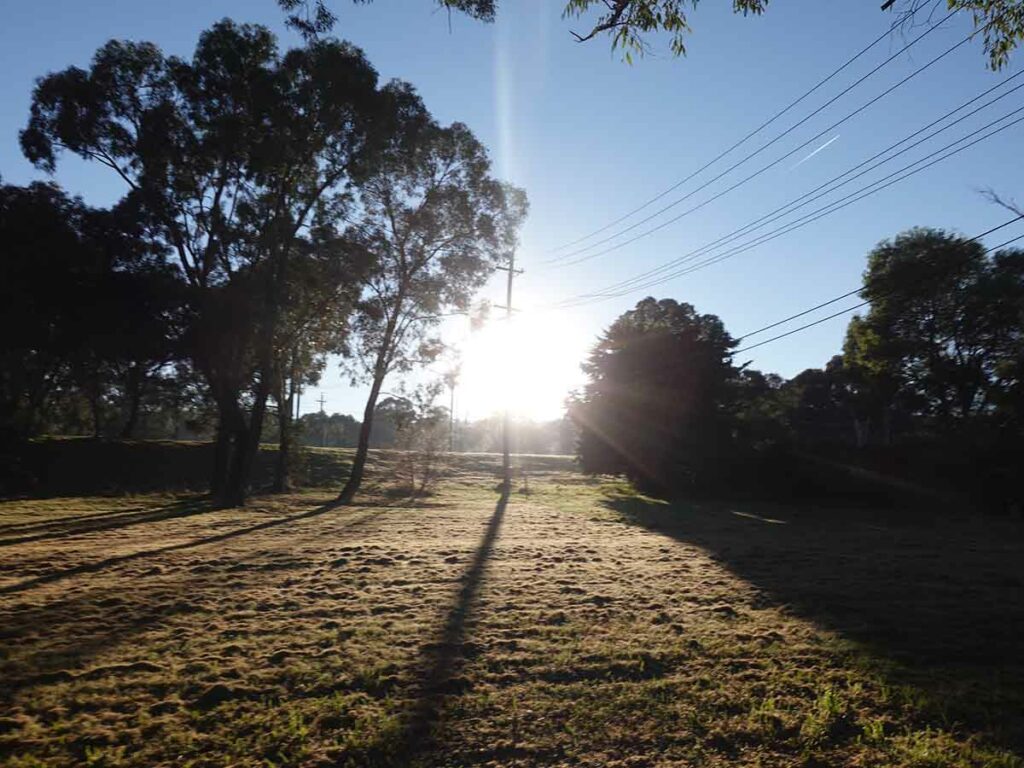
Start on day three
Walking through Farrer Ridge Nature Reserve
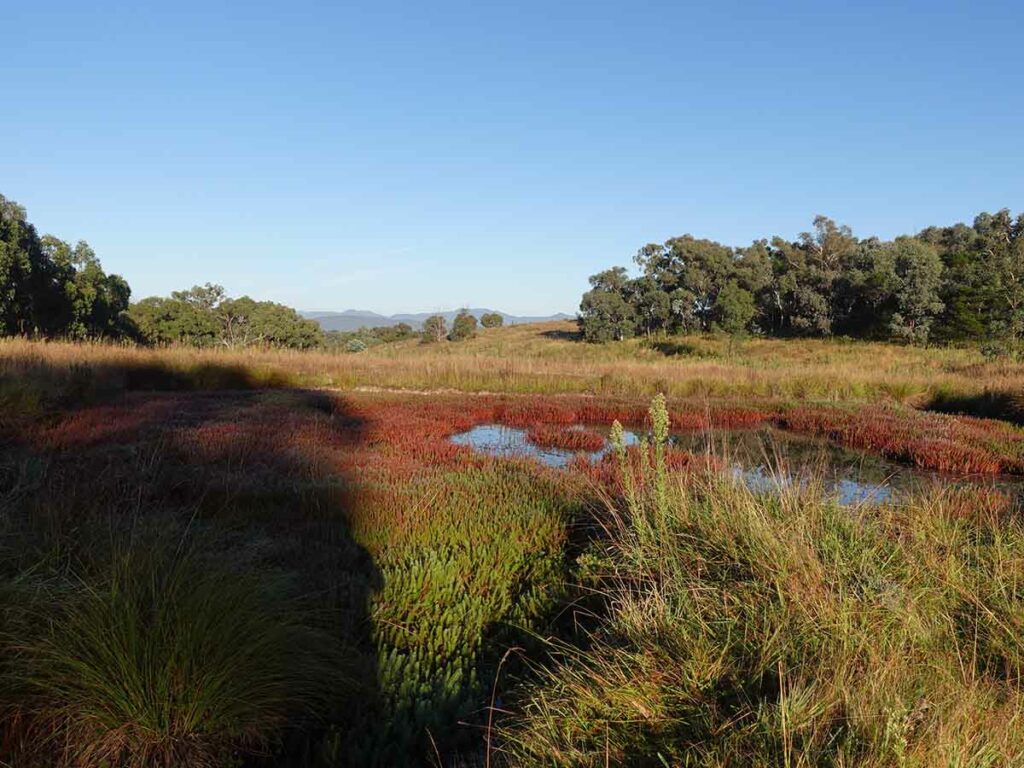
Local waterhole in the Farrer Ridge Nature Reserve
Heading towards the summit of Wanniassa Hill

Wanniassa Hill summit: peak 9
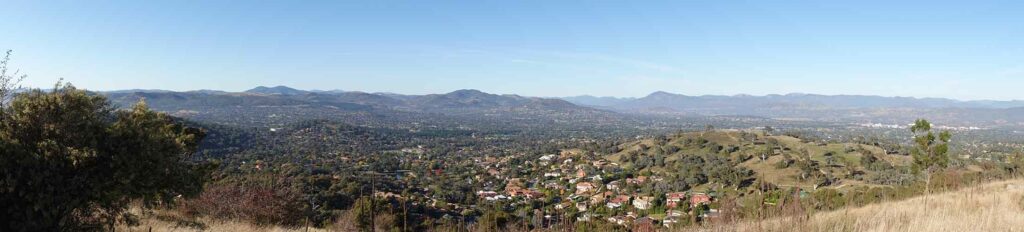
Panorama view from Wanniassa Hill
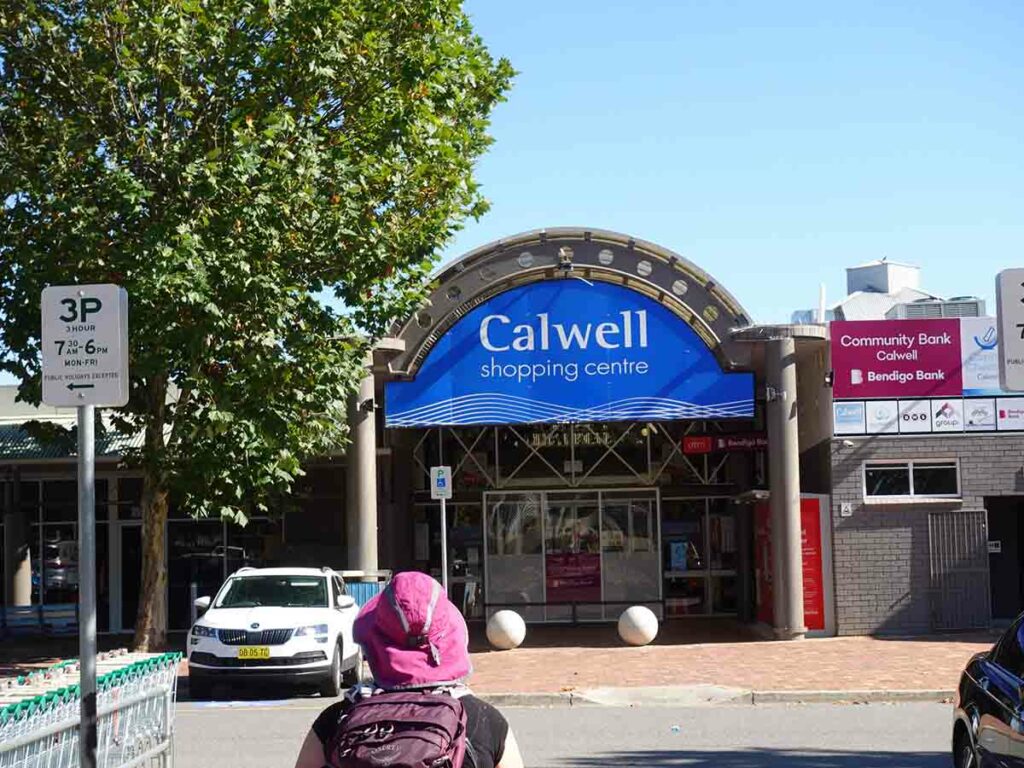
Calwell shops on day three – morning tea
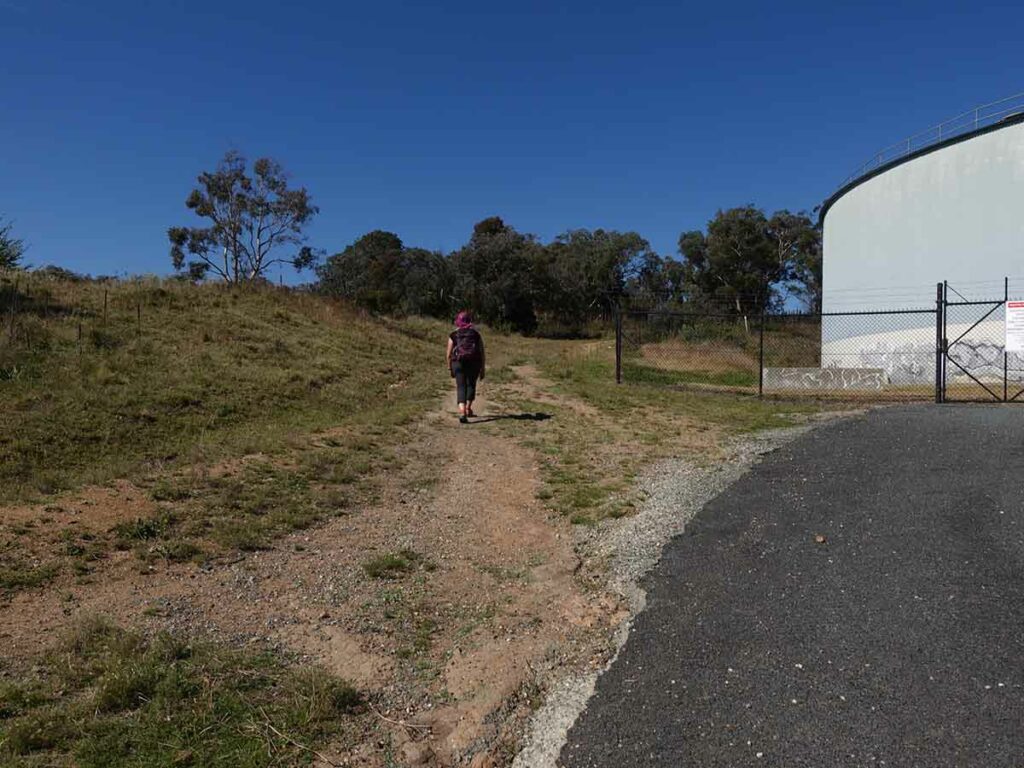
Heading towards Tuggeranong Hill
Tuggeranong Hill summit: peak 10
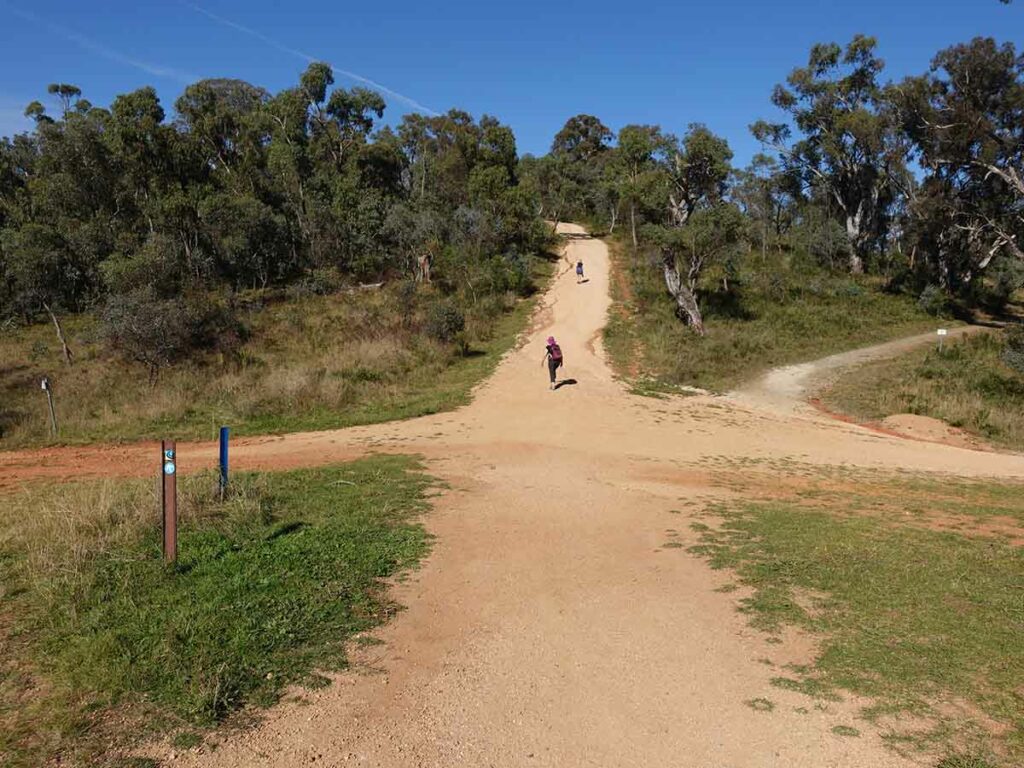
Approaching the start of the Rob Roy Trail
Start of the Rob Roy Trail
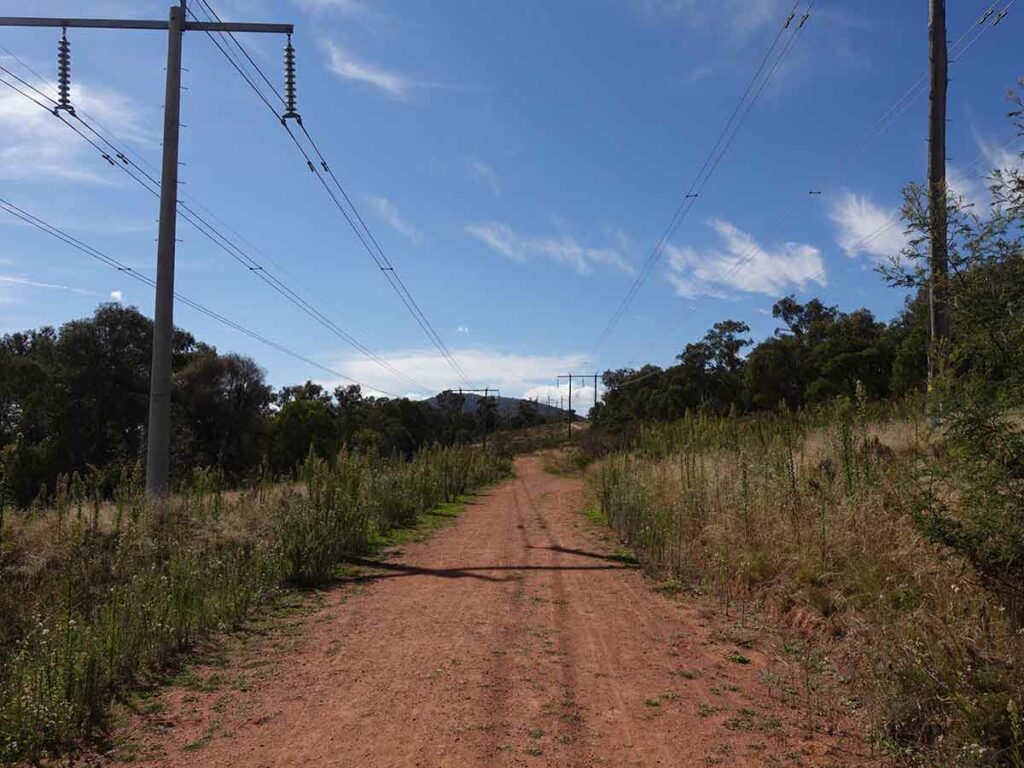
Heading towards Rob Roy
Trail heading to Rob Roy

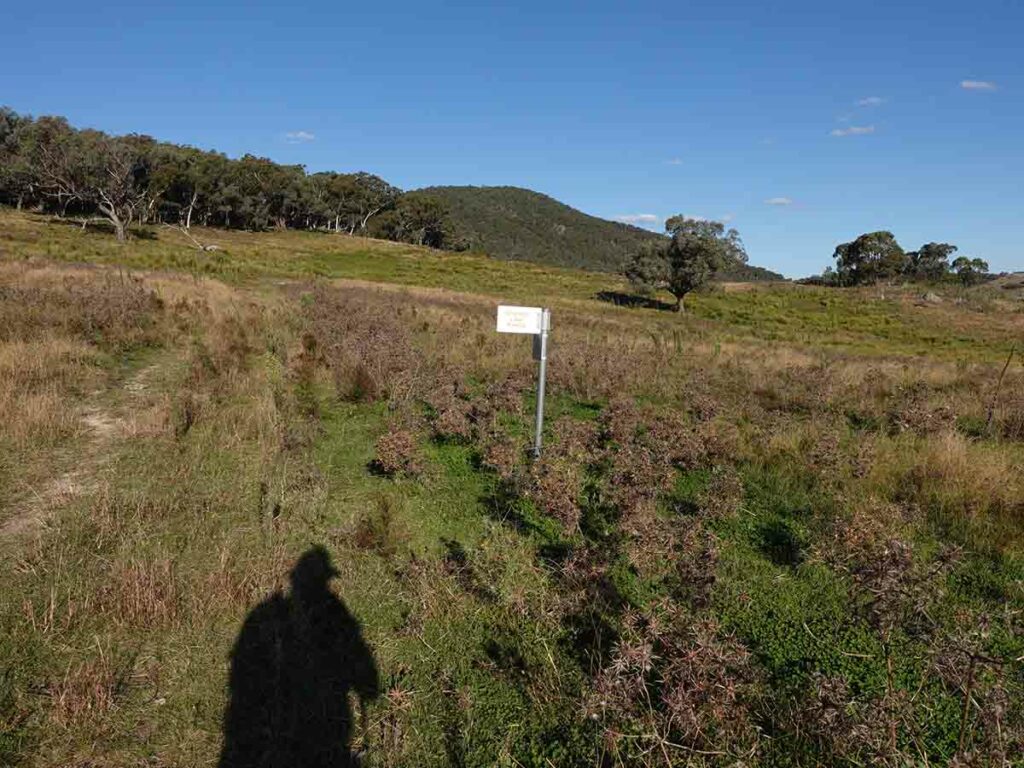
Survey mark. This survey marker appears to be at the summit but the true summit is downhill a further 100 metres on the left. Take the unmarked trail up to the TRIG station
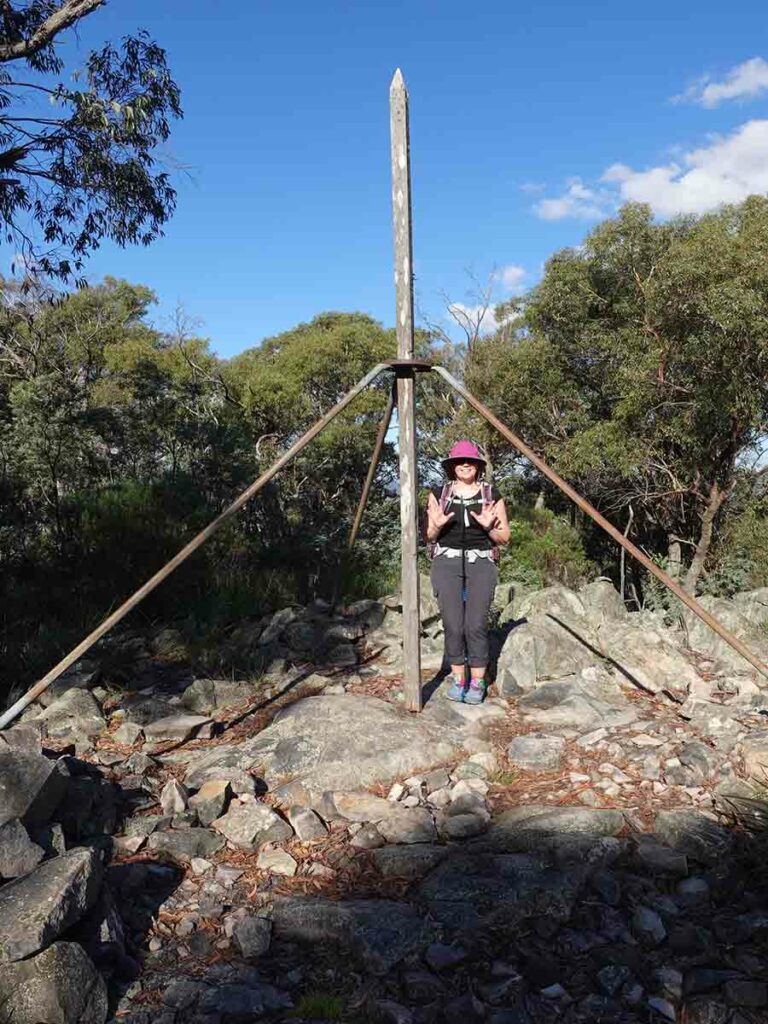
Rob Roy peak: summit 11
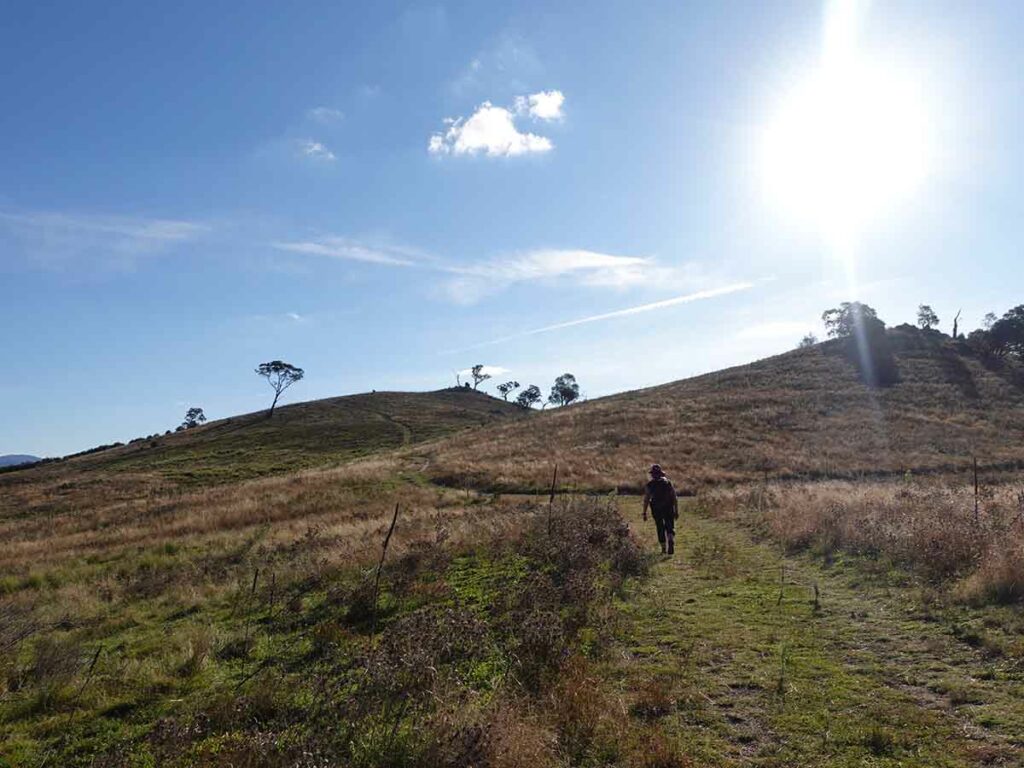
Heading up to Big Monks
Lone tree off by itself near Big Monks

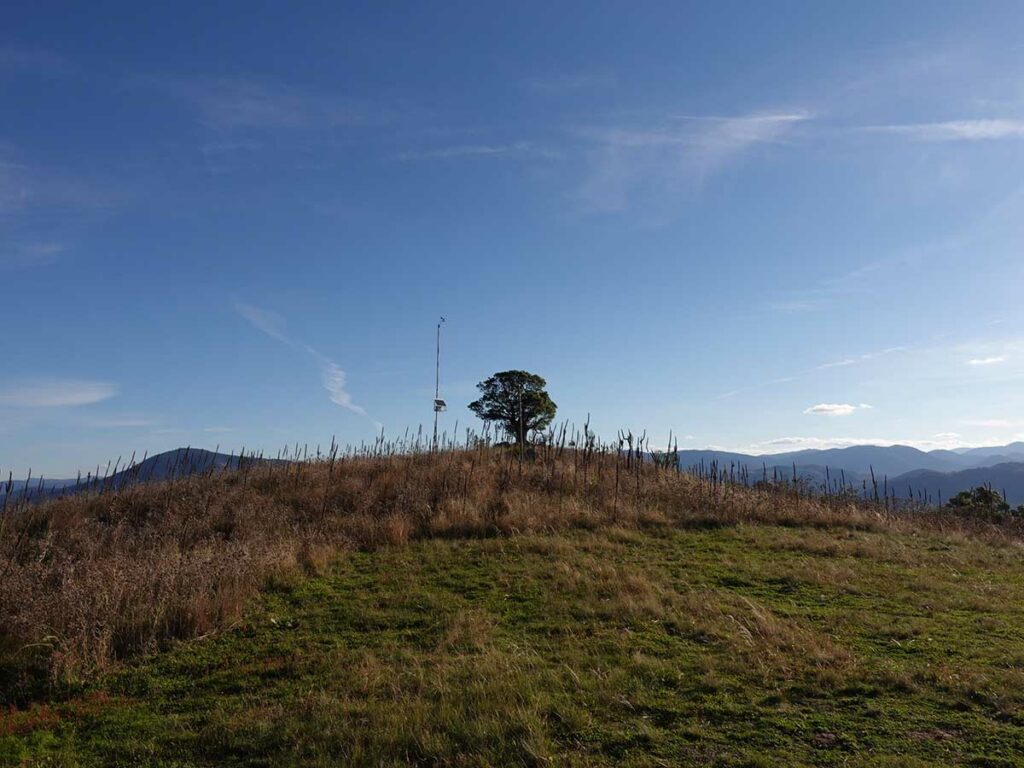
Big Monks: peak 12 and the last one!

Heading to the trailhead
Returning to the trailhead on day three
Last words
We’ve lived in Canberra for much of our lives and are very familiar with the main peaks and summits that are spread throughout our city. Having said that this ‘choose your own adventure’ provided us with an opportunity to experience parts of the city we had never seen before including summiting two hills we had never done before, summiting other hills from different directions, and walking through suburbs that we had never visited before on foot.
Many people may not consider urban hiking a worthwhile activity but what it does do is help you connect with the city you live in or are visiting in a way that travelling by car just doesn’t allow. It also allows you to create your own adventure and choose the route that suits you without having to leave your home town.
For those bigger town or cities that have large areas of designated green space you may just be able to link them together to create that bushland feel! So next time you are looking at a possible trip, don’t discount your own town or city; it may just surprise you.
Trail video
This 7 minute video contains photos and videos to show you the walk from start to finish. This is a lovely walk and one that is still unknown by many people (video to be uploaded in the next 2 hours)
Things to know
- Phone: There is reasonable phone coverage on this trail (Telstra)
- Water: While there are the occasional water bubblers and shops along the way, you should bring your own water
- Toilets: There are toilets on this trail at various locations but as you make your way into the more remote areas of bushland you will need to come prepared to use the nearest piece of bush. Just remember to move off trail as a lot of people who use these remote trails for exercise
- Trail: This trail consists of formed track, management roads and a small amount of off-track (Mount Mugga Mugga)
- Dogs: Dogs are allowed on some sections of this trail but not all
- No dogs allowed in the Black Mountain Nature Reserve
- Camping:
- No camping allowed
- Other:
- This is a ‘choose your own adventure’ experience. While this hike is a suggestion it’s really up to you what peaks you summit
The route
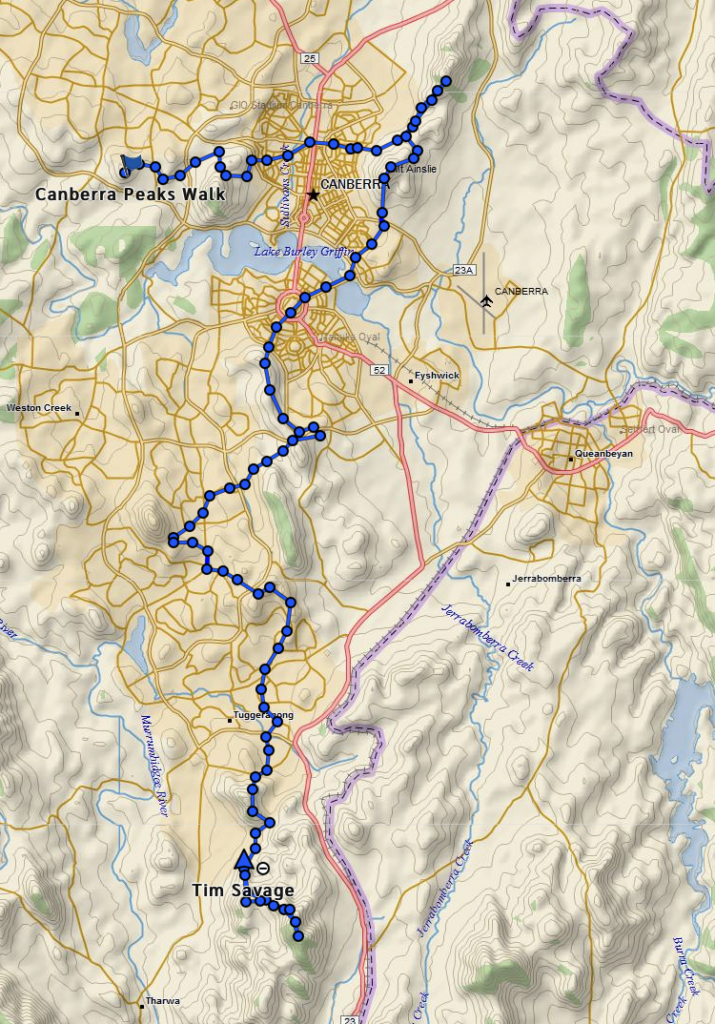
The route as done. We did this walk in three days but it could be very easily split into shorter days depending on your preferences
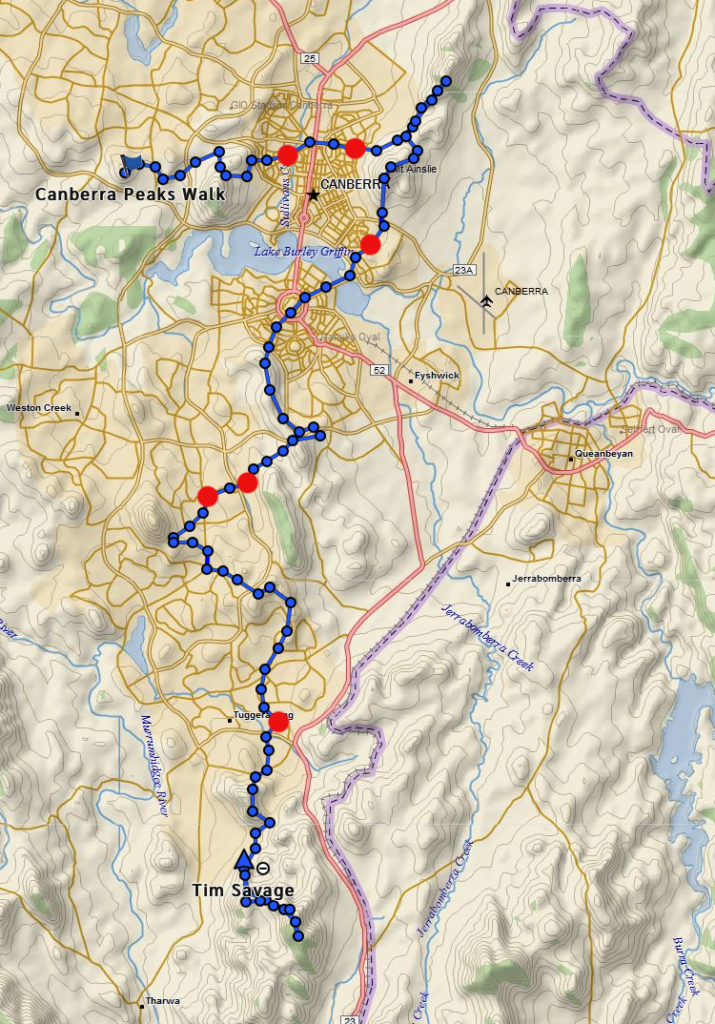
Canberra Summits Walk shops on trail. The red dots are shop locations directly on trail and there are also a number of other shop locations within 1 km of our chosen track
Disclaimer
This walk was undertaken by the team from Australian Hiker